
Sprinter Build - Interior Kit
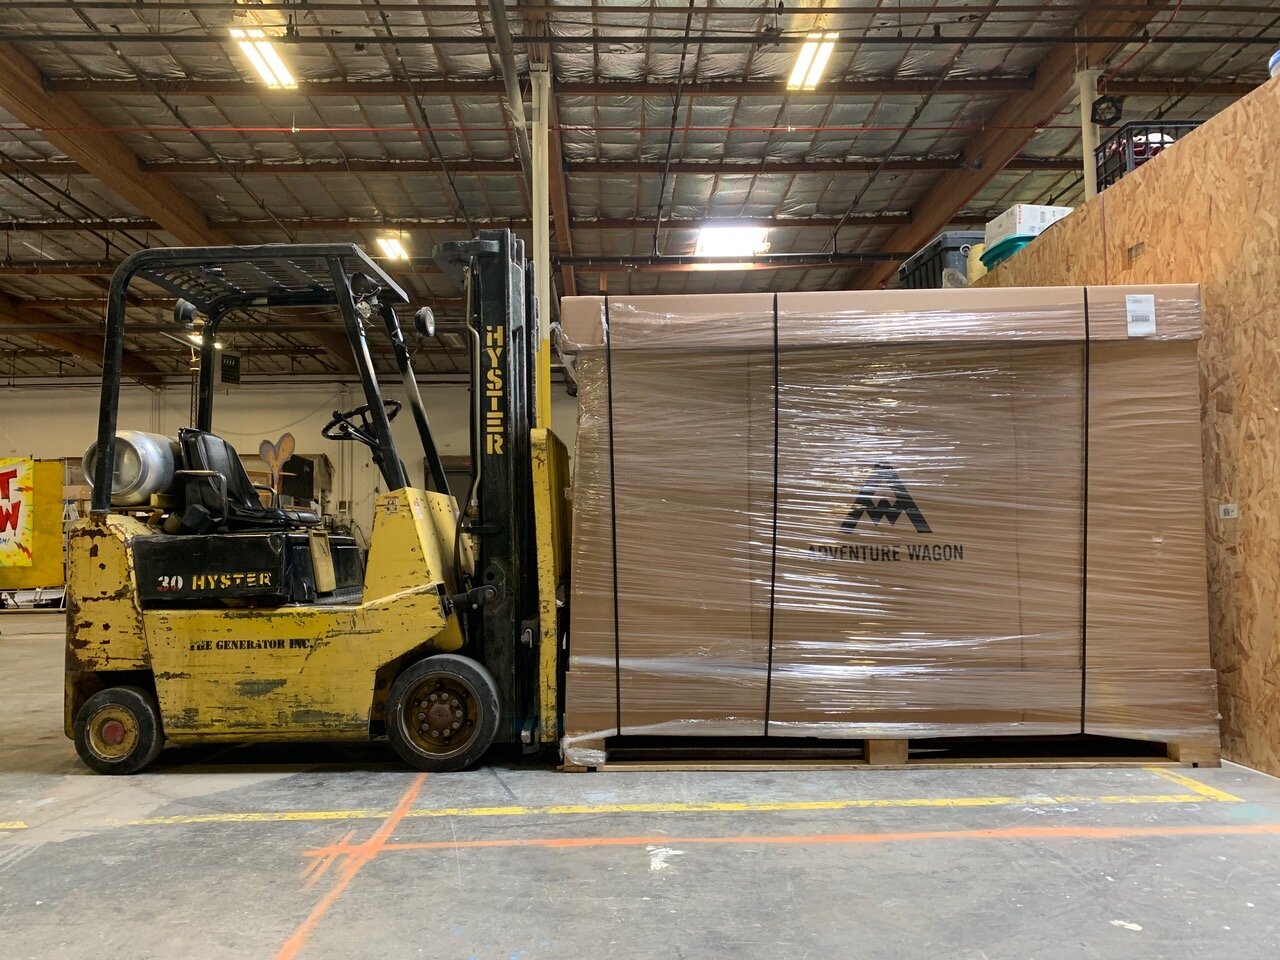
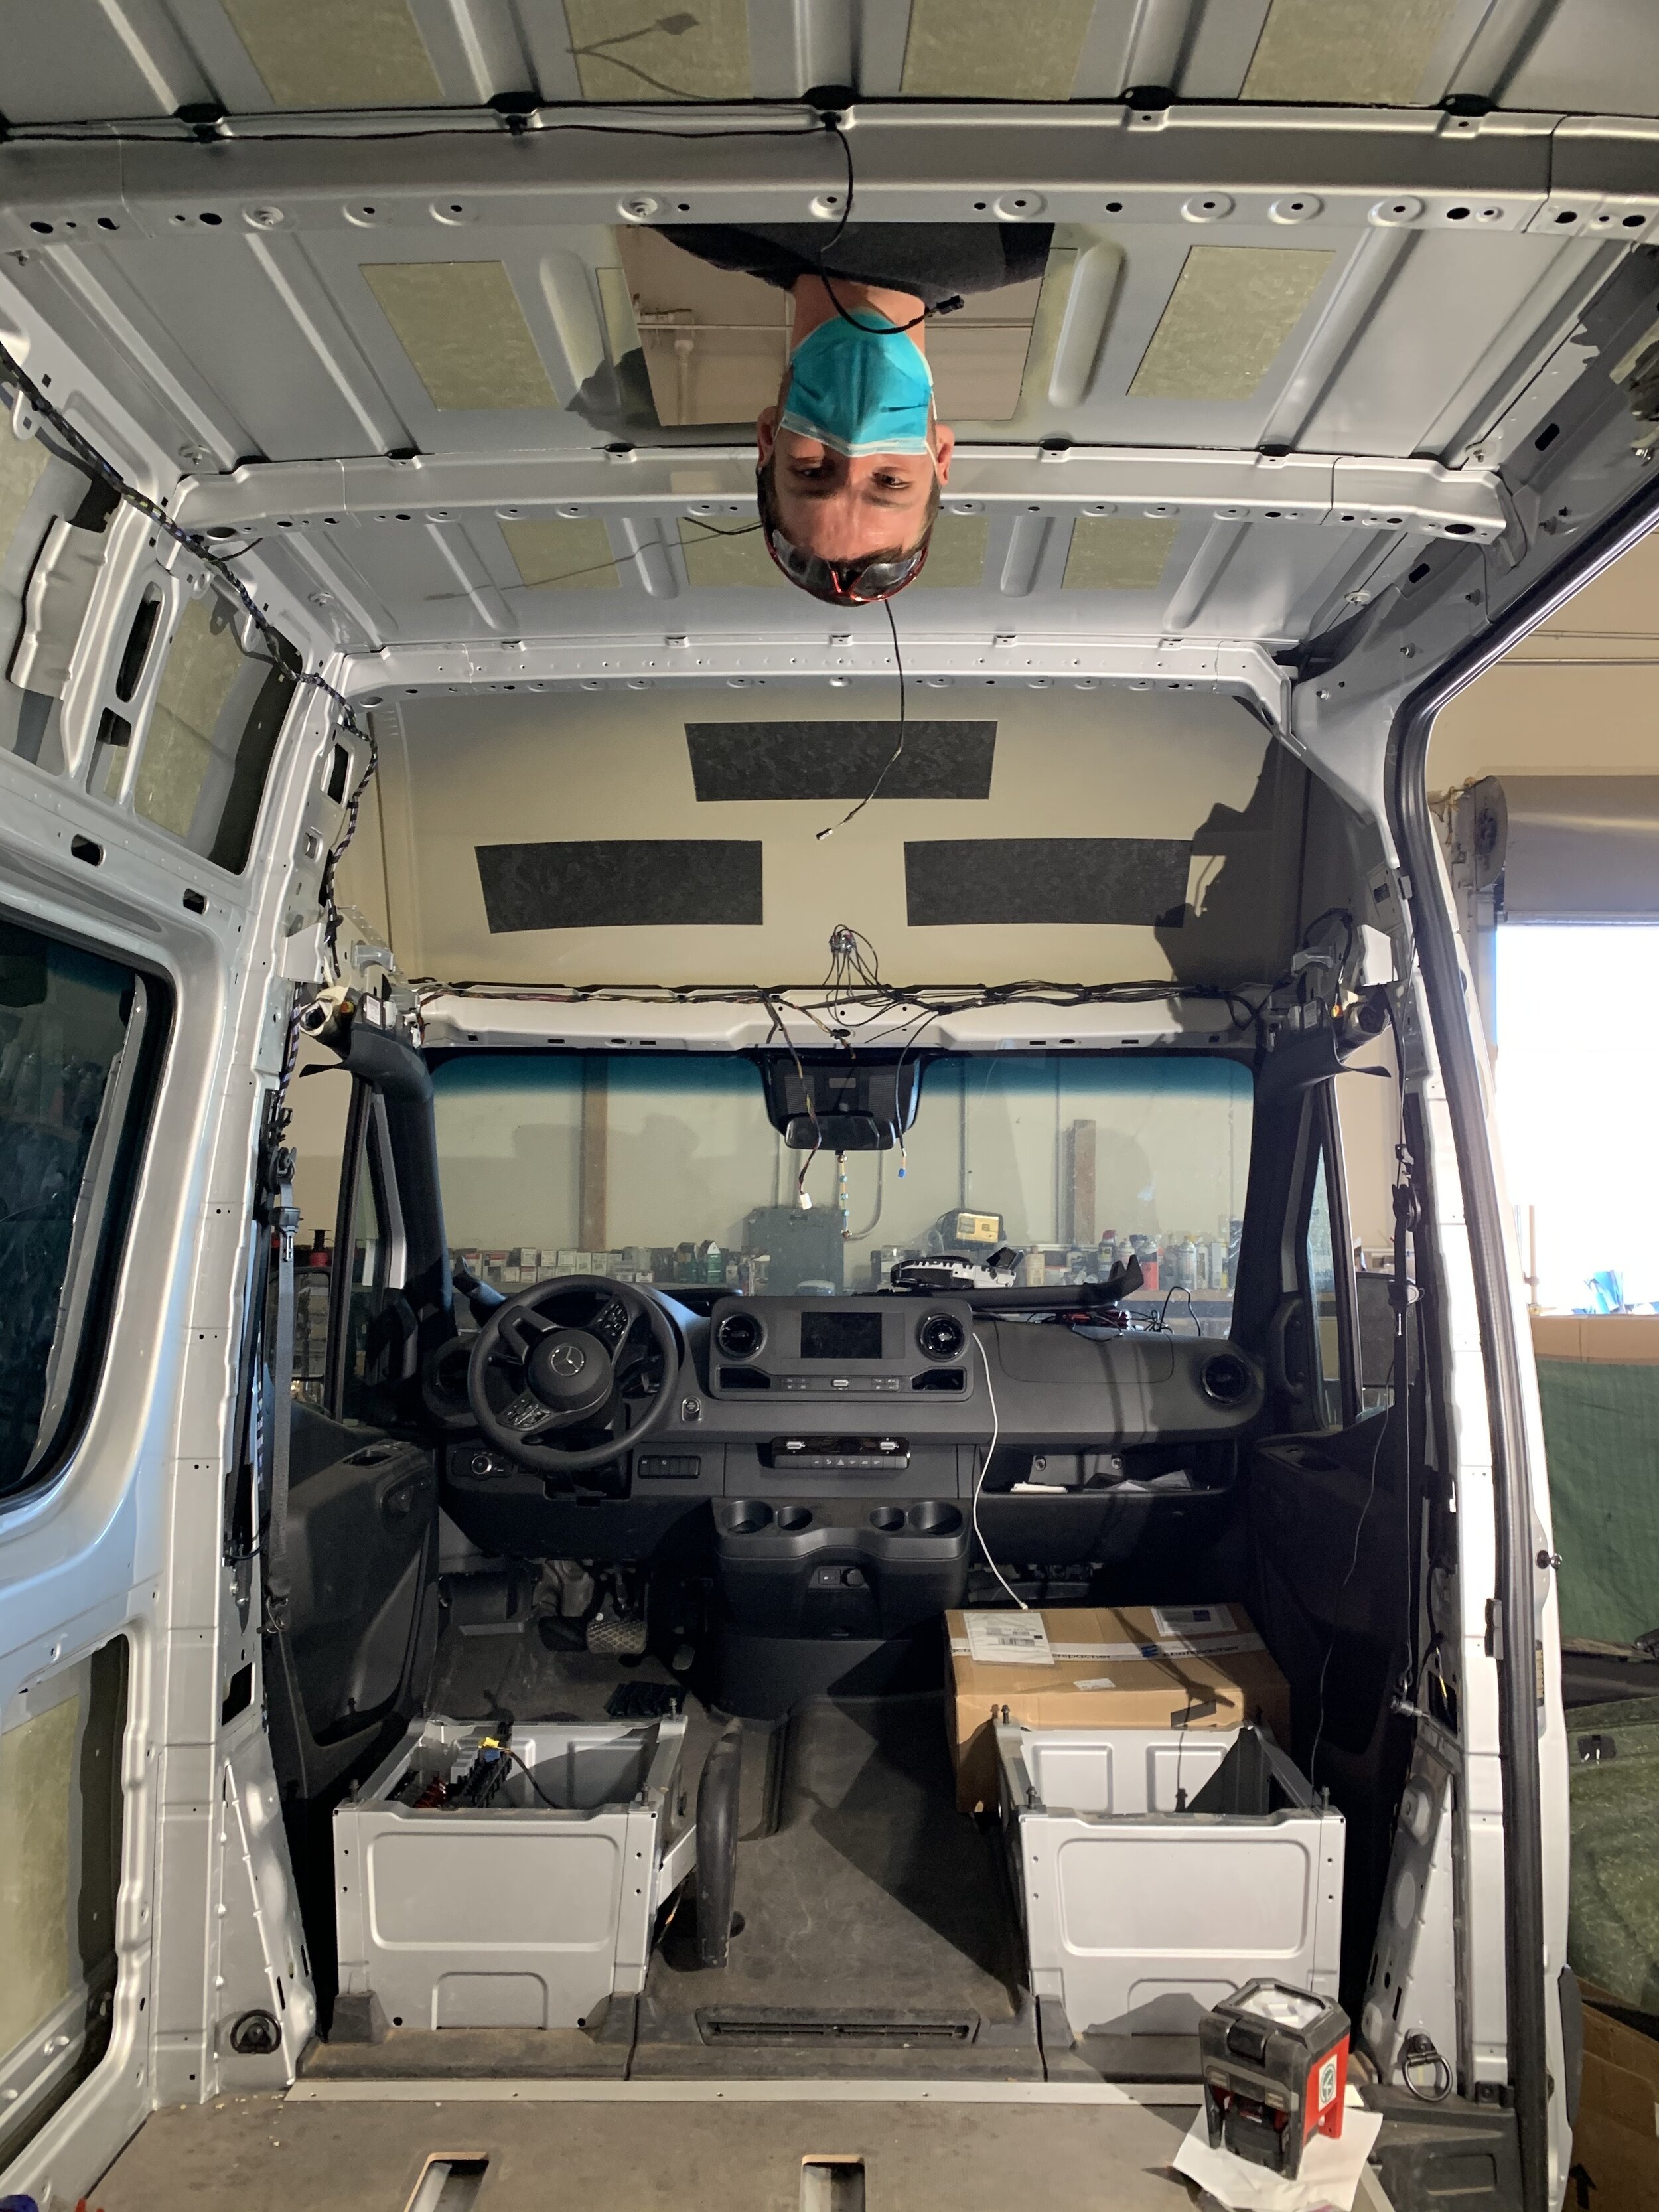
It’s been awhile since I did a write up on the Sprinter build but that doesn’t mean we haven’t made progress on the project. The first major step in the build was to completely strip the interior of the van and install an interior kit. We choose an Adventure Wagon kit. There are others to choose from but AdWag is sort of the premier option out there.
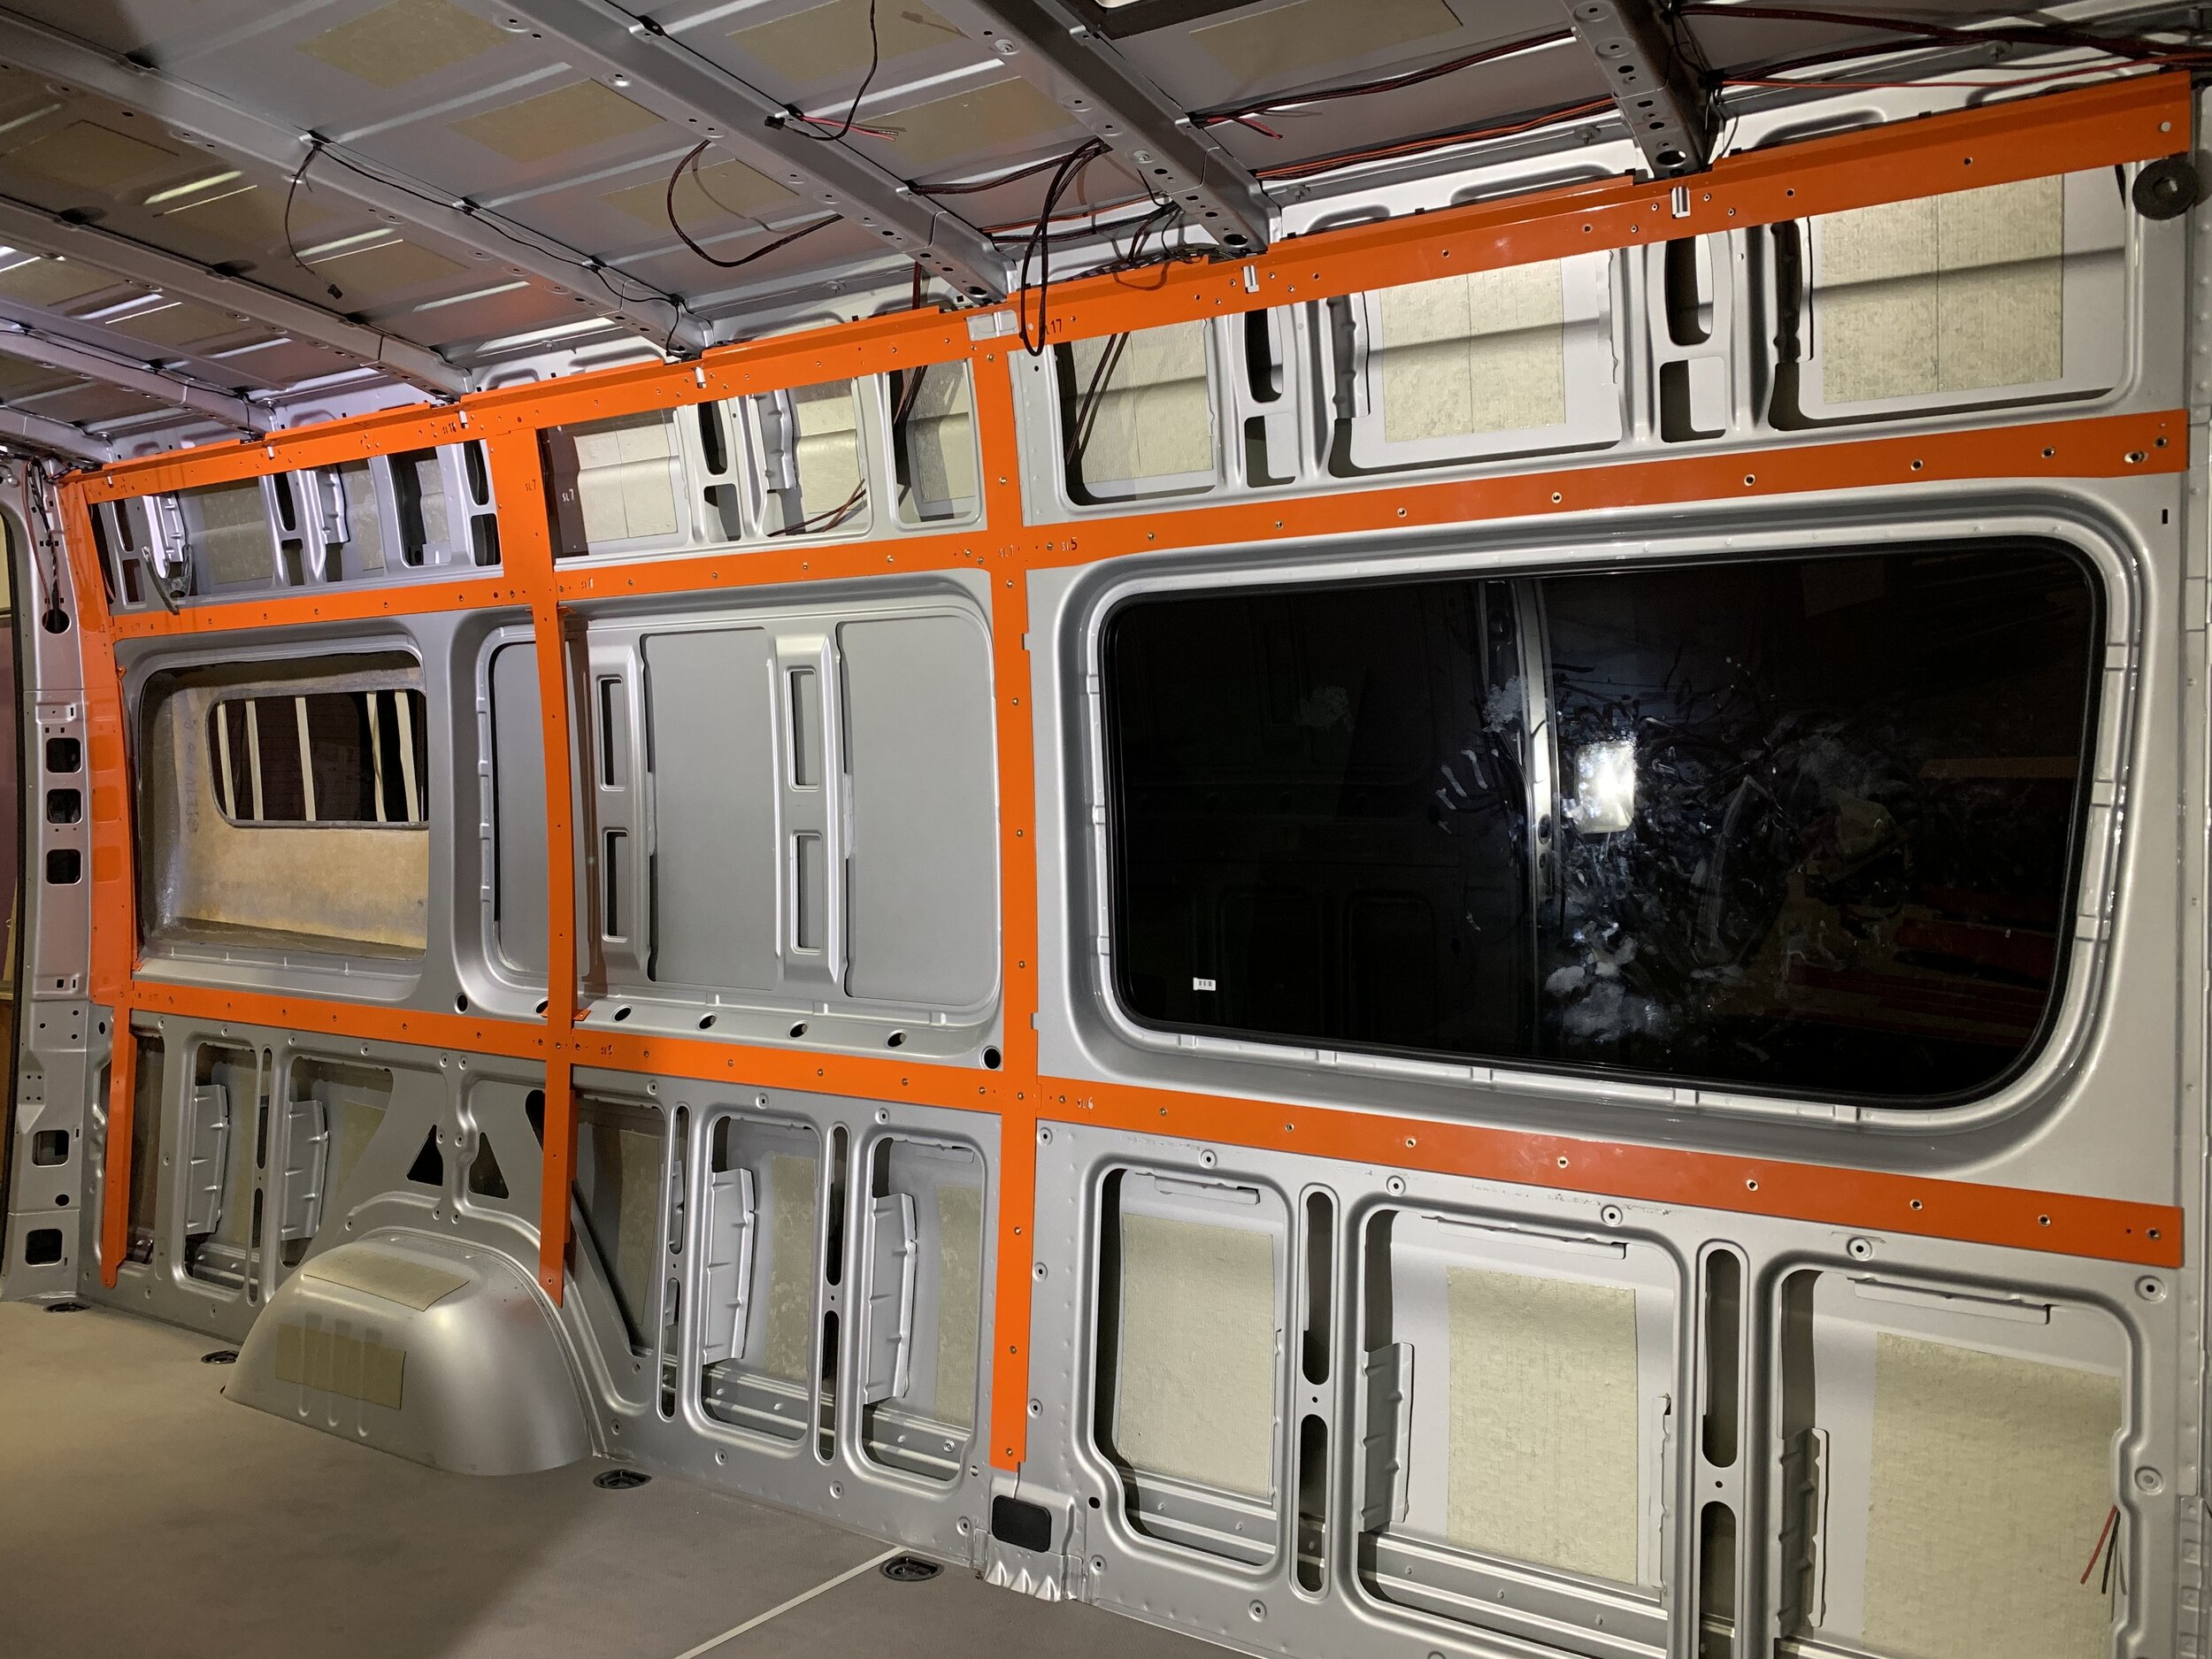
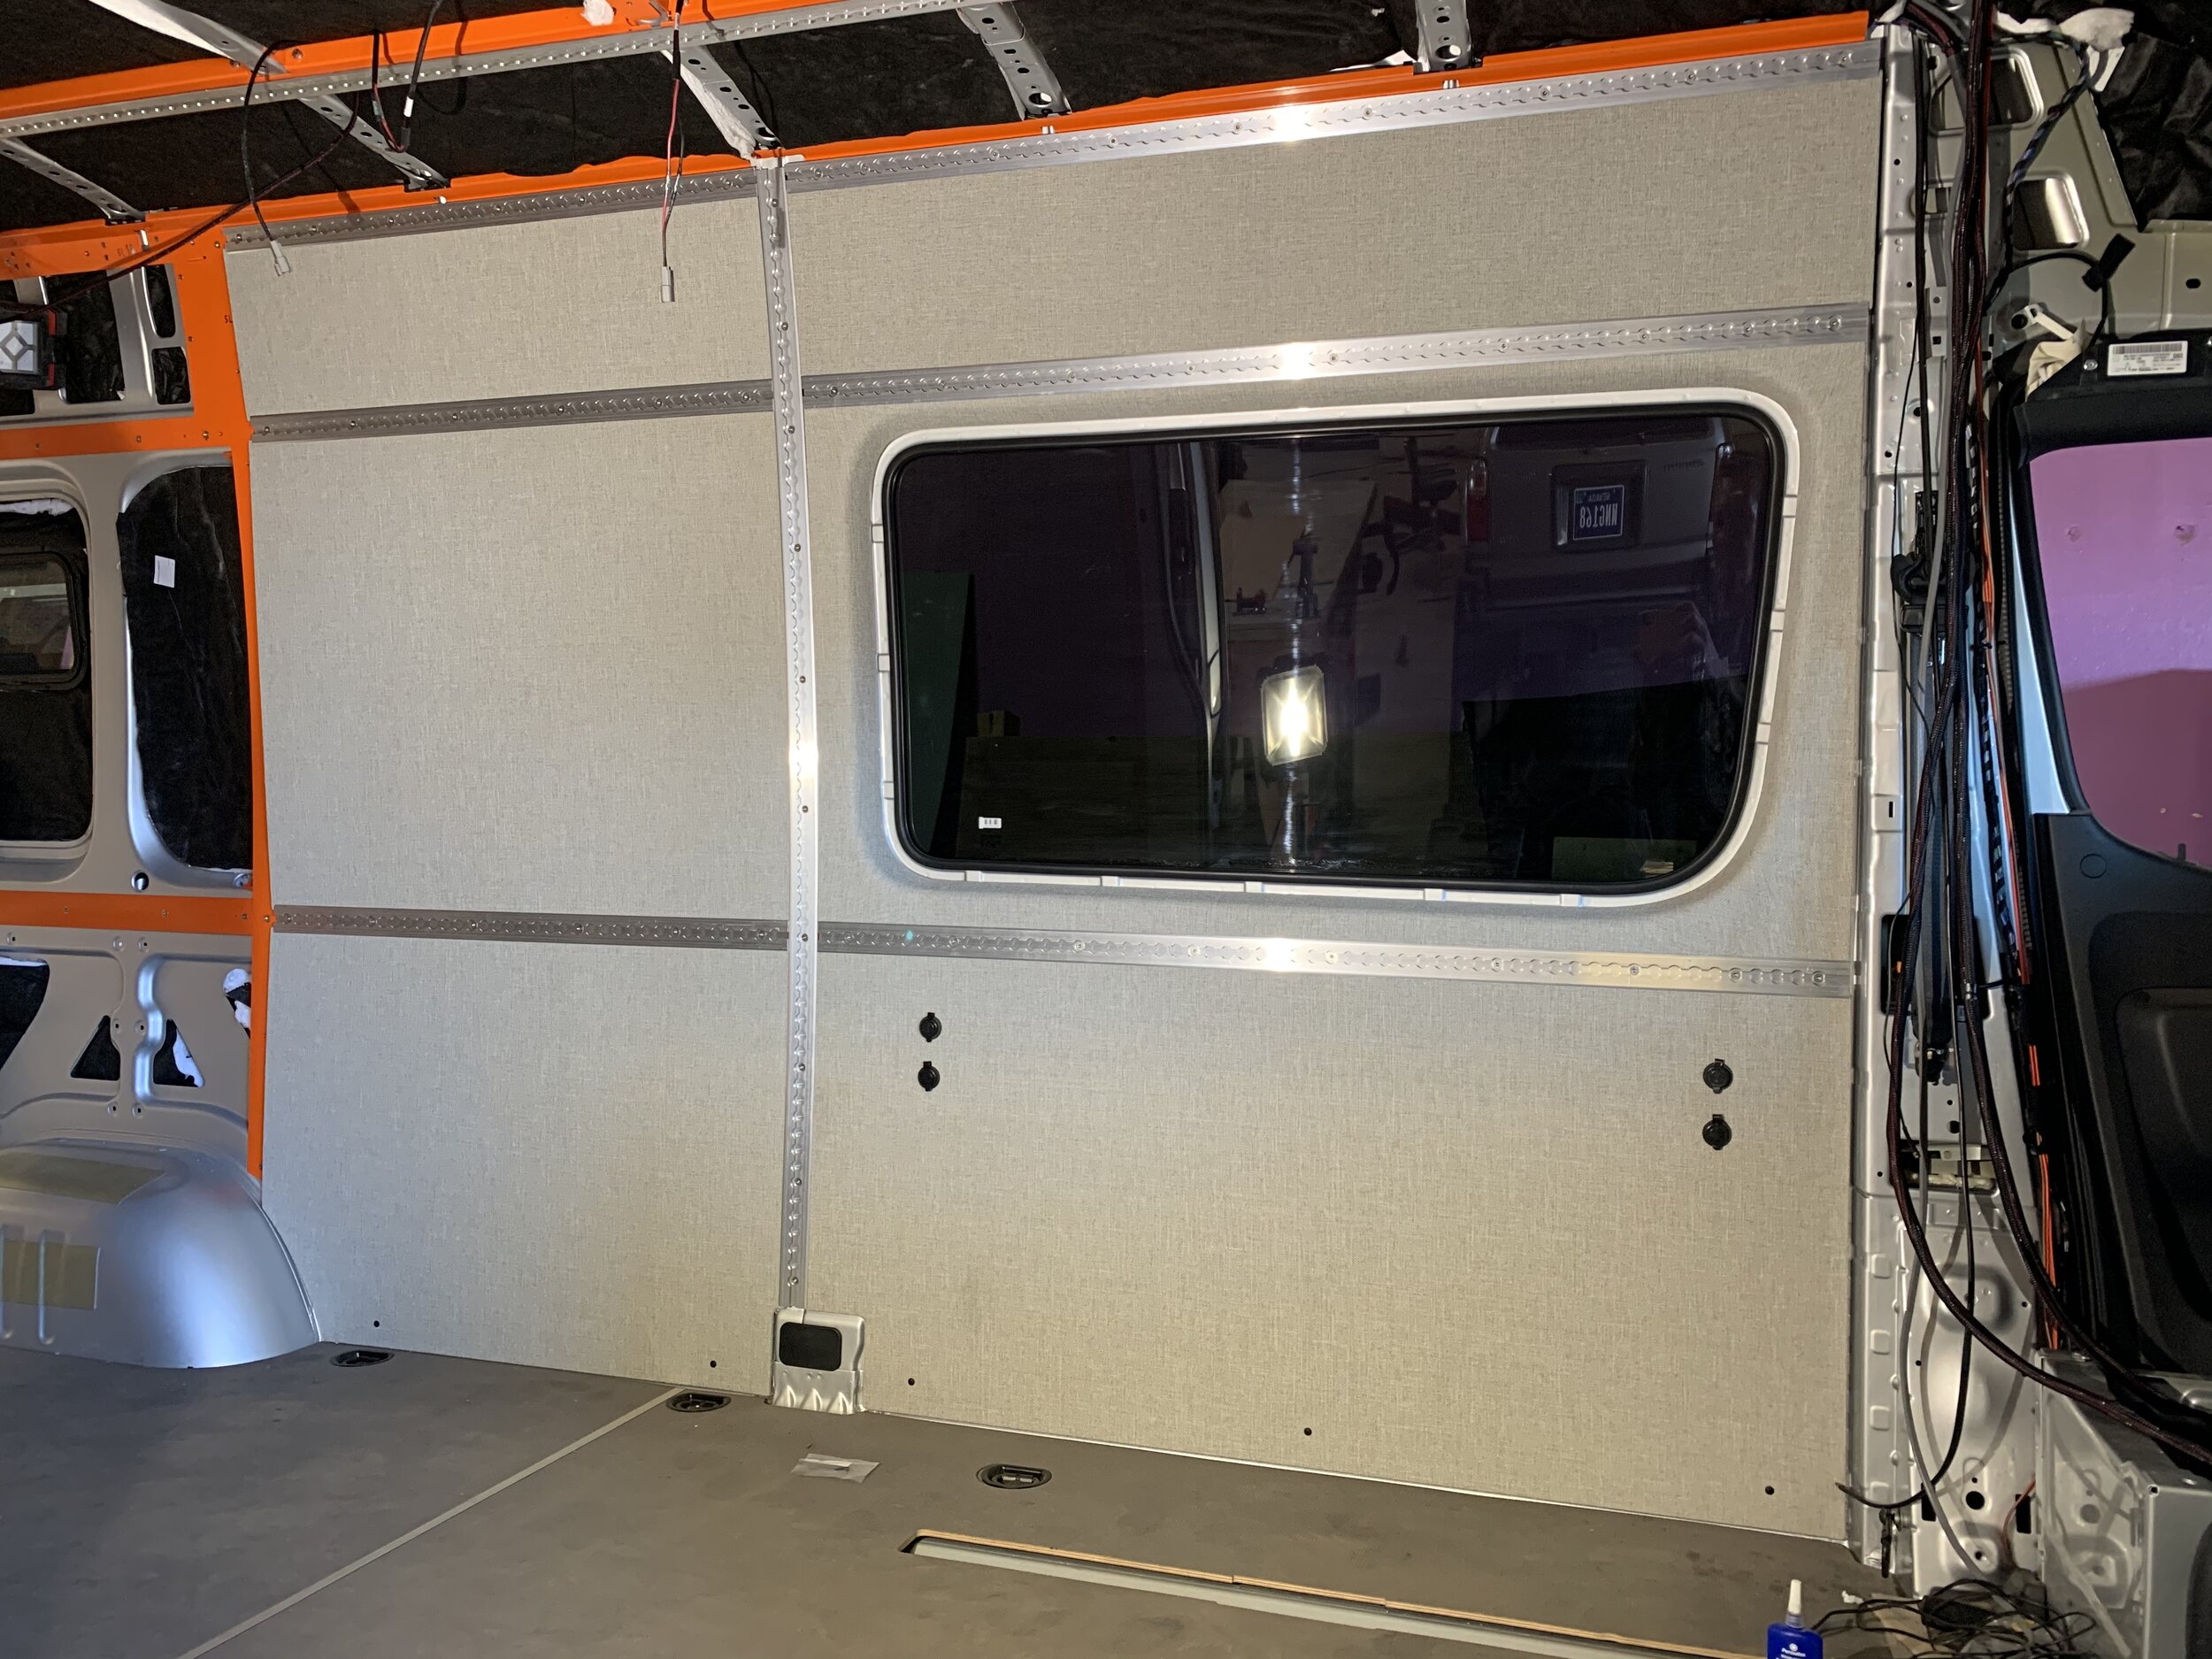
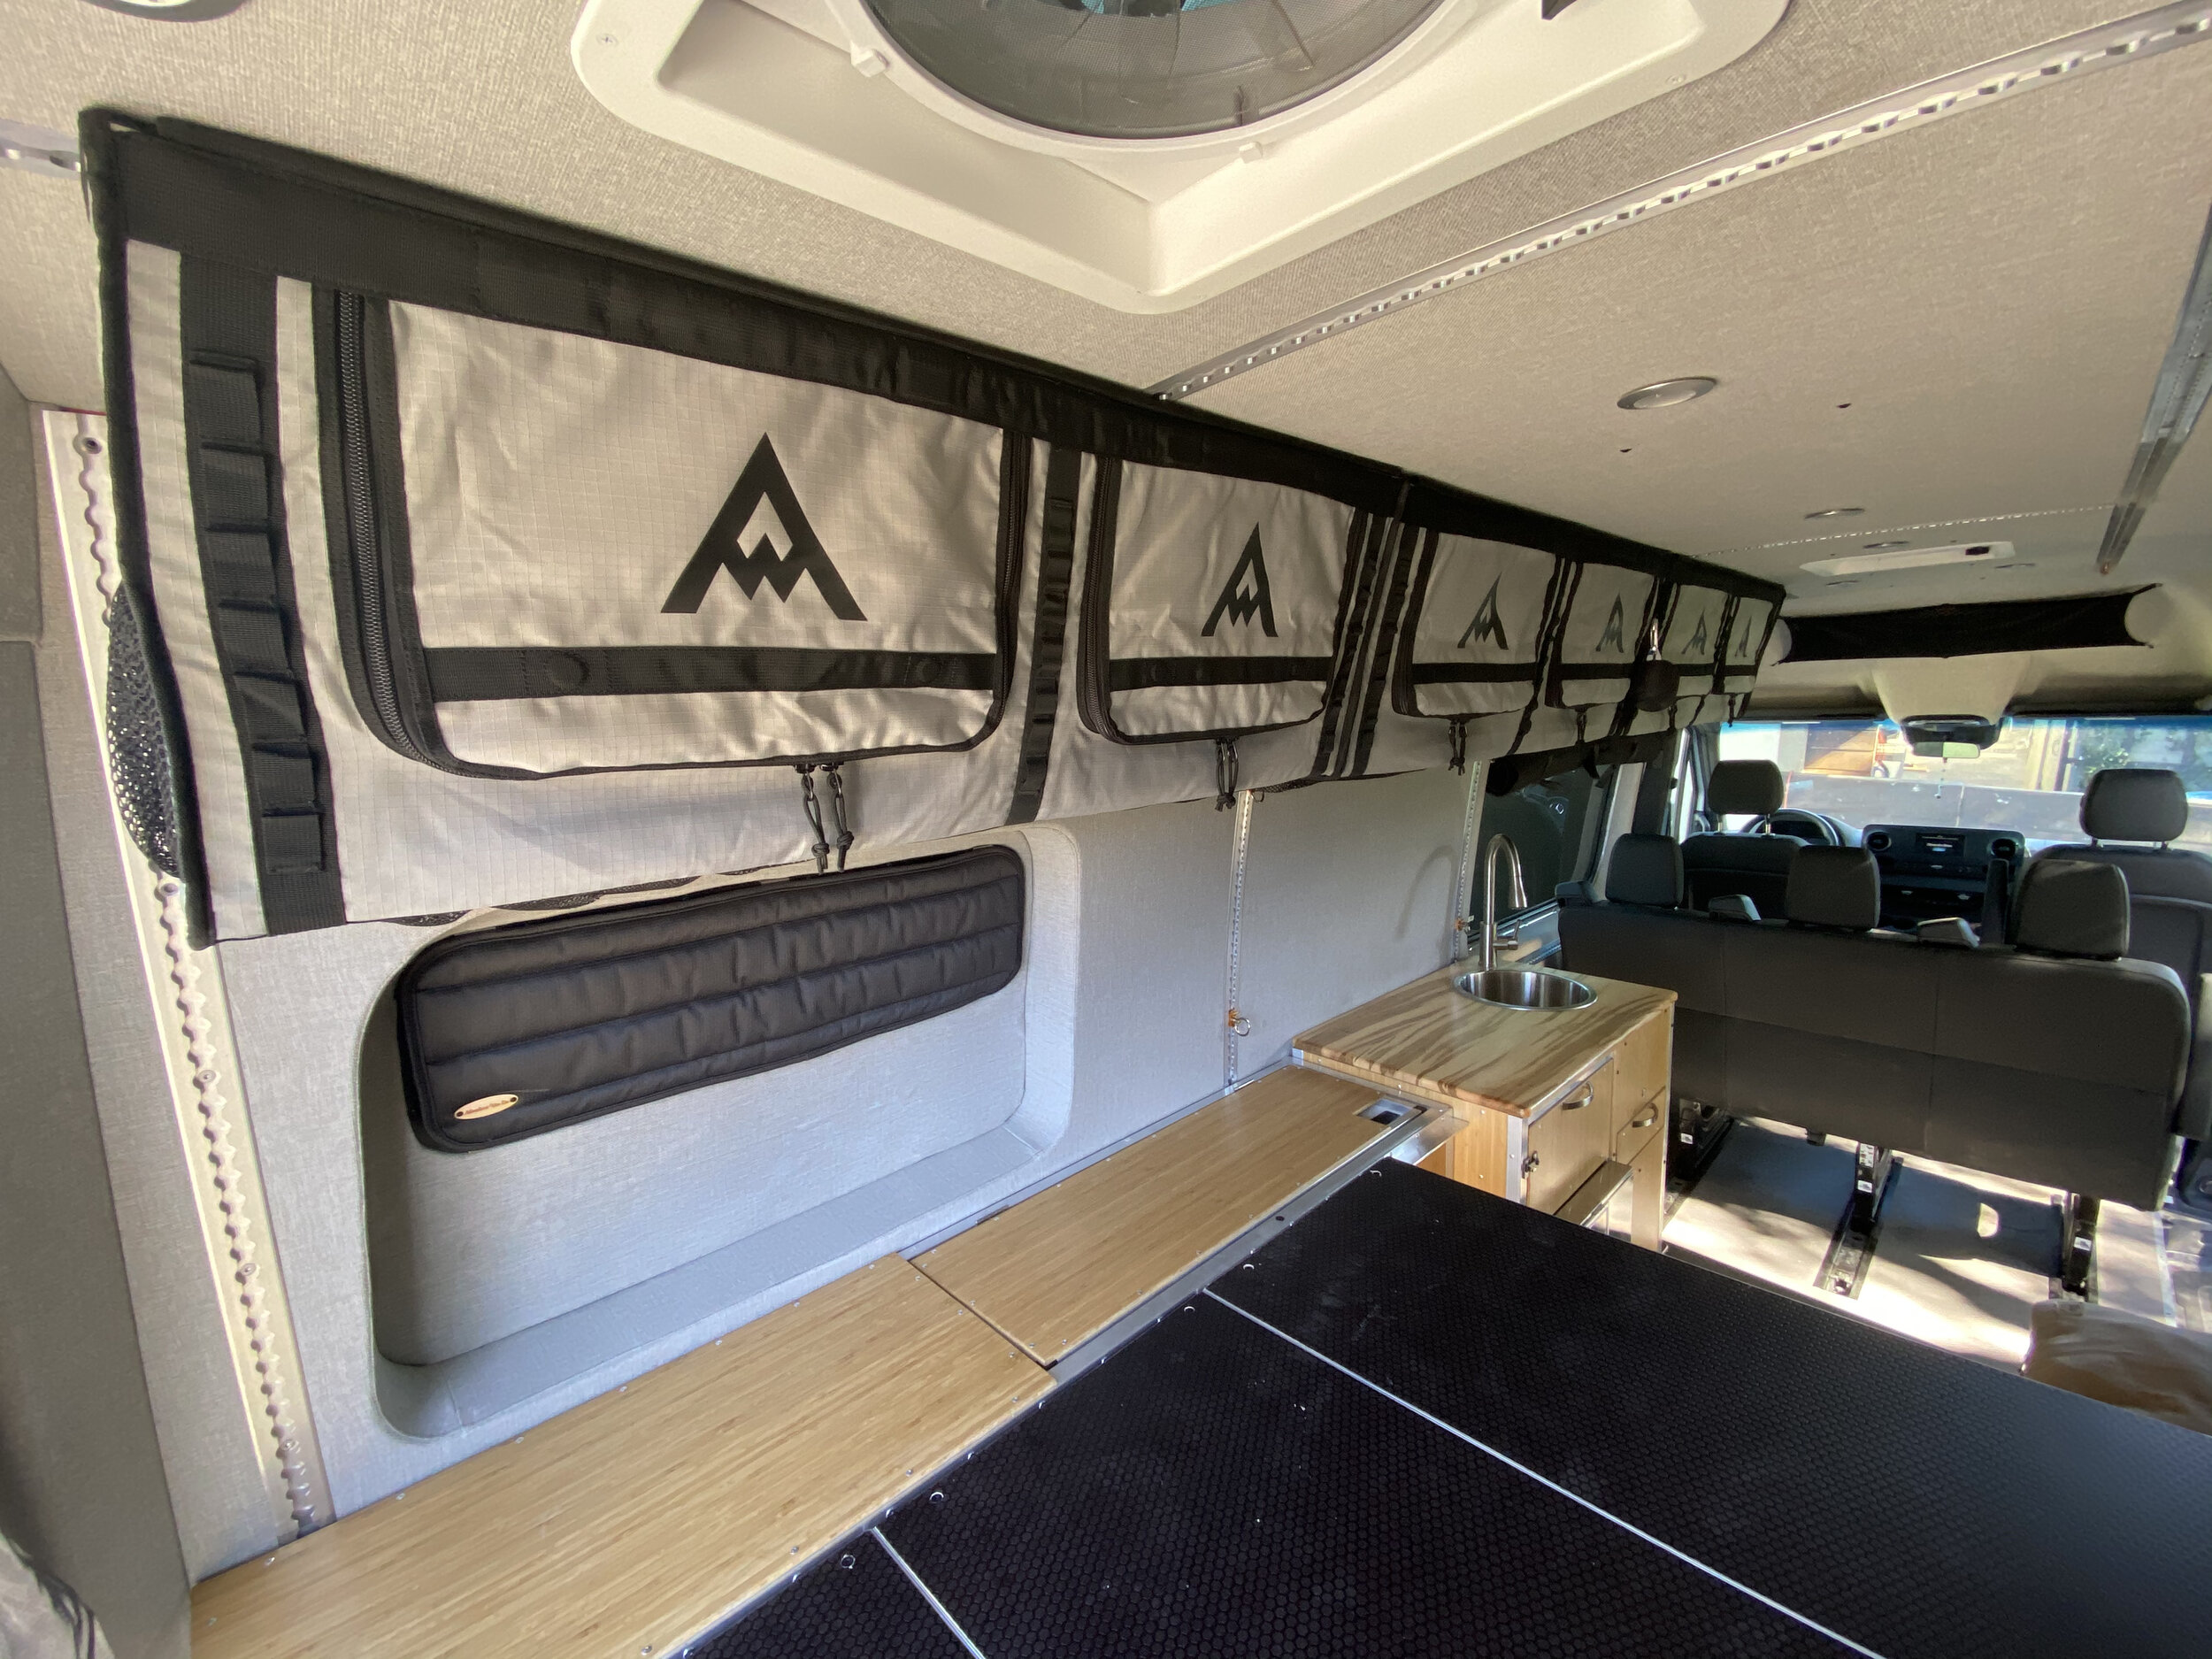
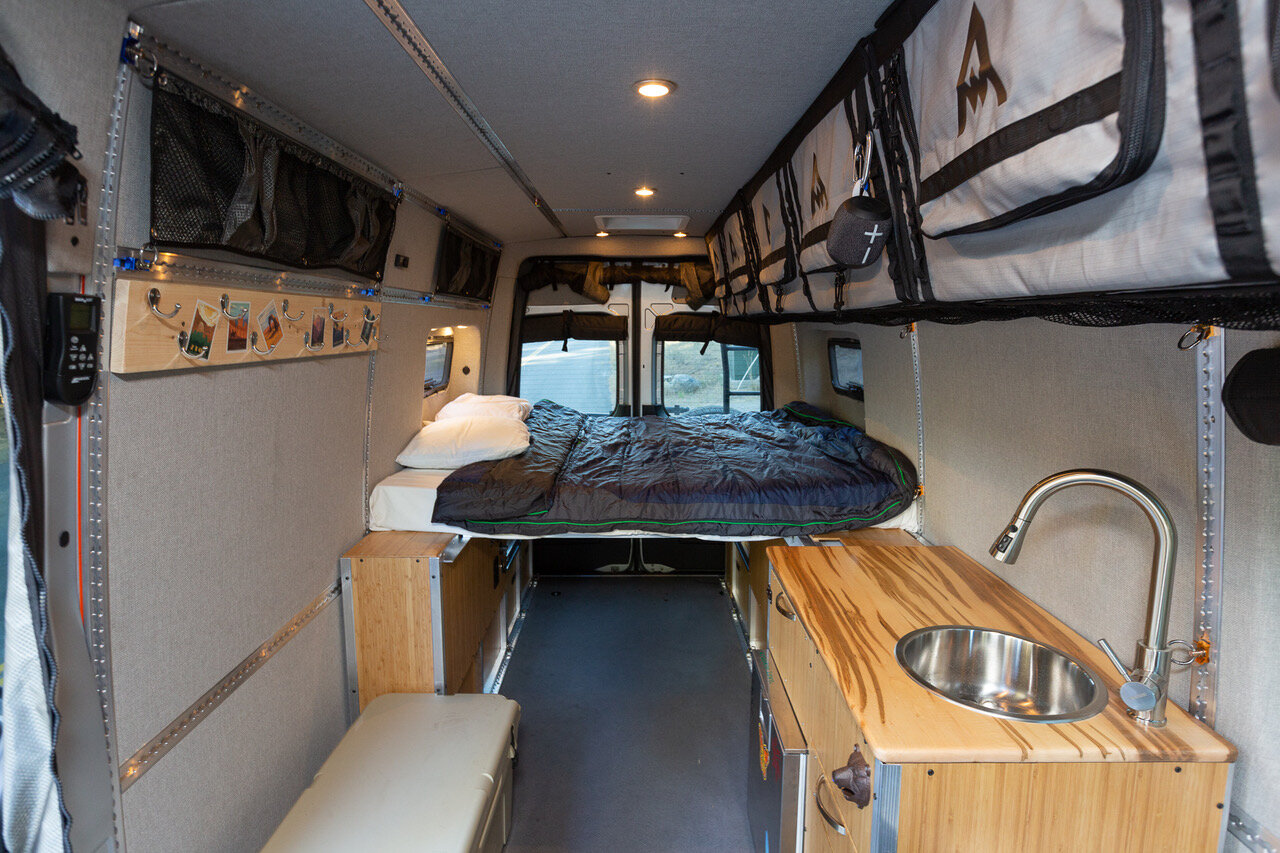
You can go completely custom but that is more expensive, takes longer to do, and you end up having to learn as you go. AdWag has some great options on materials and configuration. We went with the lighter gray fabric, two ceiling vents, L-track everywhere, and the full electrical package. You can get some or all of the panels in bamboo instead of fabric but since this van sees snow a lot we wanted a slightly warmer panel option. We also ordered the insulation for the walls, ceiling, and floor. At first I felt the kit was expensive but once I saw the materials and kit design I quickly realized it was worth every penny.
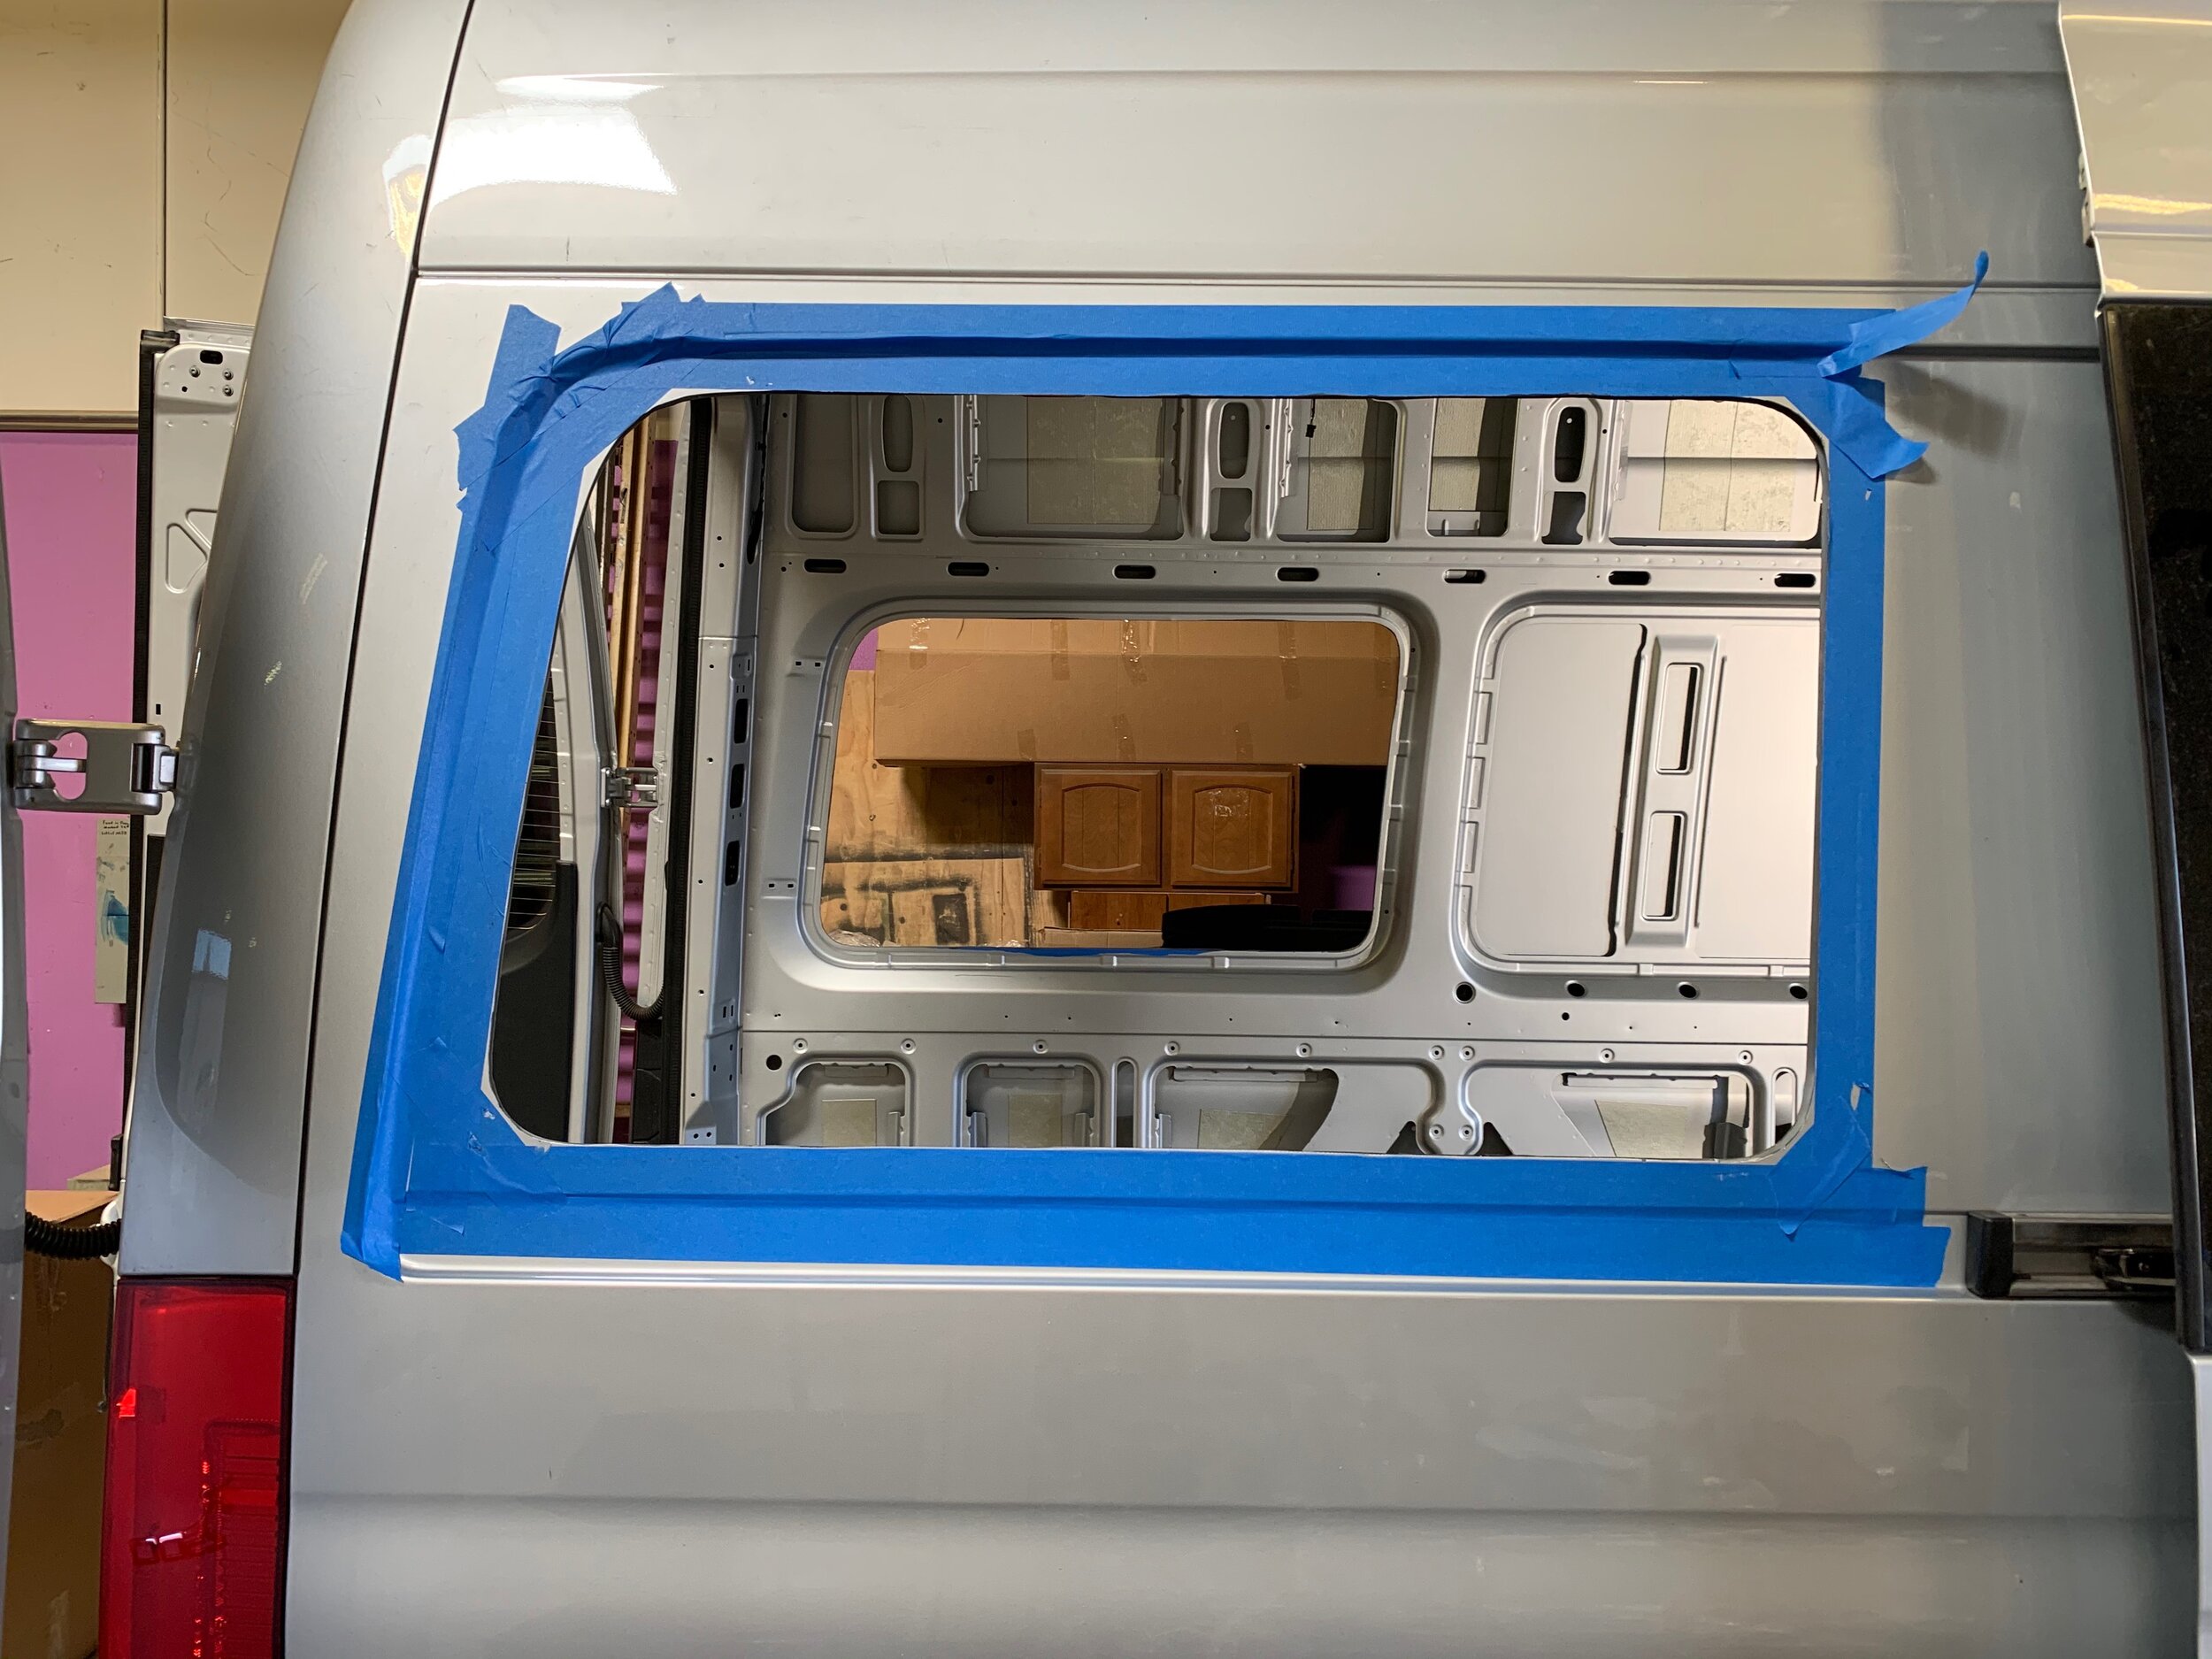
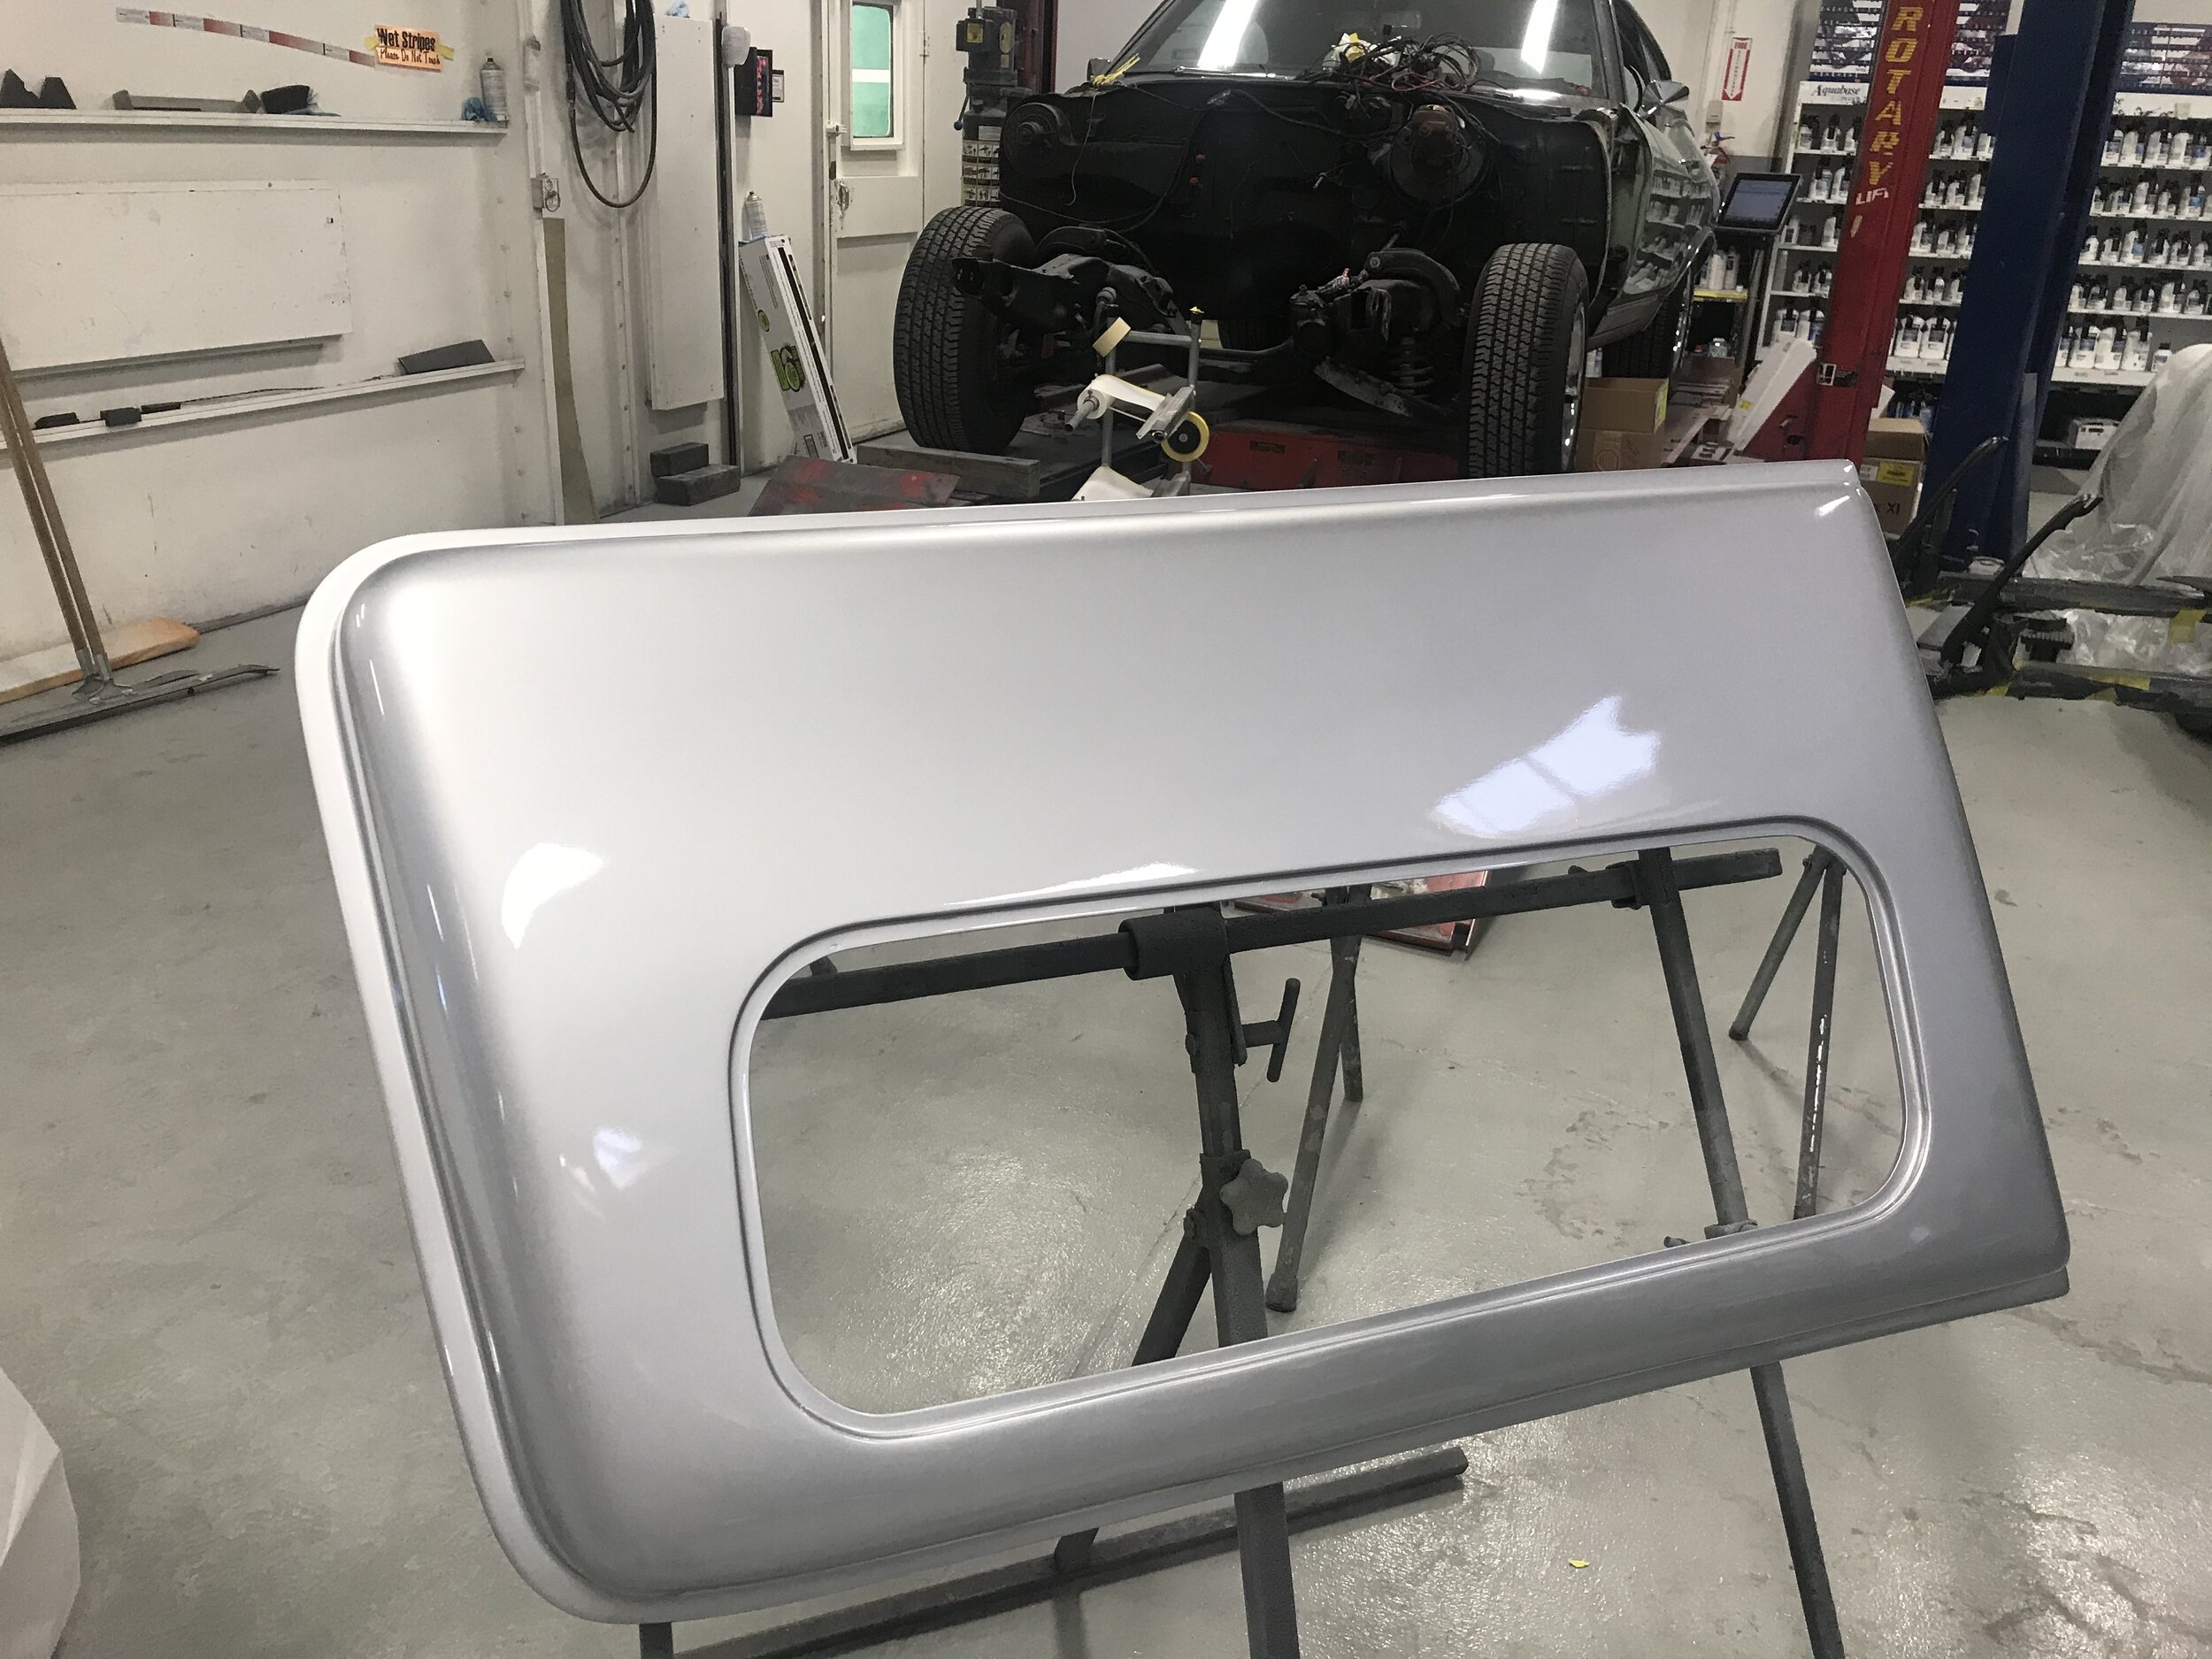
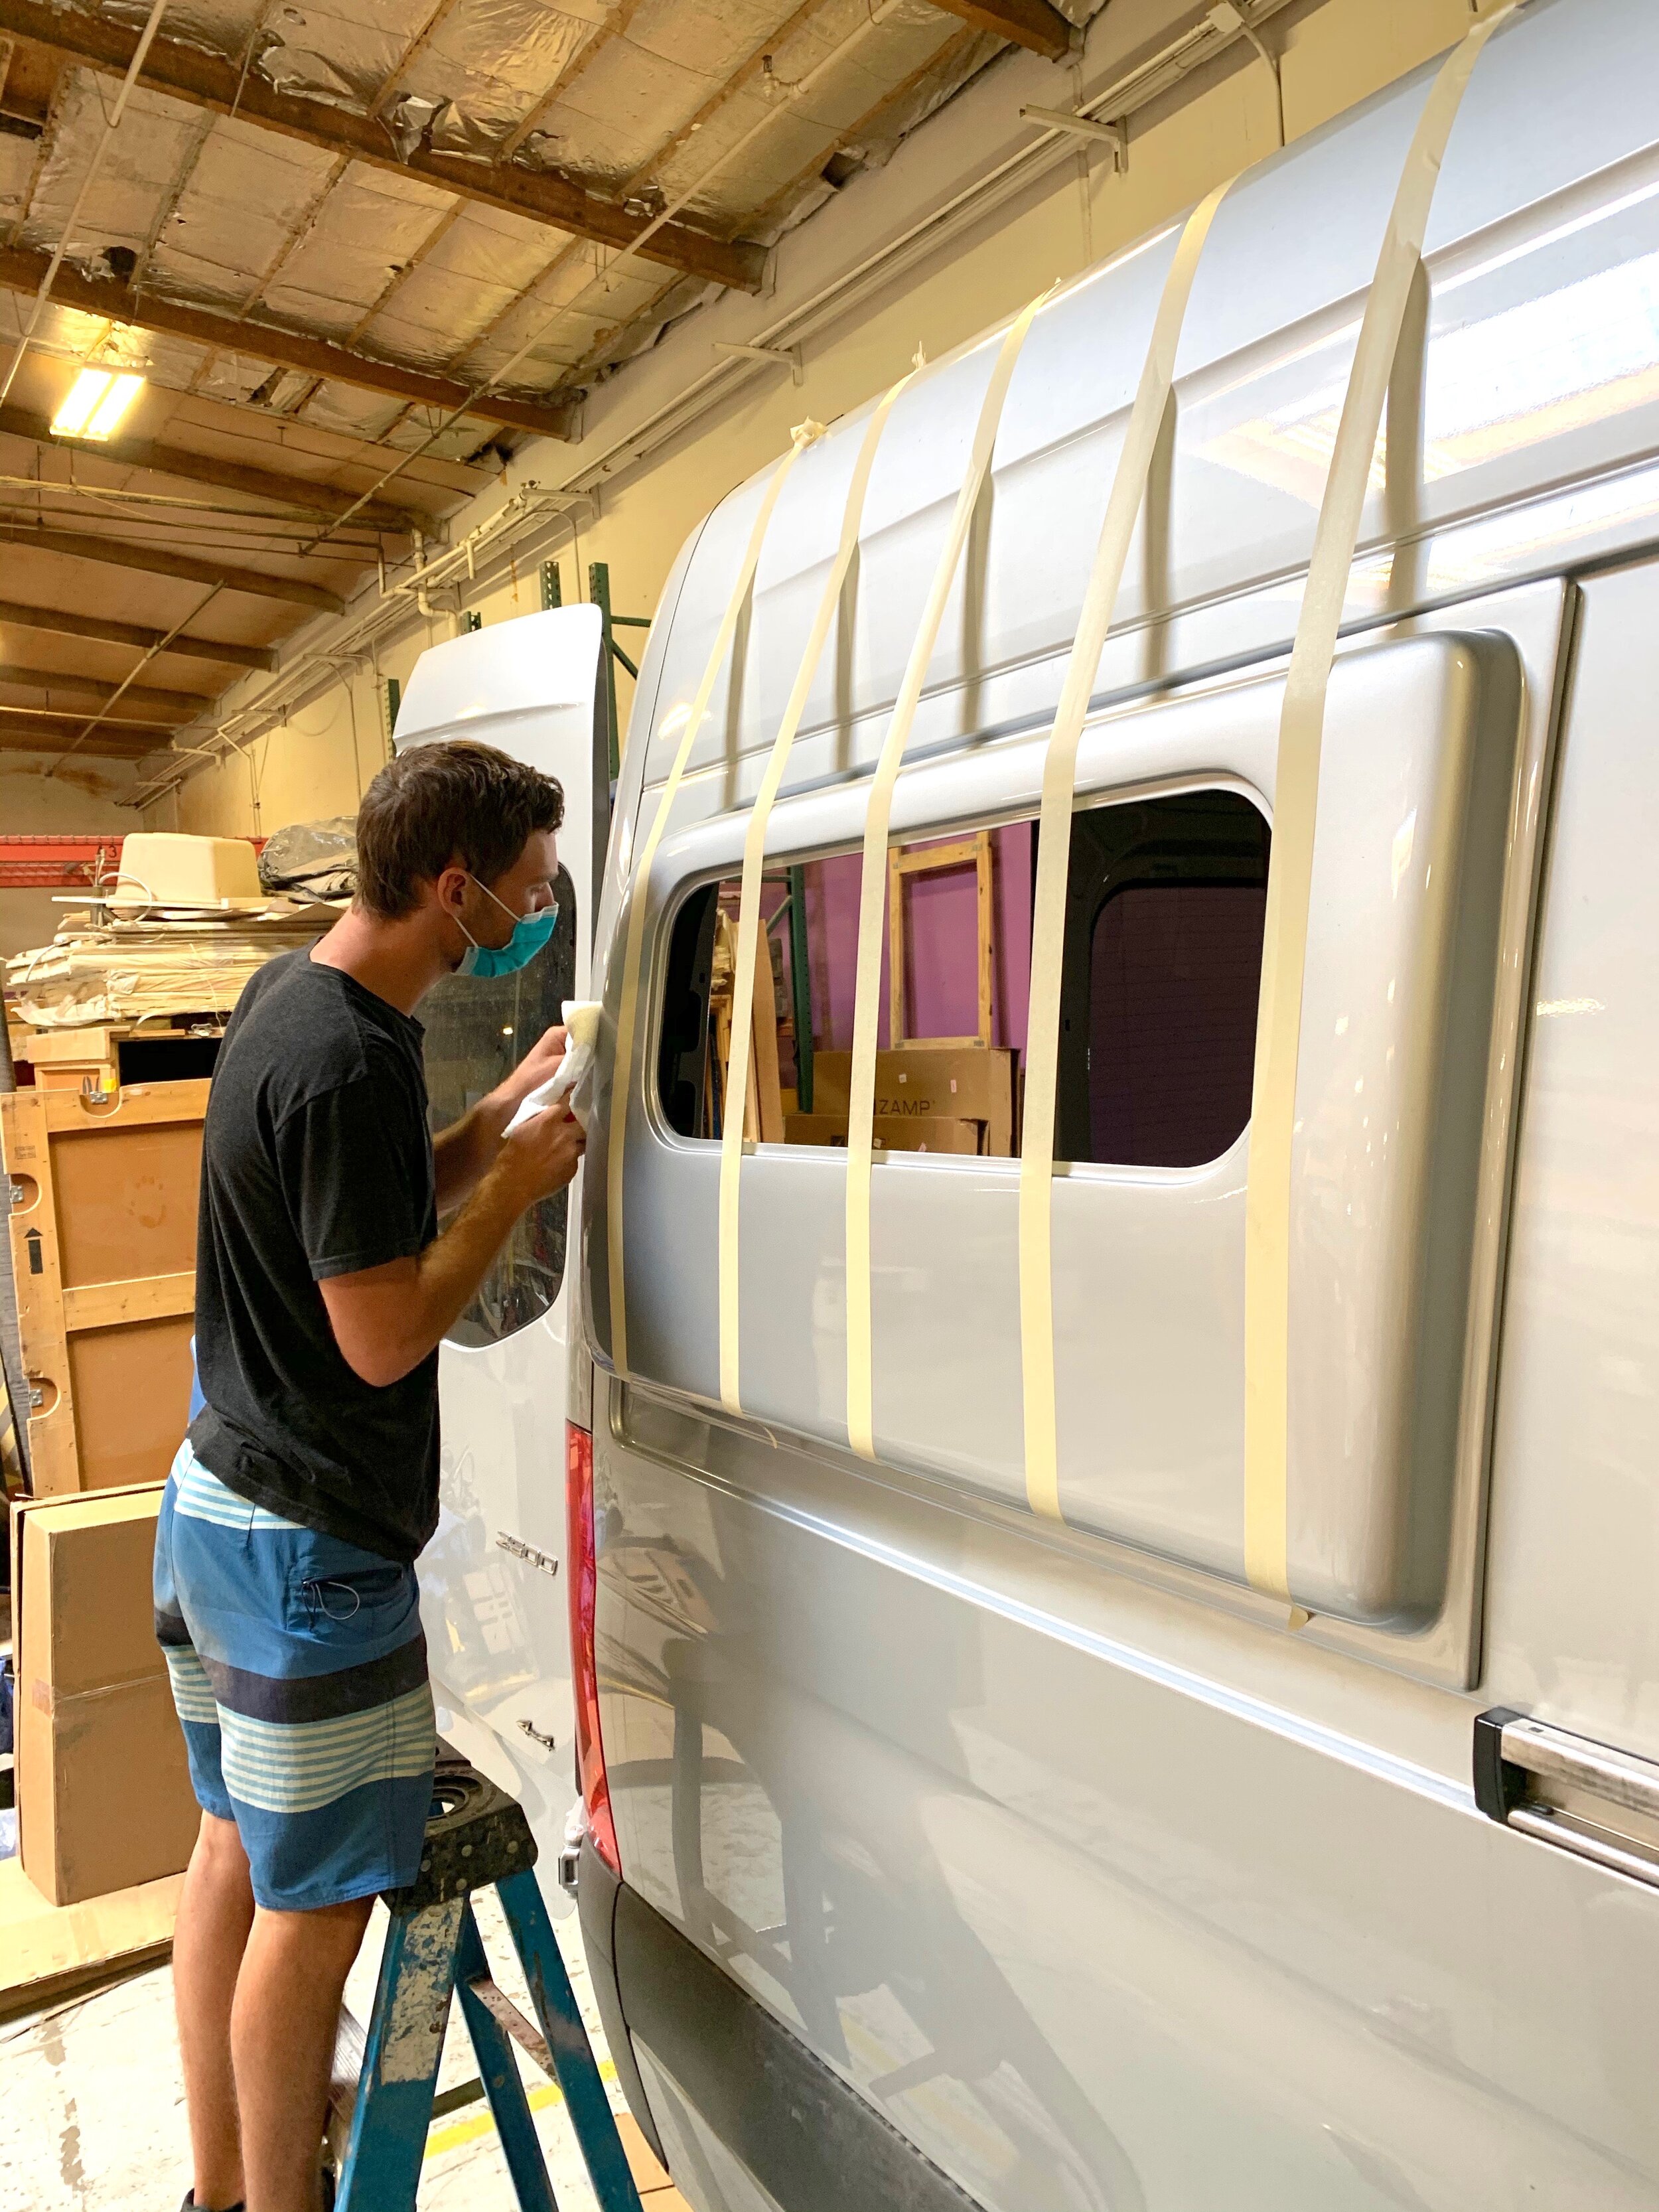
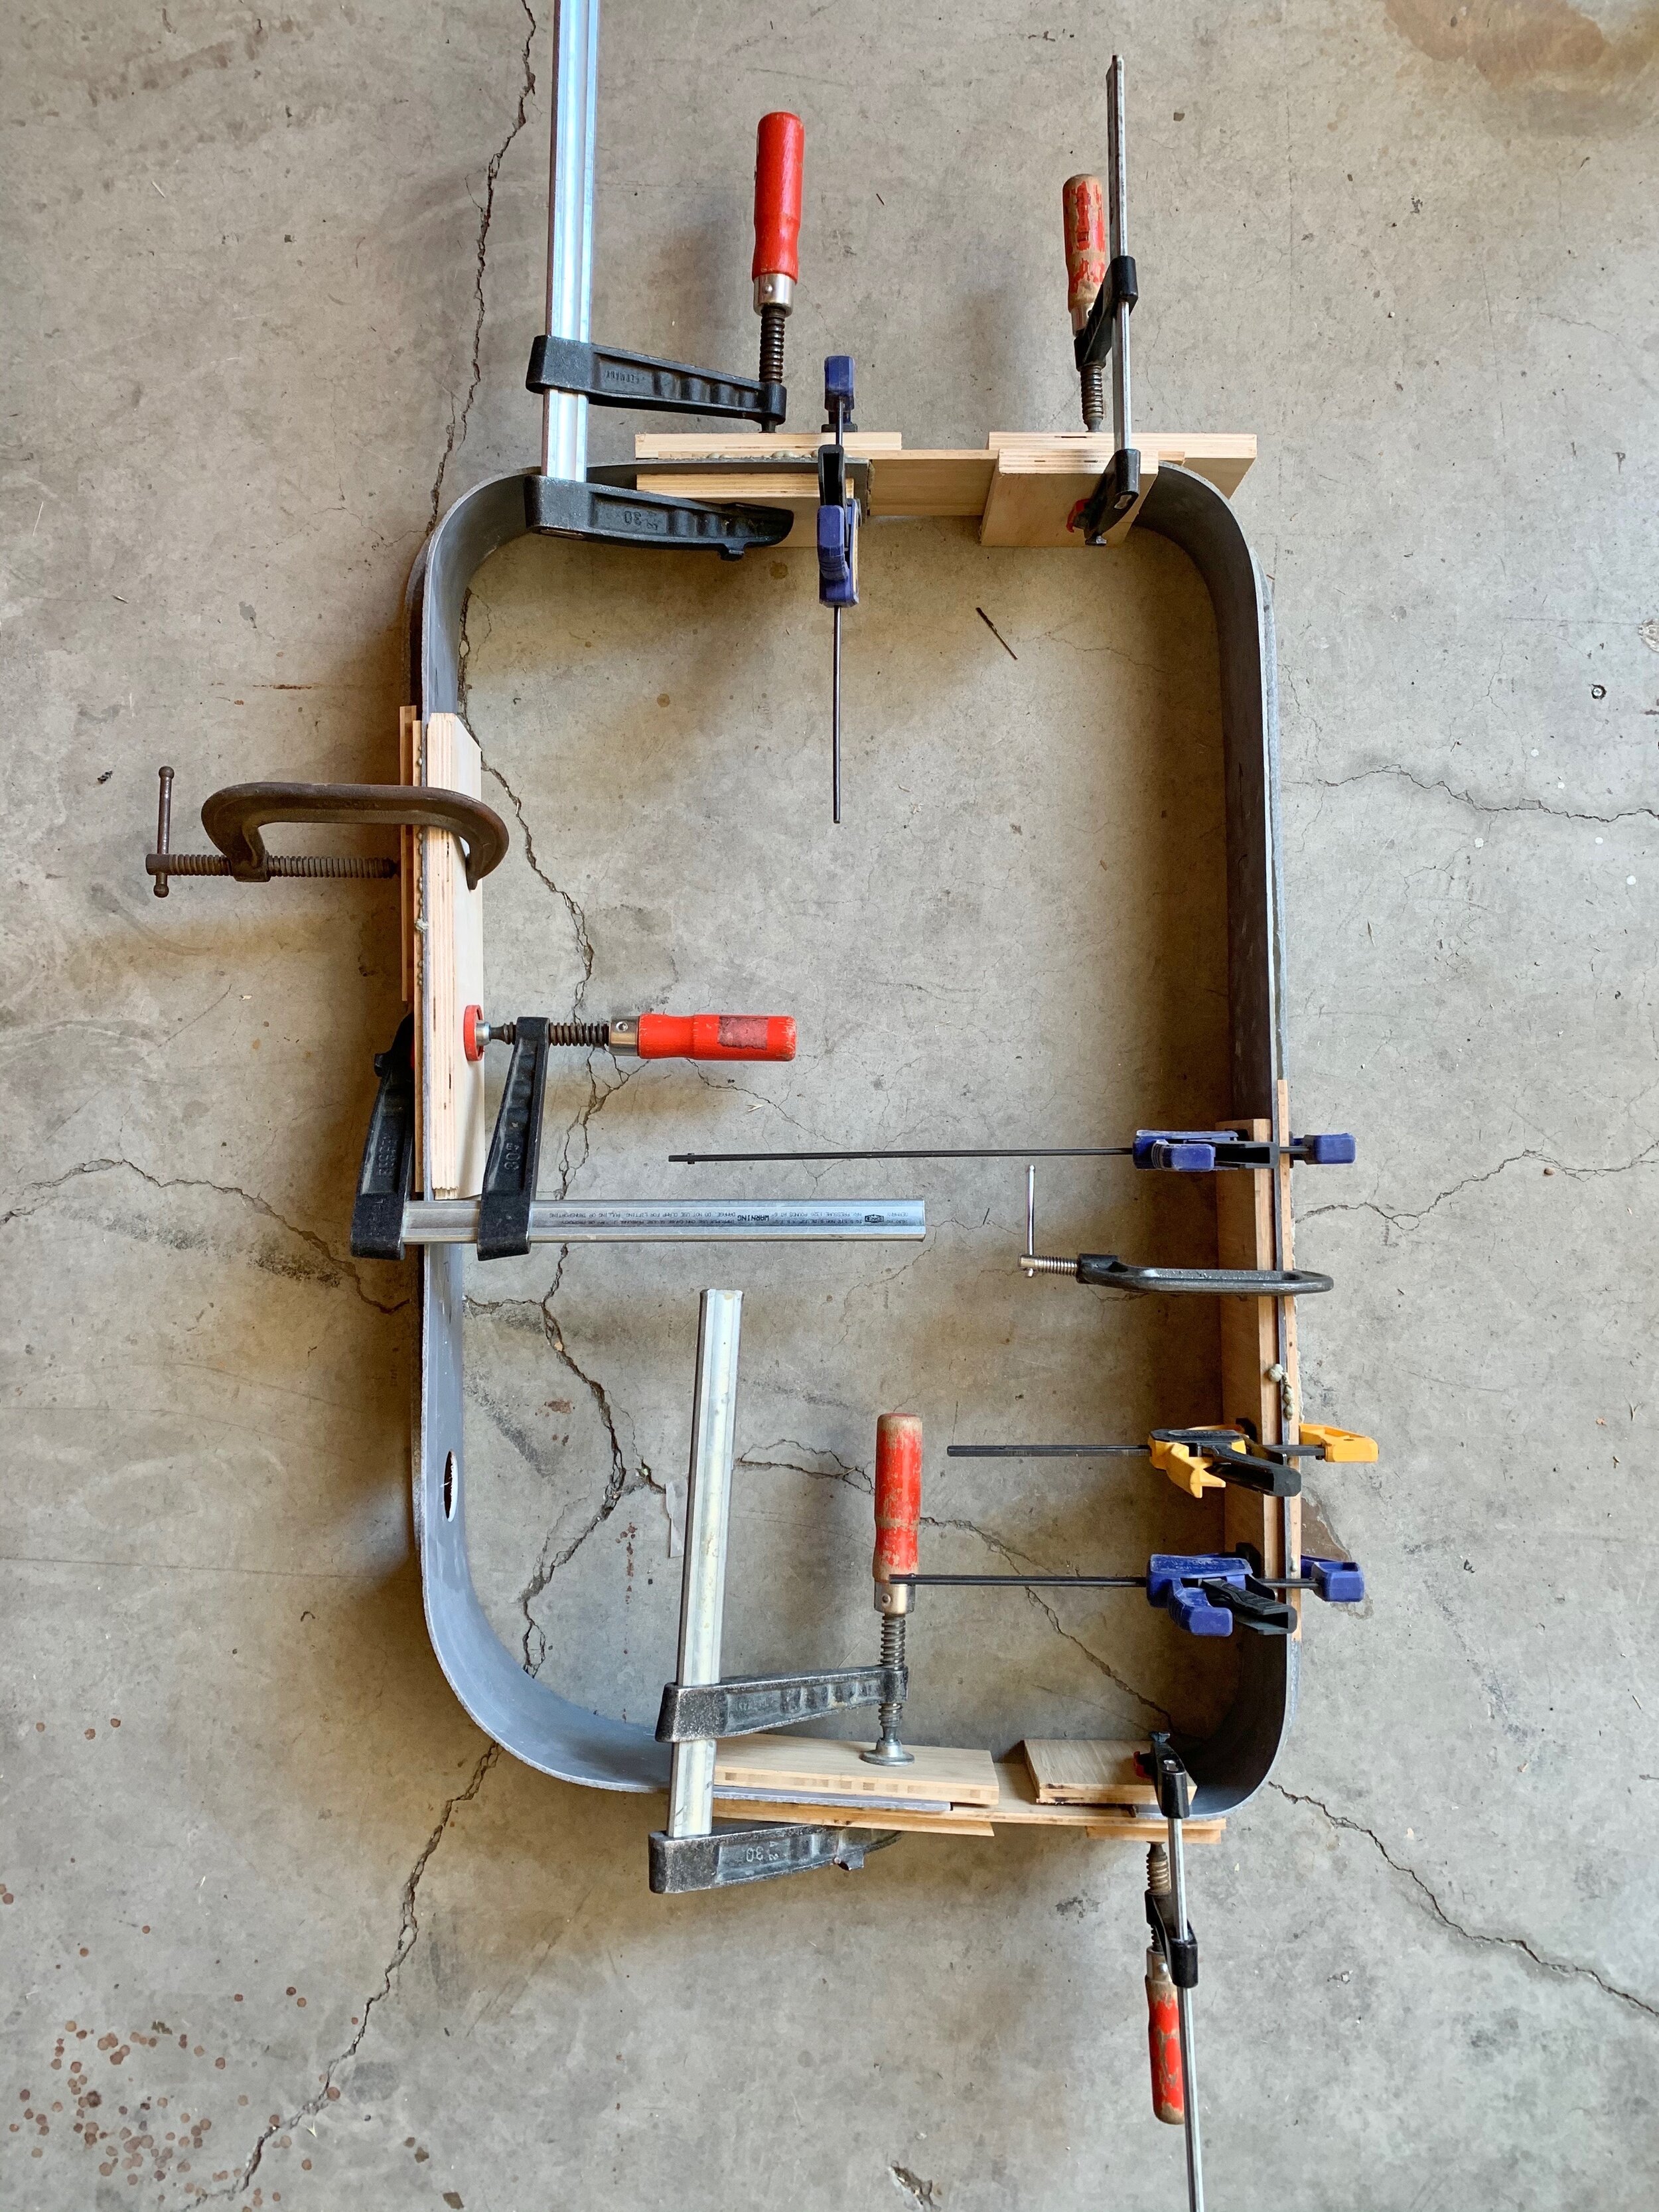
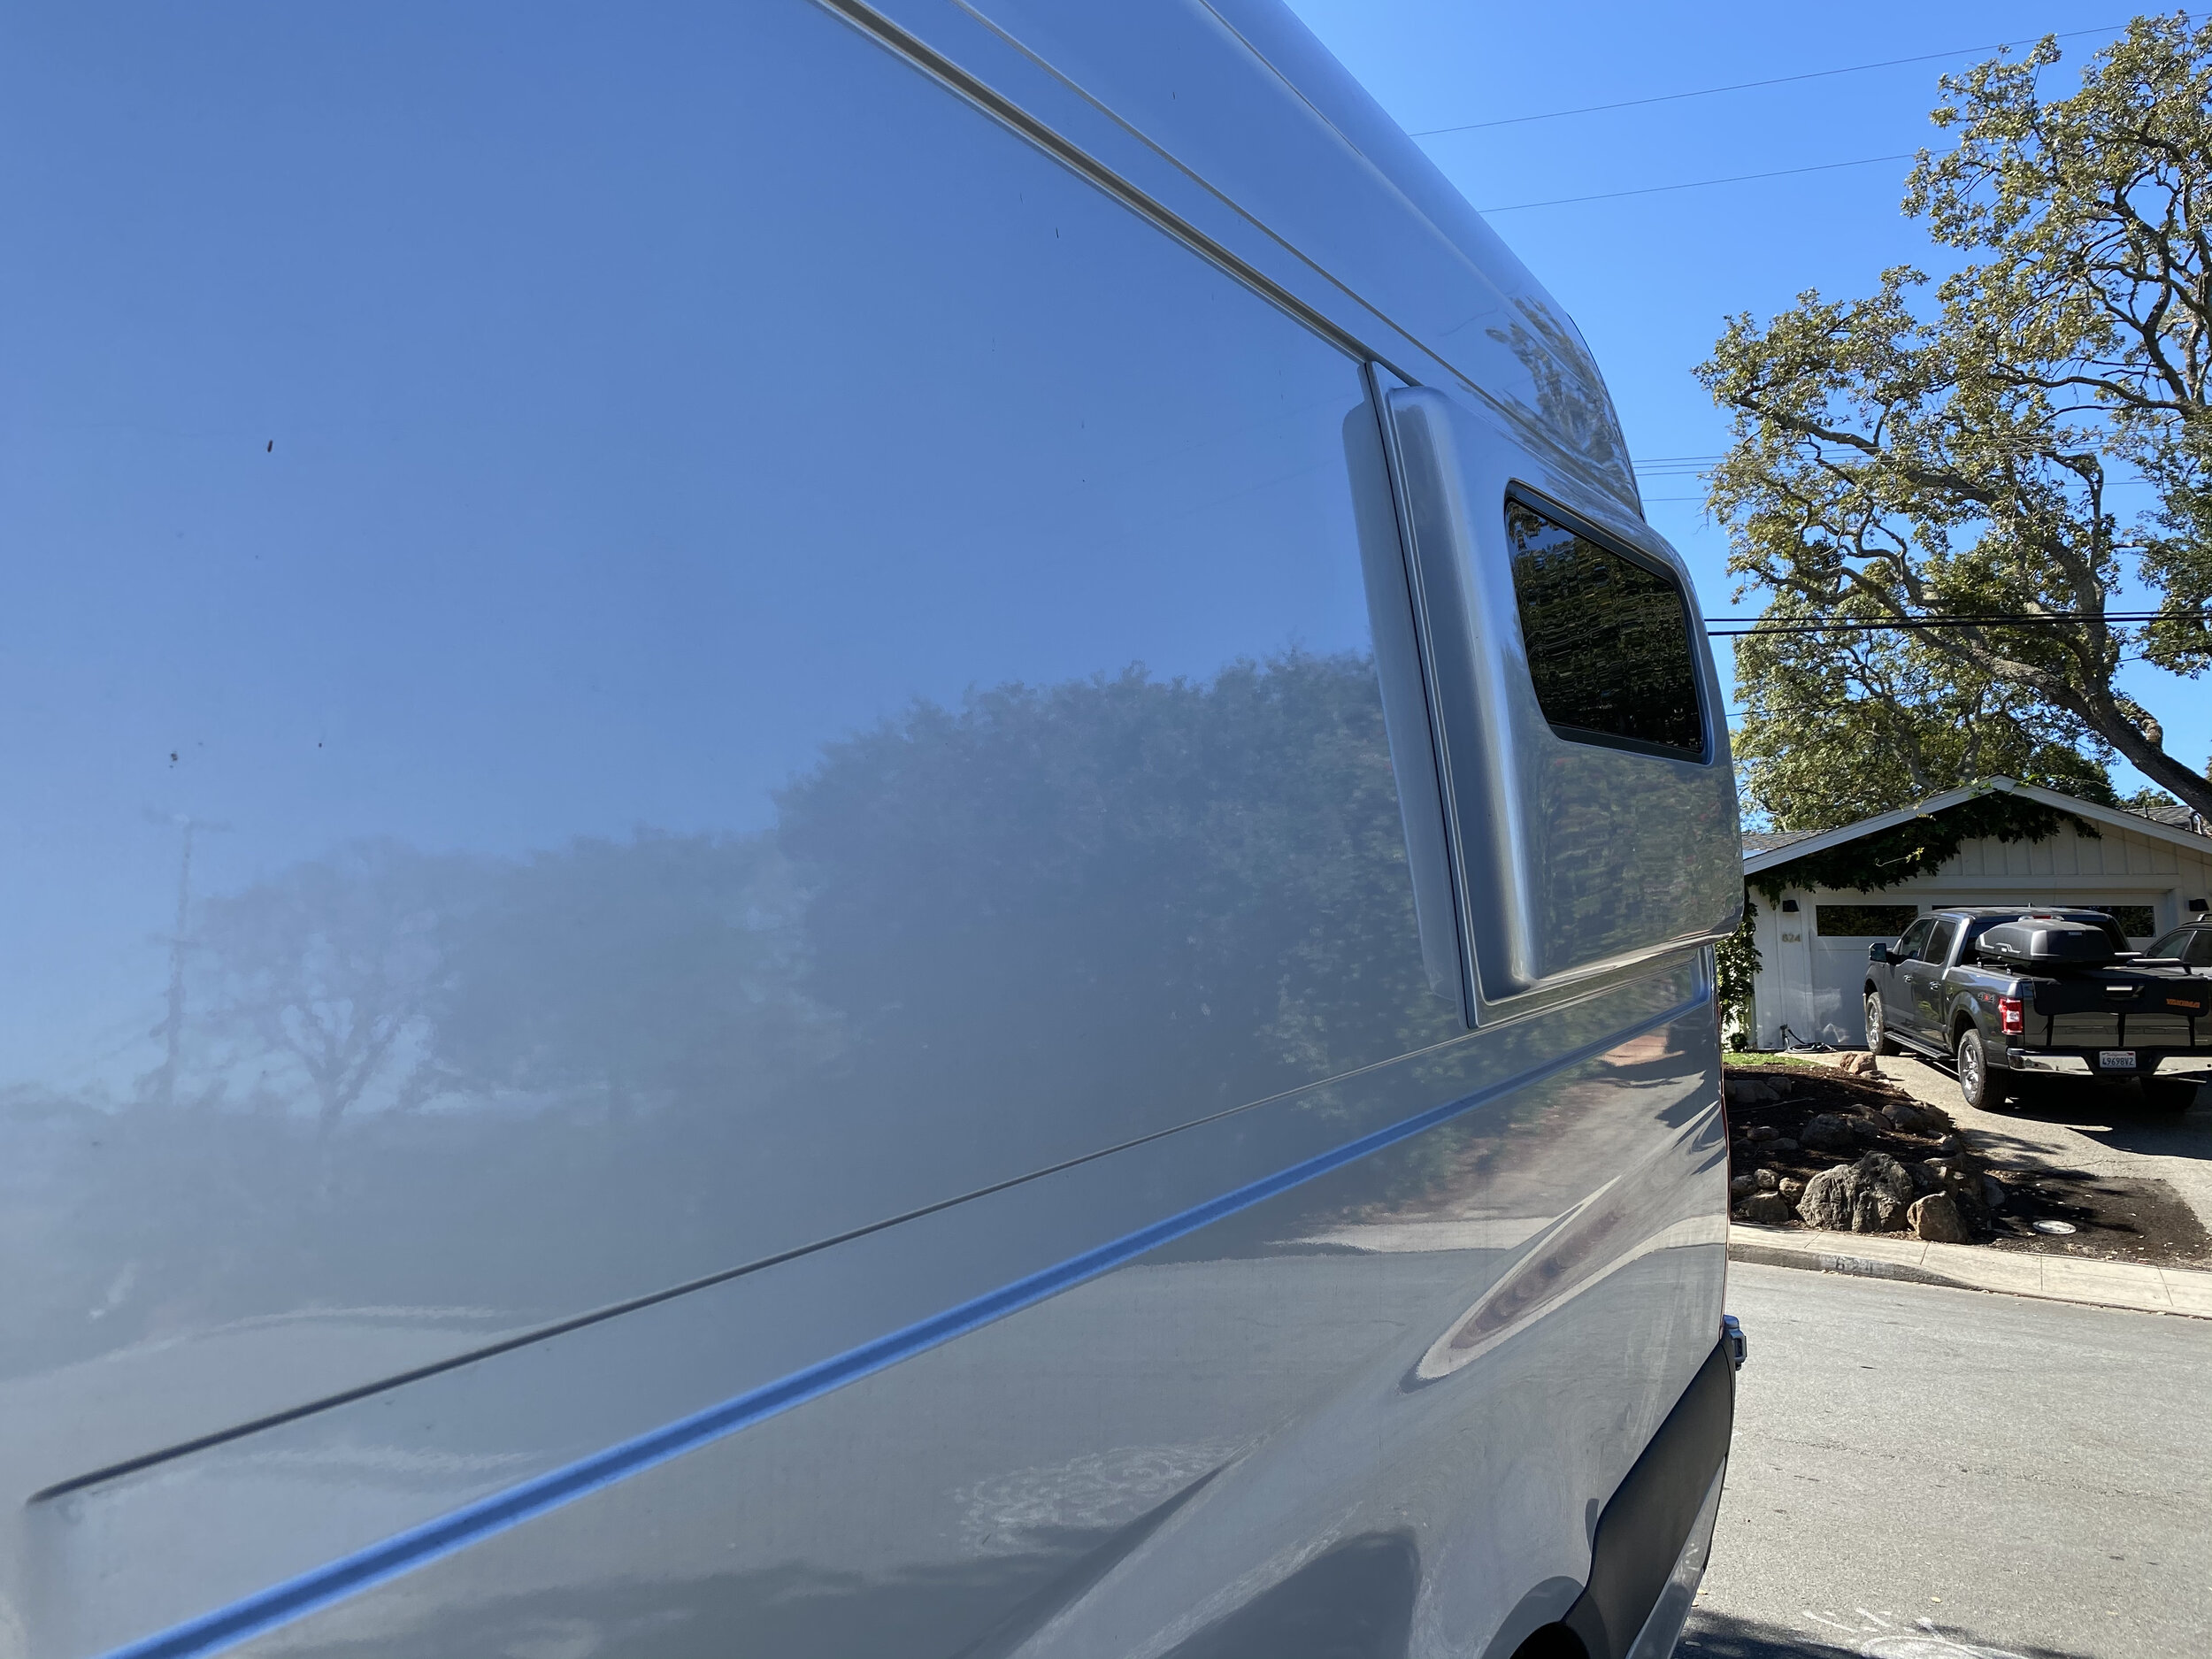
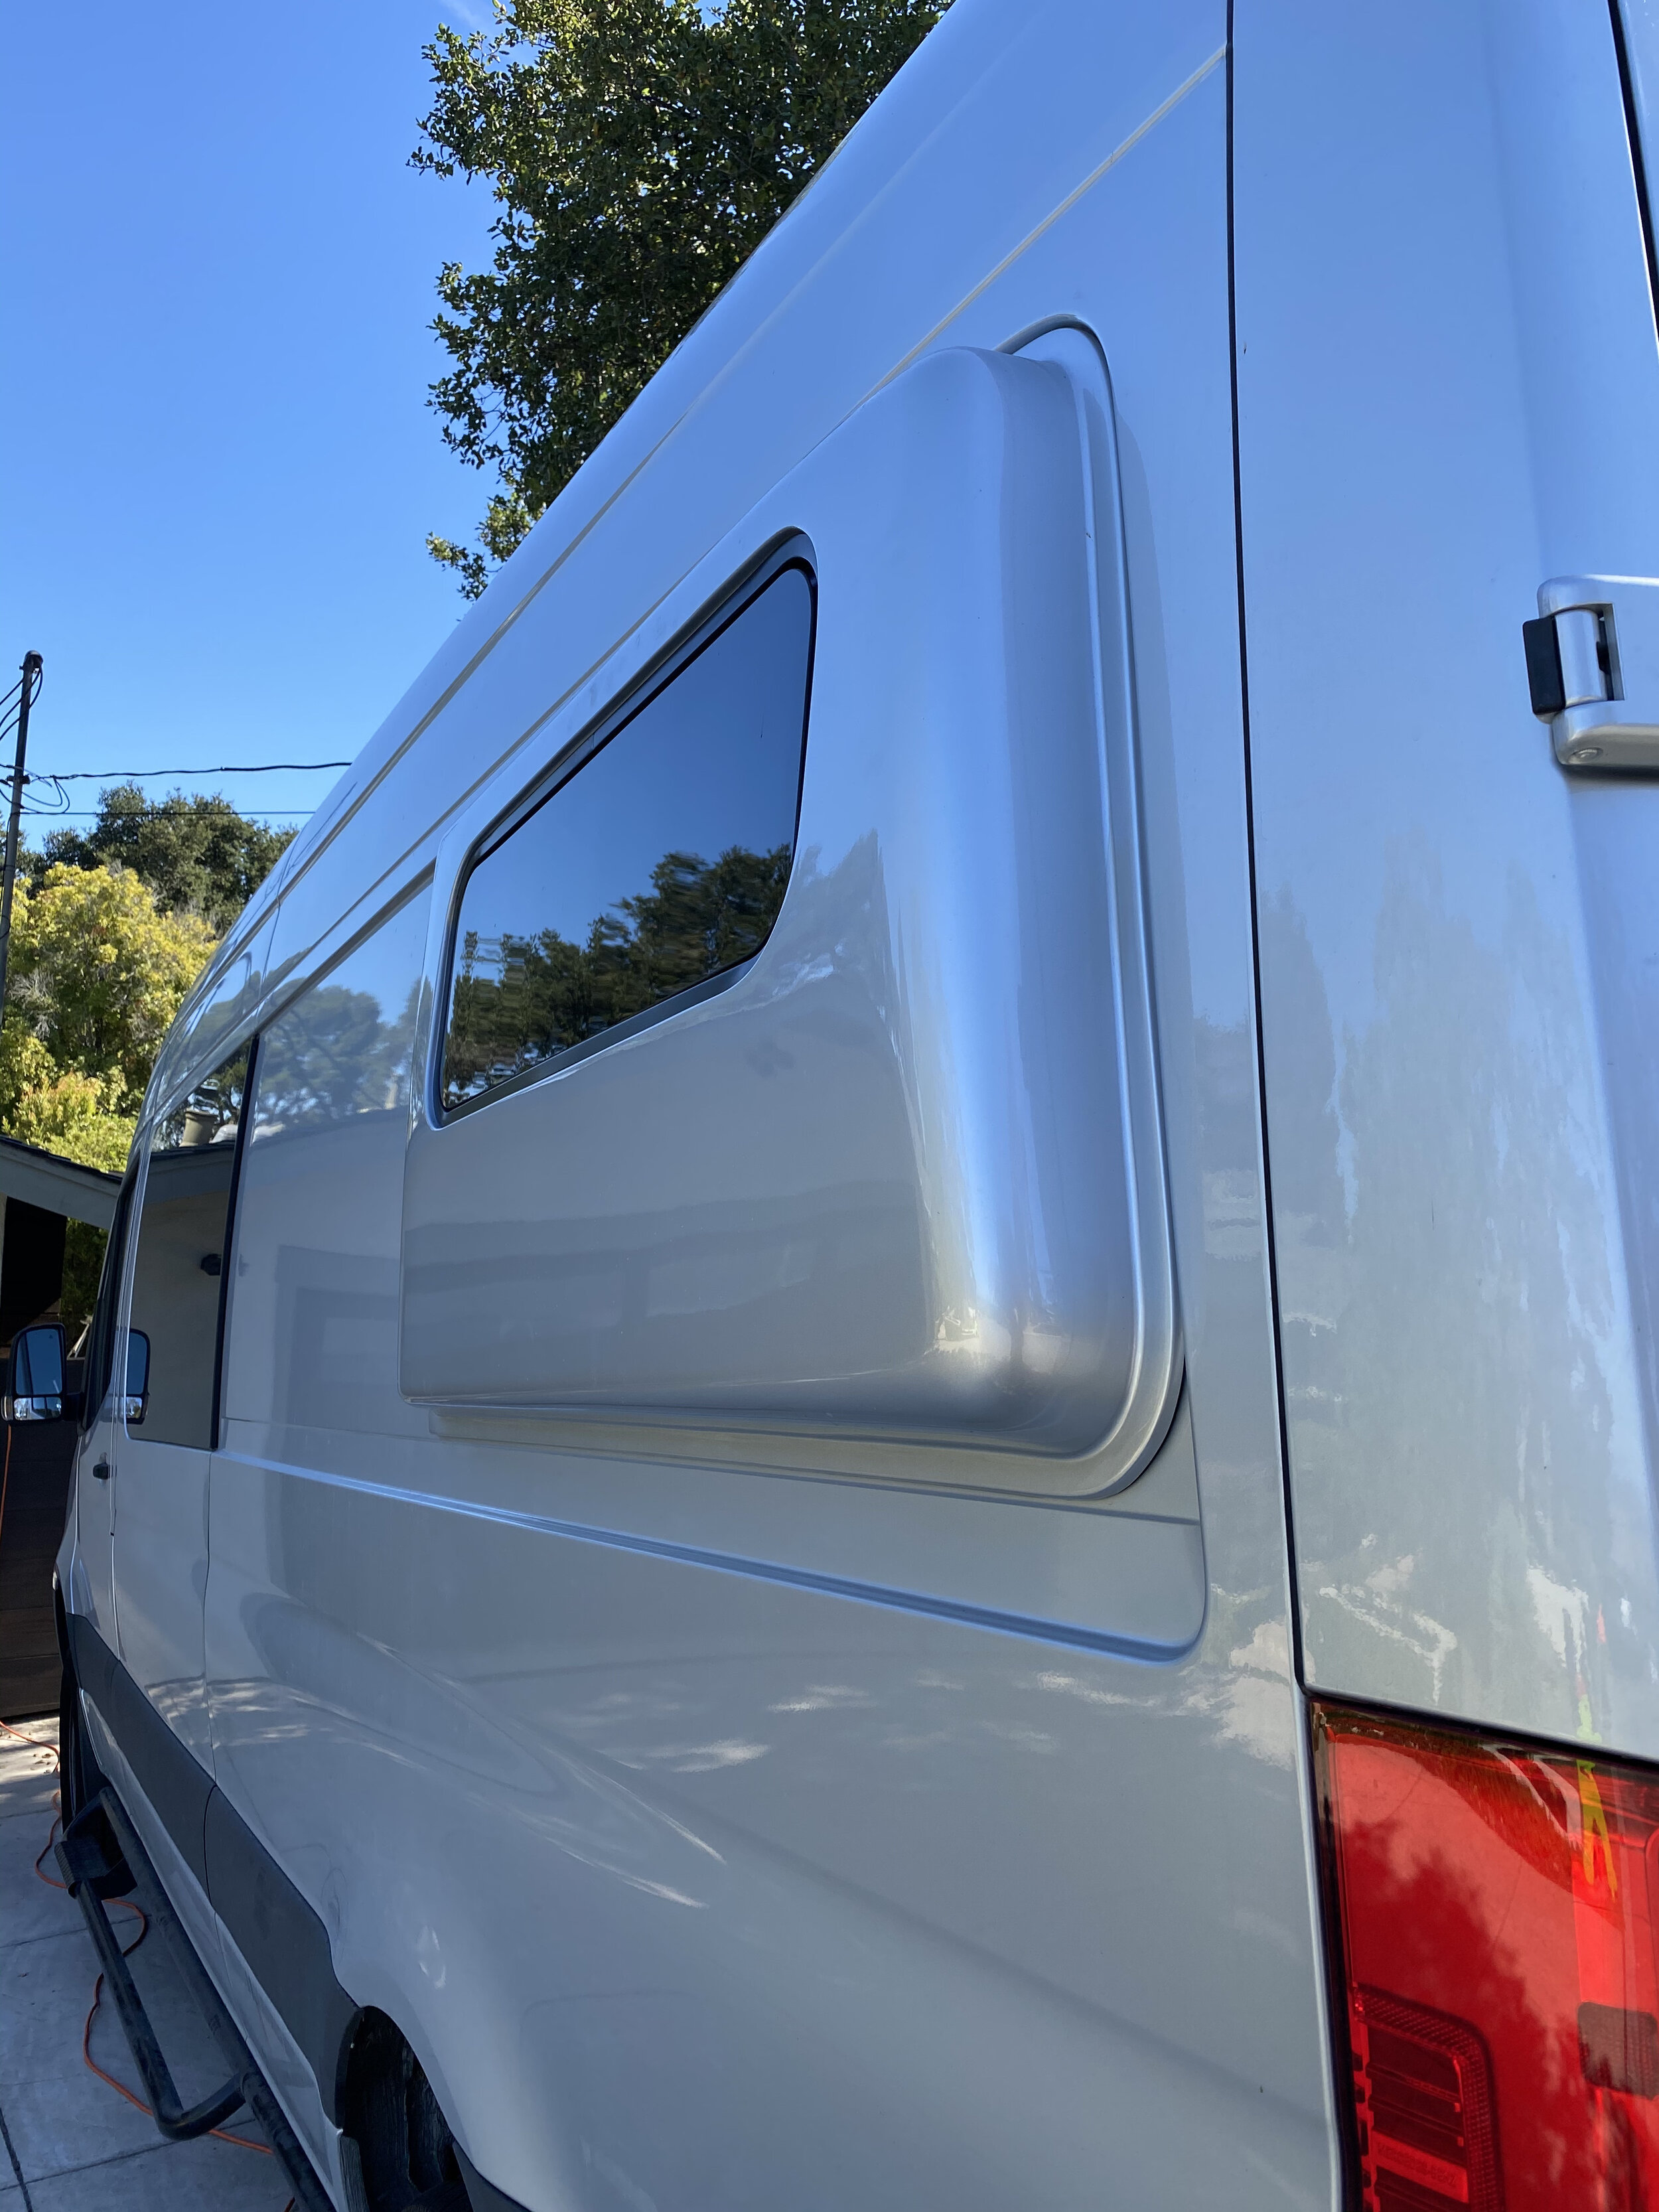
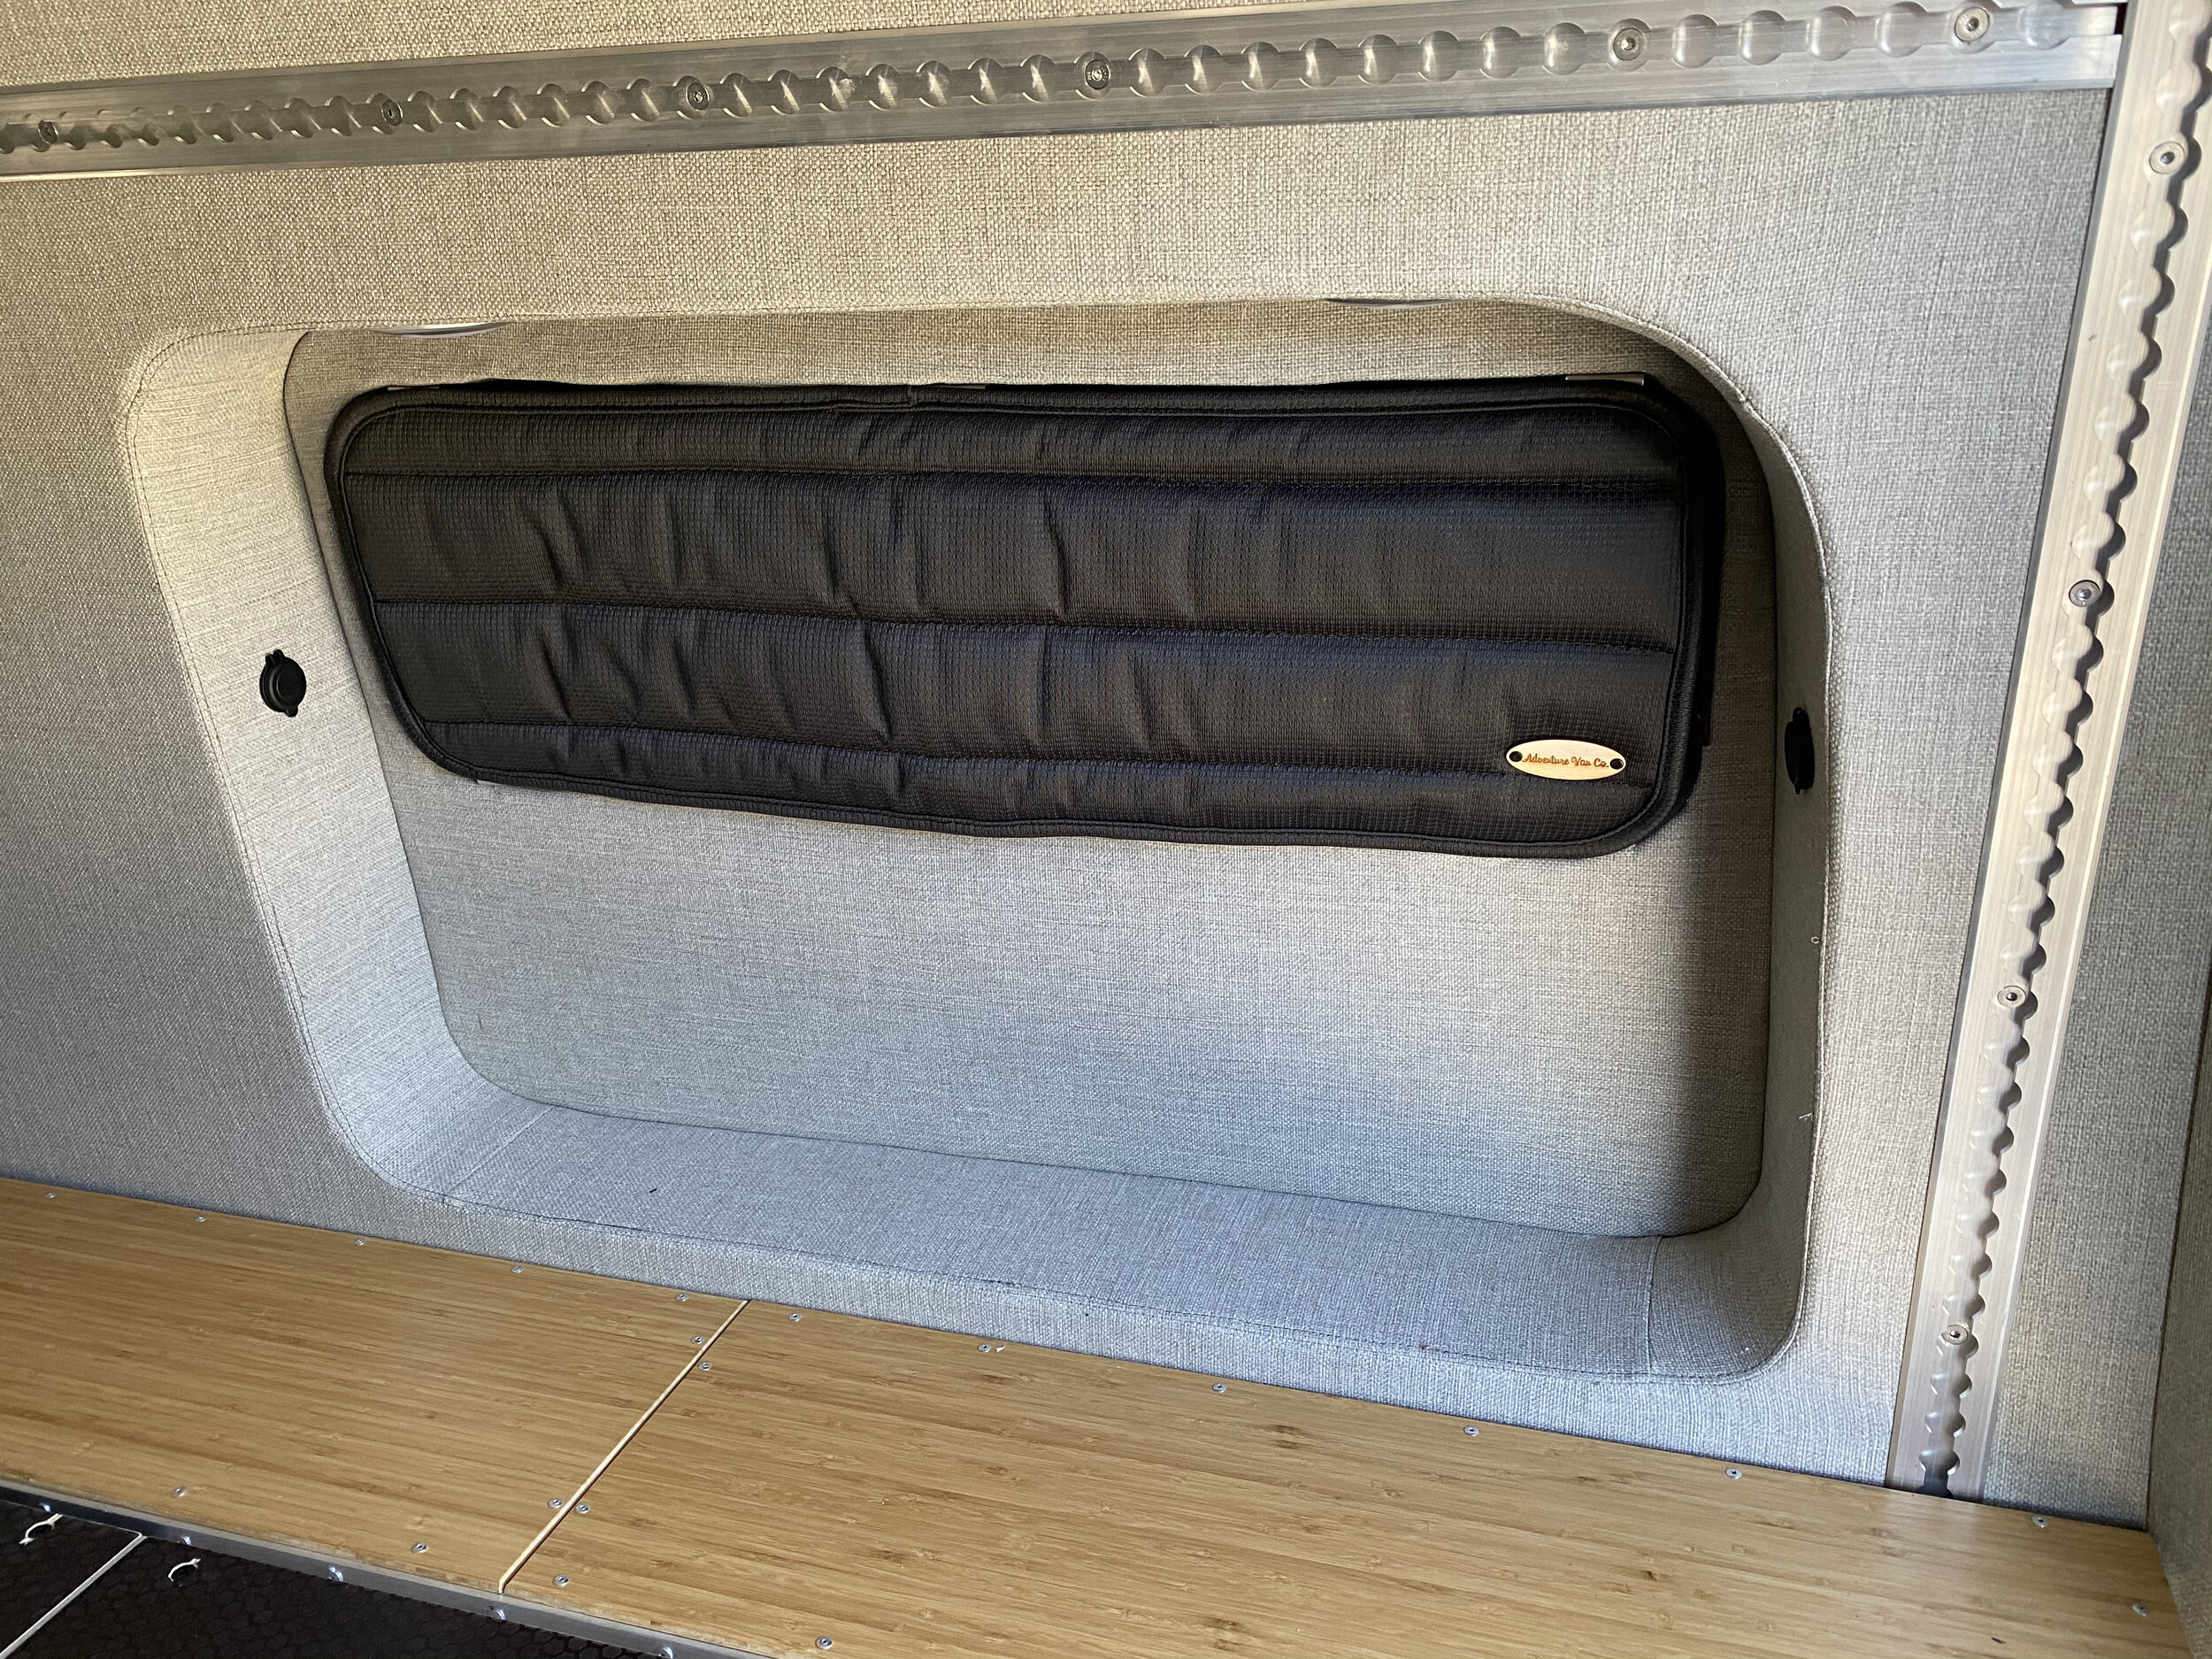
As usual we wanted to customize things so we decided to also install Flarespace pods. These are fiberglass inserts in the back that pop out the width of the van a bit so that you can sleep sideways versus length wise. It means your bed is sideways which ends up giving you some additional van space for the living area. The Flarespace pods on a Sprinter 144 are much larger than they are for the 170 due to where the support beams are. So if you have a 144 you end up with an even larger area for sleeping sideways. You can order the Flarespace pods with or without windows and they come in two different depths. They also now come with trim rings and electrical kits. We got the deepest ones with windows with the electrical kit on one side. We did order the trim rings but we ended up deciding to cut up the trim rings and fabricate our own. The reason being is that if you are creative and handy you can make the interior space a bit taller and wider if you fab your own trim rings. It took some work but we were able to take their trim rings and make then a few inches wider and taller by cutting their trim rings and creating gap plugs (see pictures). We also did this because we were trying to get the AdWag kit to work with the Flarespace kit and for those to match up to the Trail Kitchen kit (more on that later). In the end it turned out great. We have a large bed that allows two adults to sleep sideways while maximizing our living space. My wife is 5’10” and I am 6’1” and we fit pretty well. If you are a bit taller than 6’1” then you will end up sleeping at a slight angle sideways. If you are a few inches taller you wont fit and you should skip this mod and just sleep lengthwise. The whole reason for doing this was that we wanted to have a large bed for the adults and to put the two kids under our bed platform on mats on the floor of the van. This would allow us to have gear space in the “garage” (the space under the main bed platform) while having comfortable sleeping for 4. Another option is to skip the Flarespace pods and to install two Adventure Wagon’s MOAB bed systems in a stacked formation. But if you do this you can’t have large wheel well cabinets to house water and electrical. So in the end our configuration allowed us to have comfortable sleeping for 4, tons of gear storage during the day, and two large cabinets to house a sophisticated water and electrical system (more on that later).
The electrical kit of the AdWag and Flarespace gives you USB ports in 4-5 locations plus a couple of cigarette lighter ports and LED lights in the ceiling and Flarespace area. The ceiling vents are remote controlled and offer the ability to pull in or push out air. We decided not to get an AC unit on the roof because they take up a huge amount of roof space and draw a ton of power. As much as people claim to have battery systems that can power the AC unit all day the math doesn’t pencil out that well. We figured it was safer to skip the AC unit and conserve the power and go with two vents plus nets on the large doors (more on that later) to cool the van down. We have done summer trips in the Utah and Nevada deserts and while it is hot it is doable without a dedicated AC. Also I prefer to have fewer expensive electrical components that could break or require maintenance.
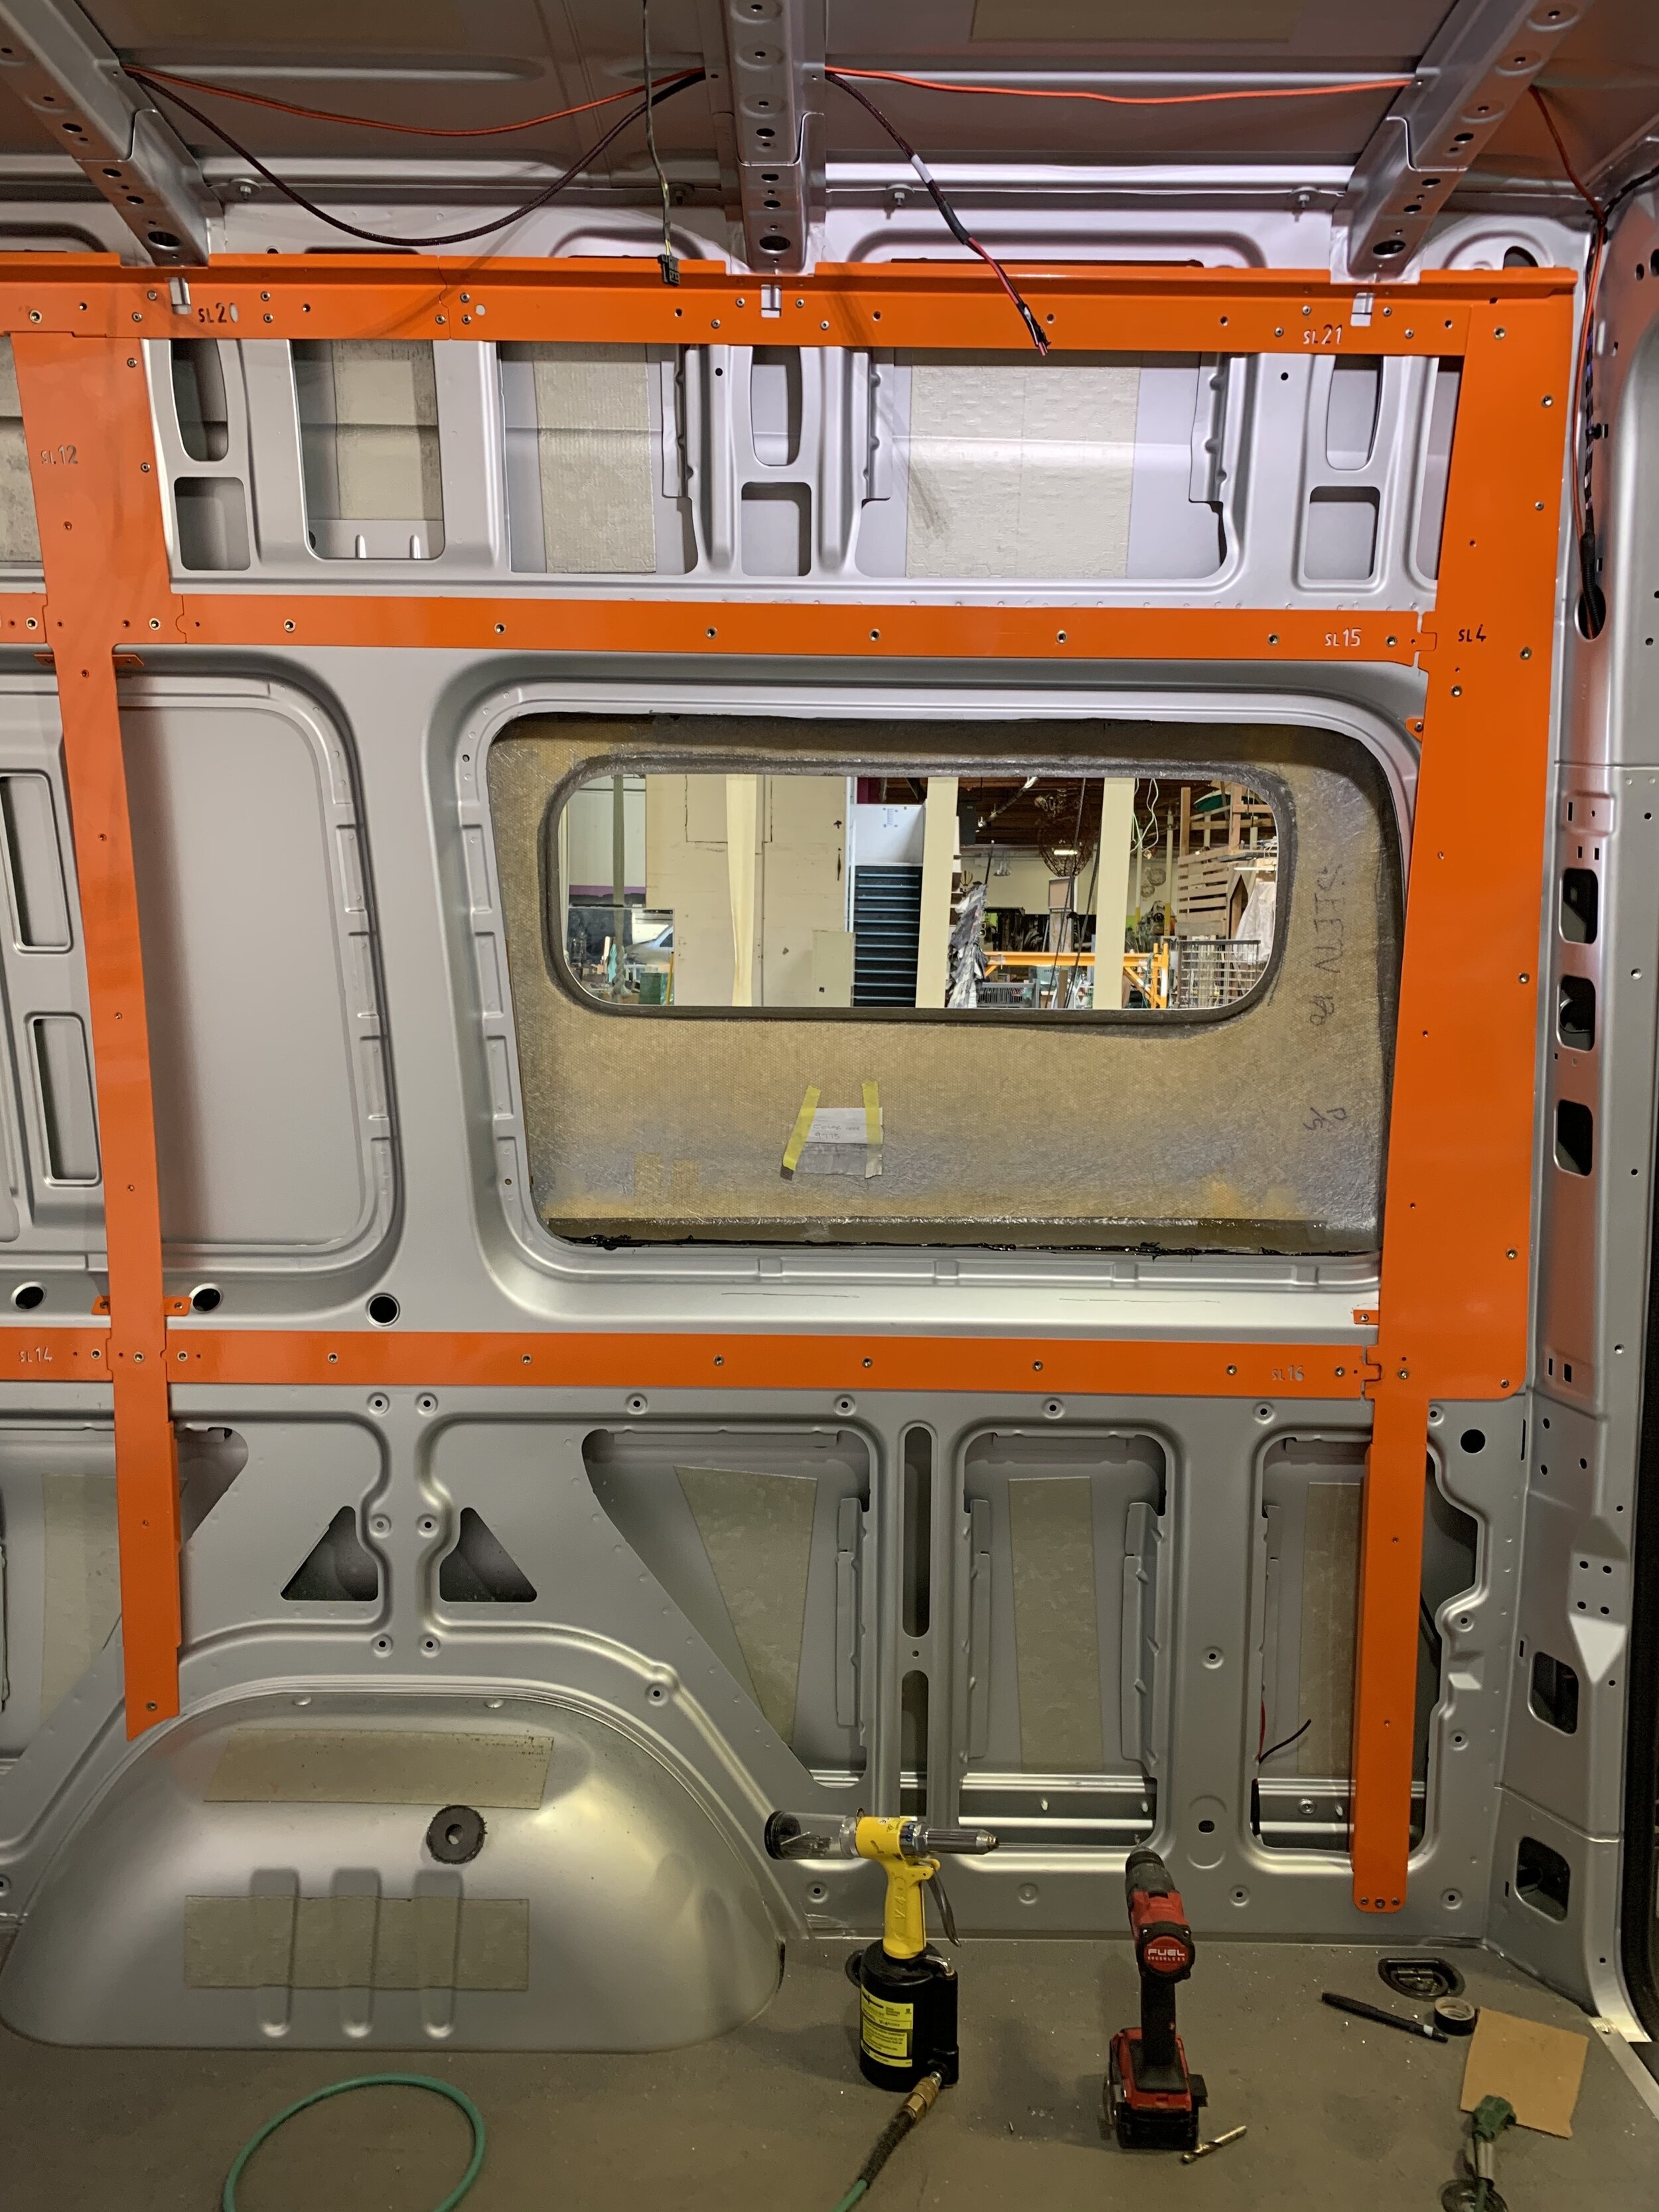
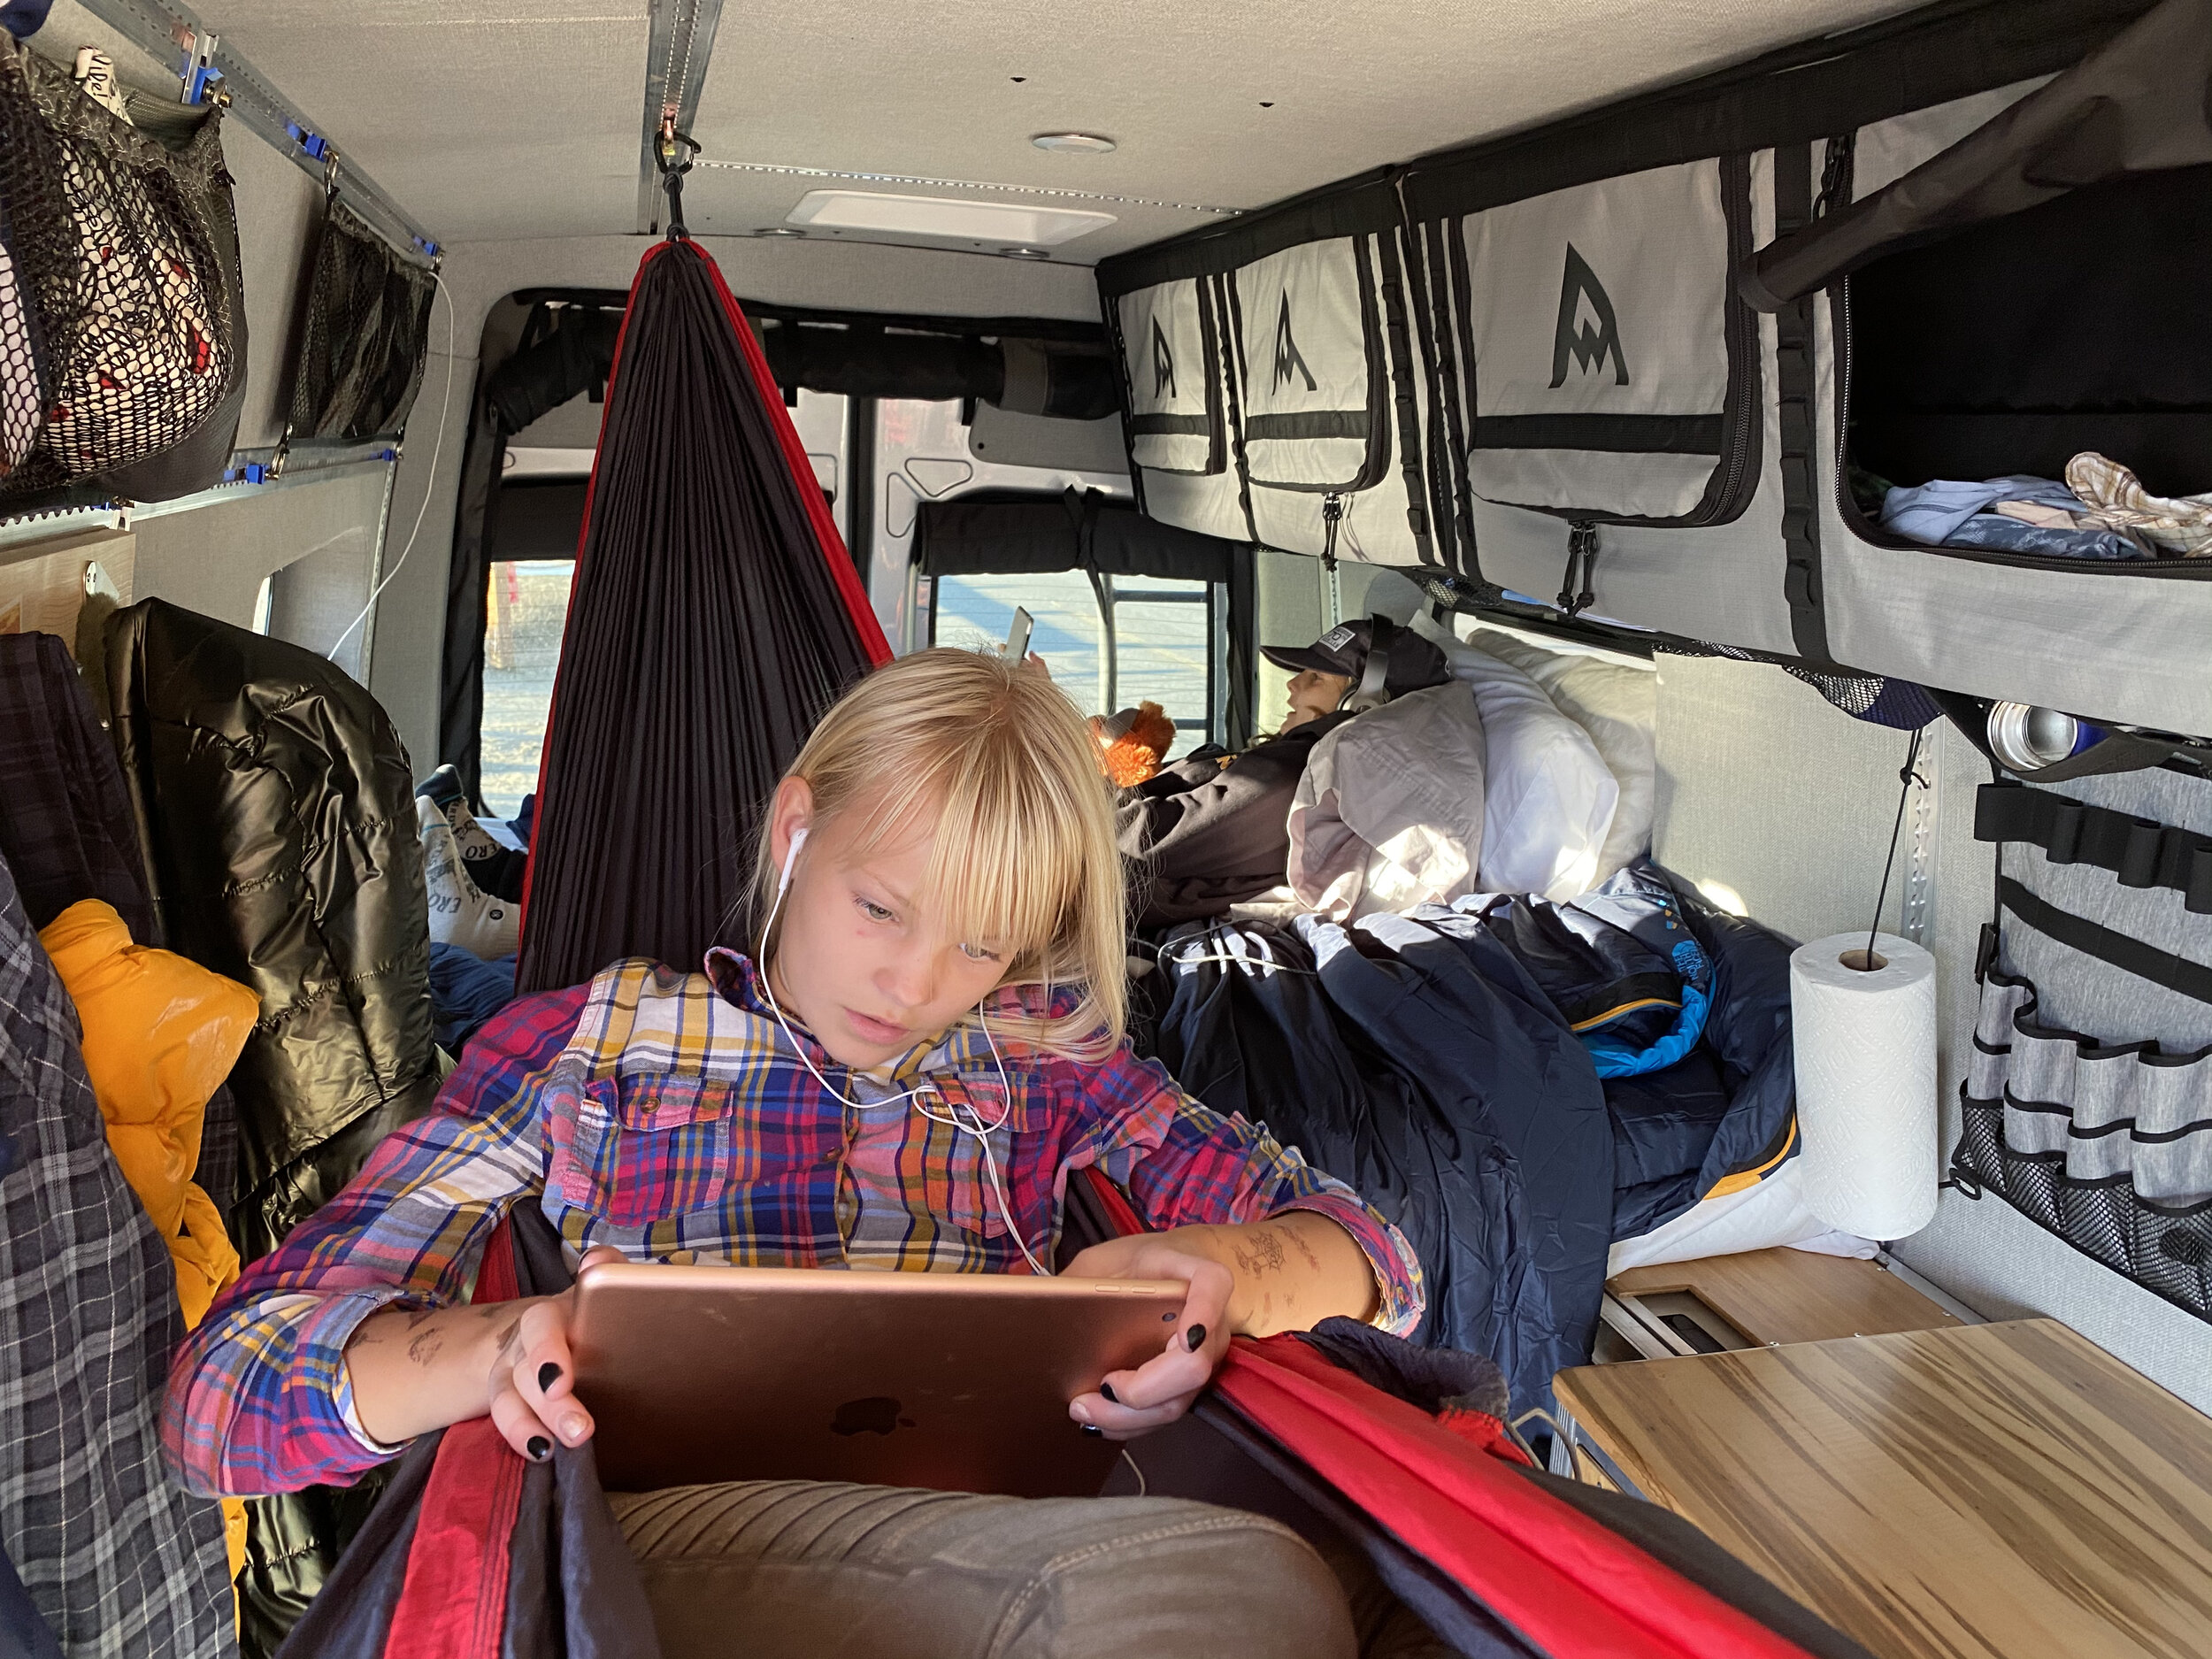
The AdWag L-track system is amazing. It allows you to attach a ton of things to the walls (storage bags, cabinets, gear, etc.). They are also extremely strong as they are bolted into AdWag’s support braces which are riveted into the van’s support beams. The L-track is strong enough to attach a ceiling hammock for the kids.
One last thought…..if you plan on doing this mod plan out ahead of time where else you will want electrical items. Once the walls are open you have great access to route wires but once the panels are on it will be much harder. It is possible to remove individual panels but might as well run the wires when you can. The AdWag interior kit will give you a 12 slot fuse box on the wall right behind the driver. But I have learned (the hard way) that you should also consider putting a smaller fuse box (6 slots perhaps) on each side of the van in the rear. This will give you plenty of connection options down the road for other electrical gear with short wire runs. I will go into more details in our write up of the electrical system.