
Defender 90 Build - Cubby Box
Anyone that has owned a Defender knows there is limited storage space. The original cubby box was a decent design as it has a place for the radio, locked storage, and 2 cup holders….but they deteriorate over time and there are no OEM replacement parts. There are a few aftermarket options which are nice but I wanted to try to restore my original cubby box. The lock no longer has a key, the strike plate is misaligned so the lock can’t engage, and the plastic trim for the radio mount is cracked all over.
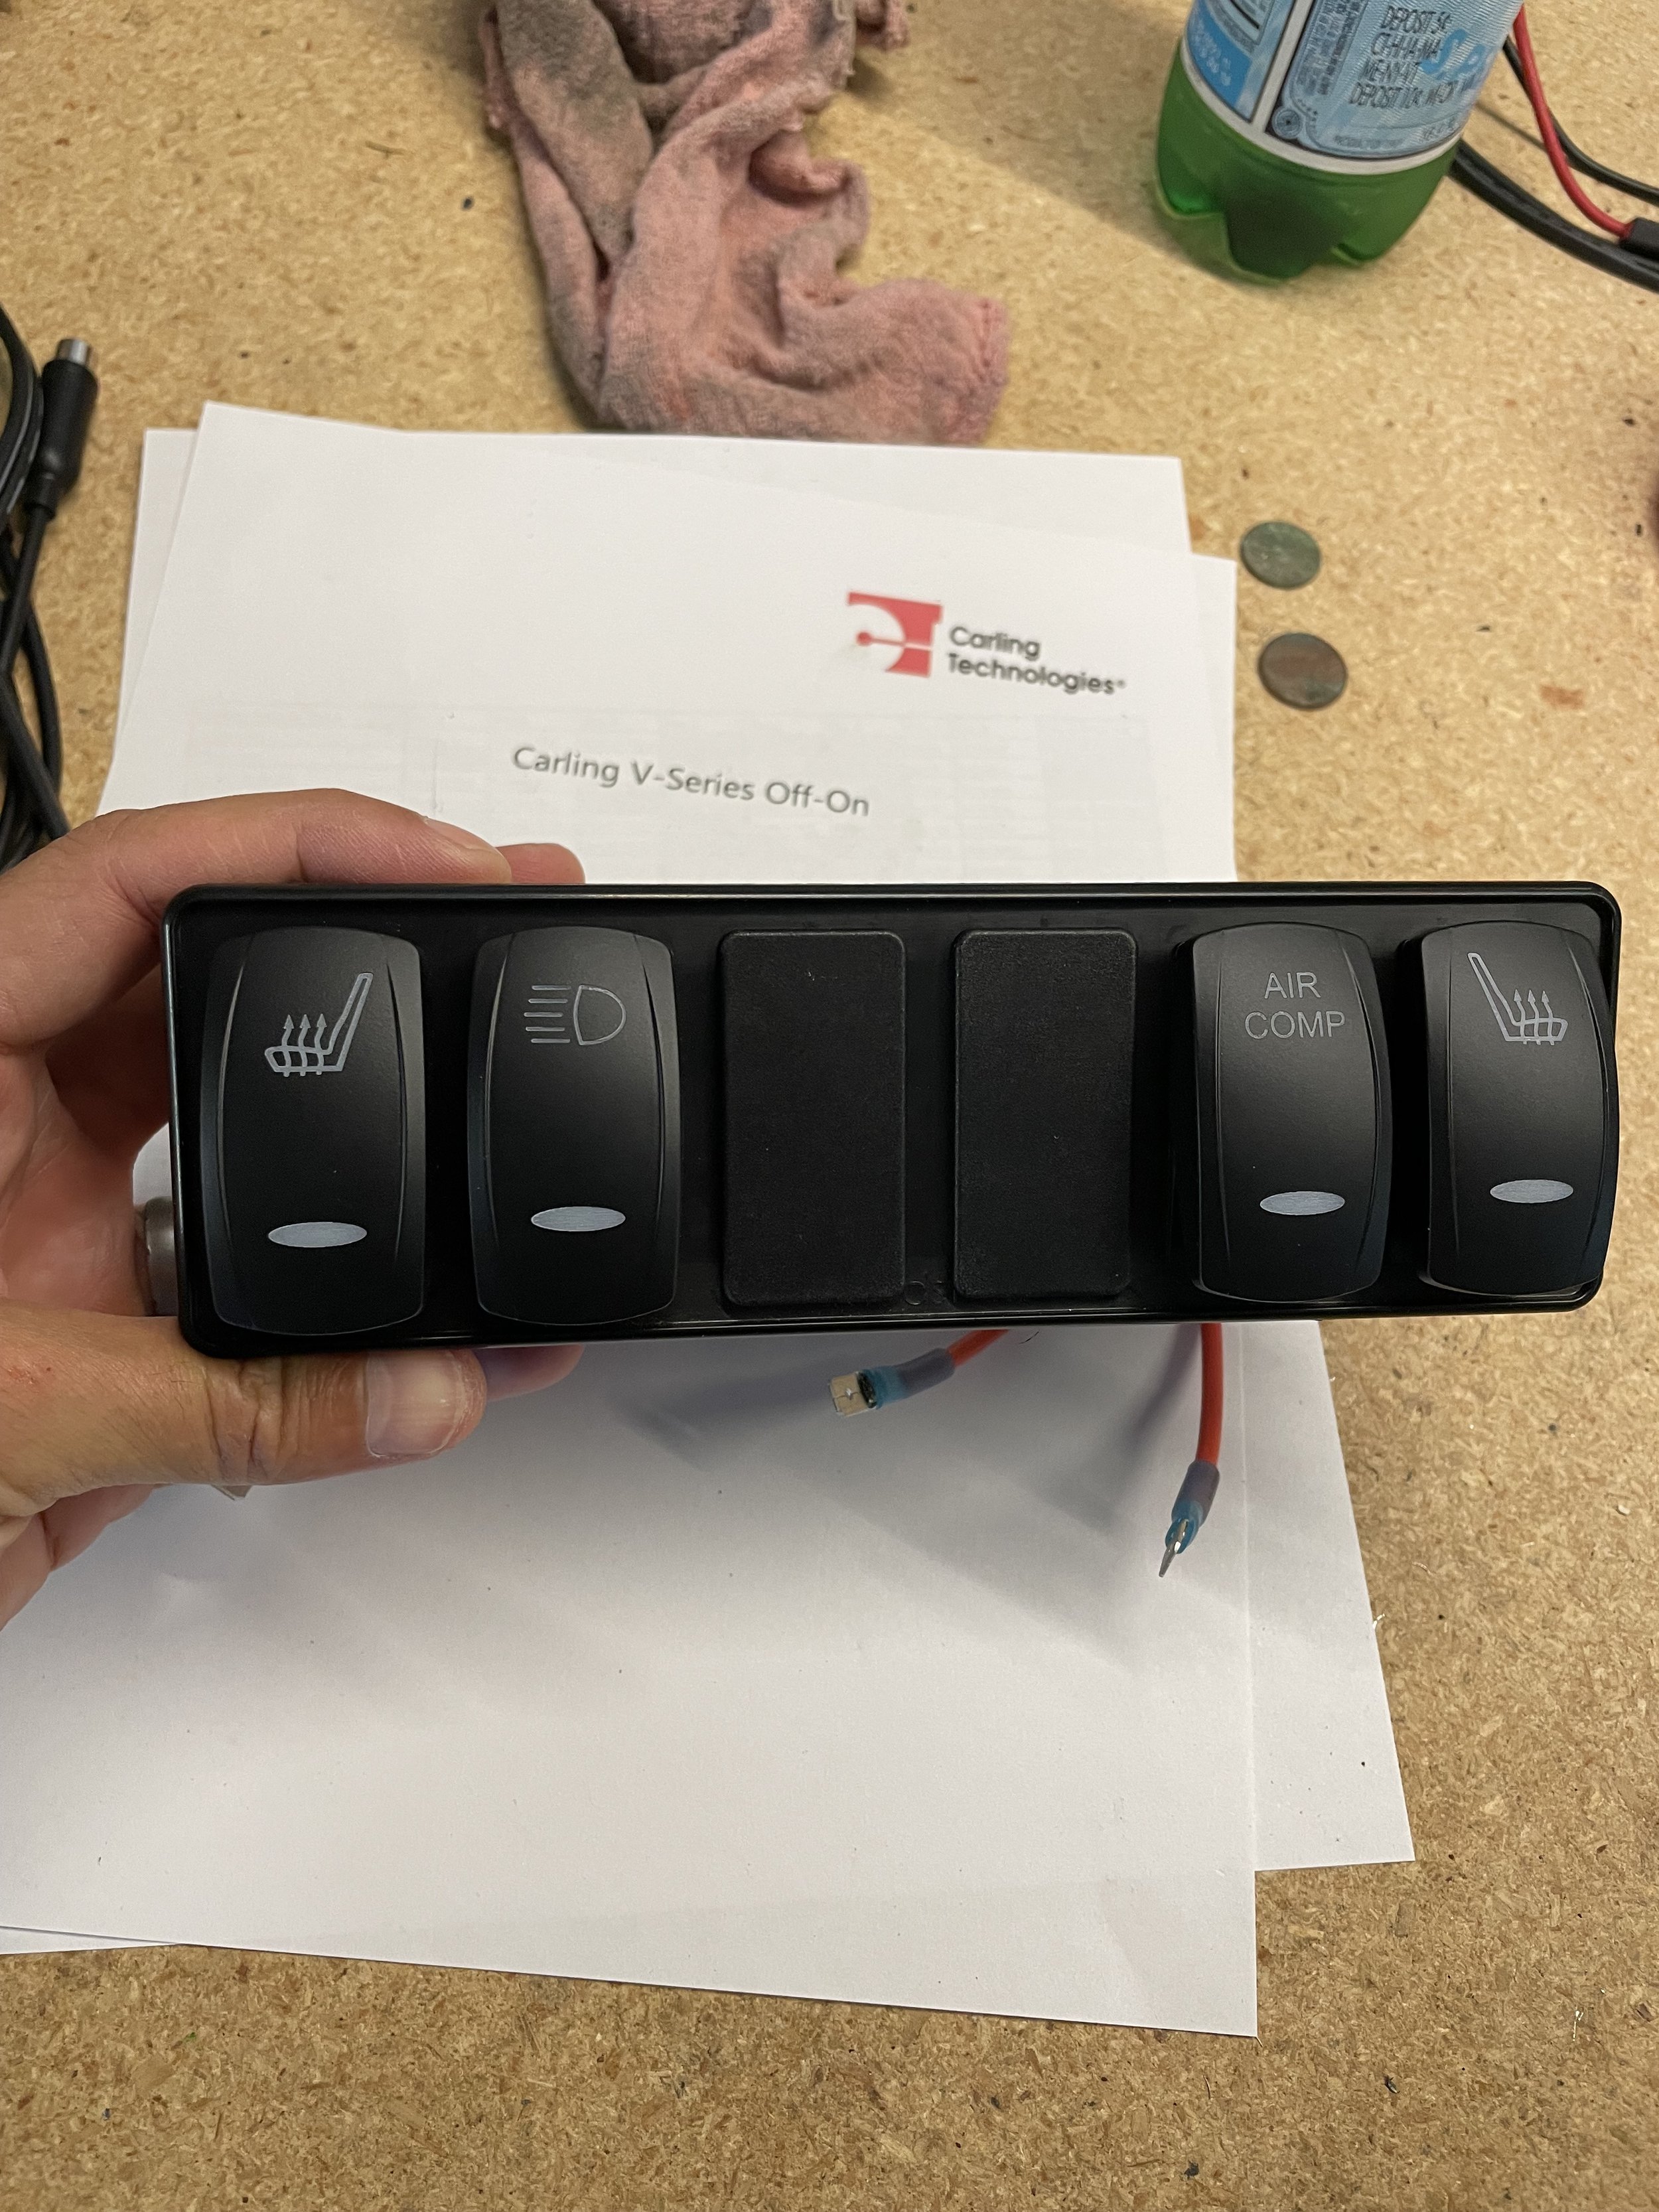
I also wanted to make some changes to make it more useful for my needs. I want to add some switches for air compressor, lights, etc. There are some OEM and aftermarket solutions for this but none worked for my 94. The reason is that in 94 the AC unit put a switch in the center dash right where you could put an aftermarket or OEM radio mount. This was changed in 95. I also didn’t want to damage my dash in anyway. Another option is to hijack the ash tray and put a Mudd switch panel there but I am using that spot for a Rovers North phone mount.
That led me to my plan of removing the radio from the cubby box and use that space in the cubby box for a switch panel. I would then get a headless radio unit so that I could install it in a hidden location and simply stream music from my iPhone. I also wanted the option to install a two way radio system for when I am off roading with friends. To accomplish all of this I bought a Mudd subwoofer cage that mounts under the cubby box. Rather than using the cage for a subwoofer I would mount the headless radio and two way radio there which happens to be where all the wires go anyway.

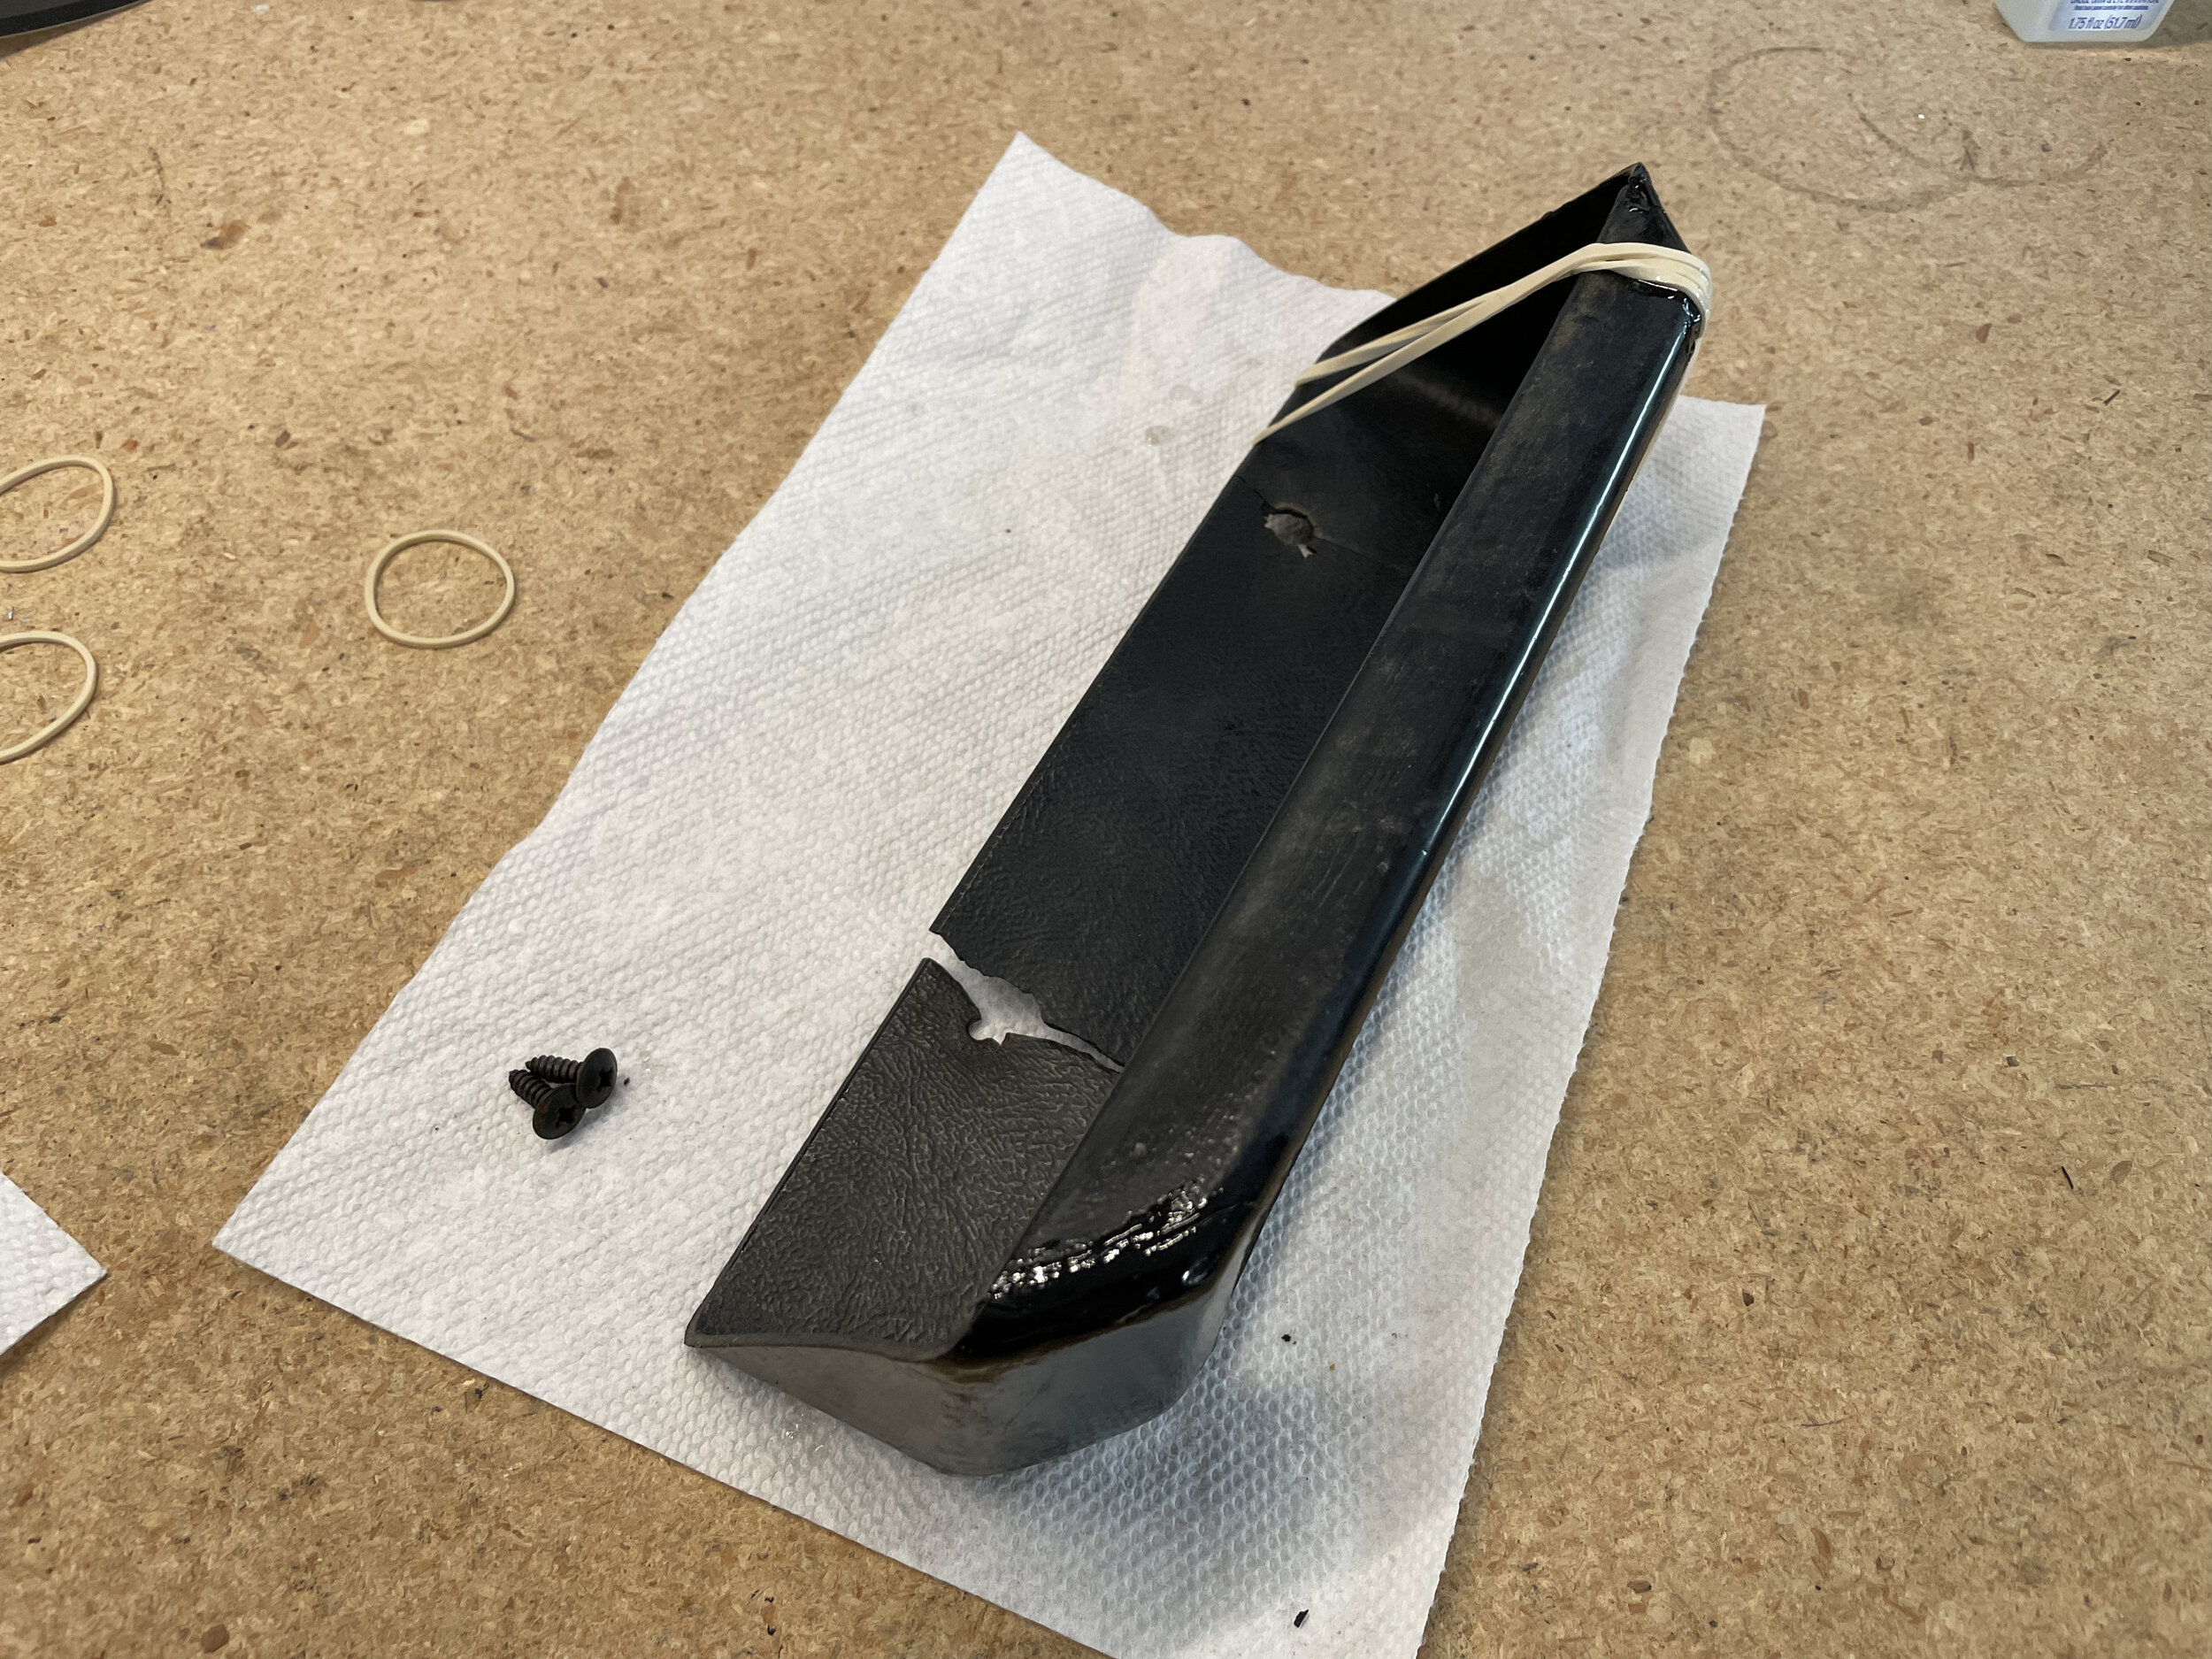
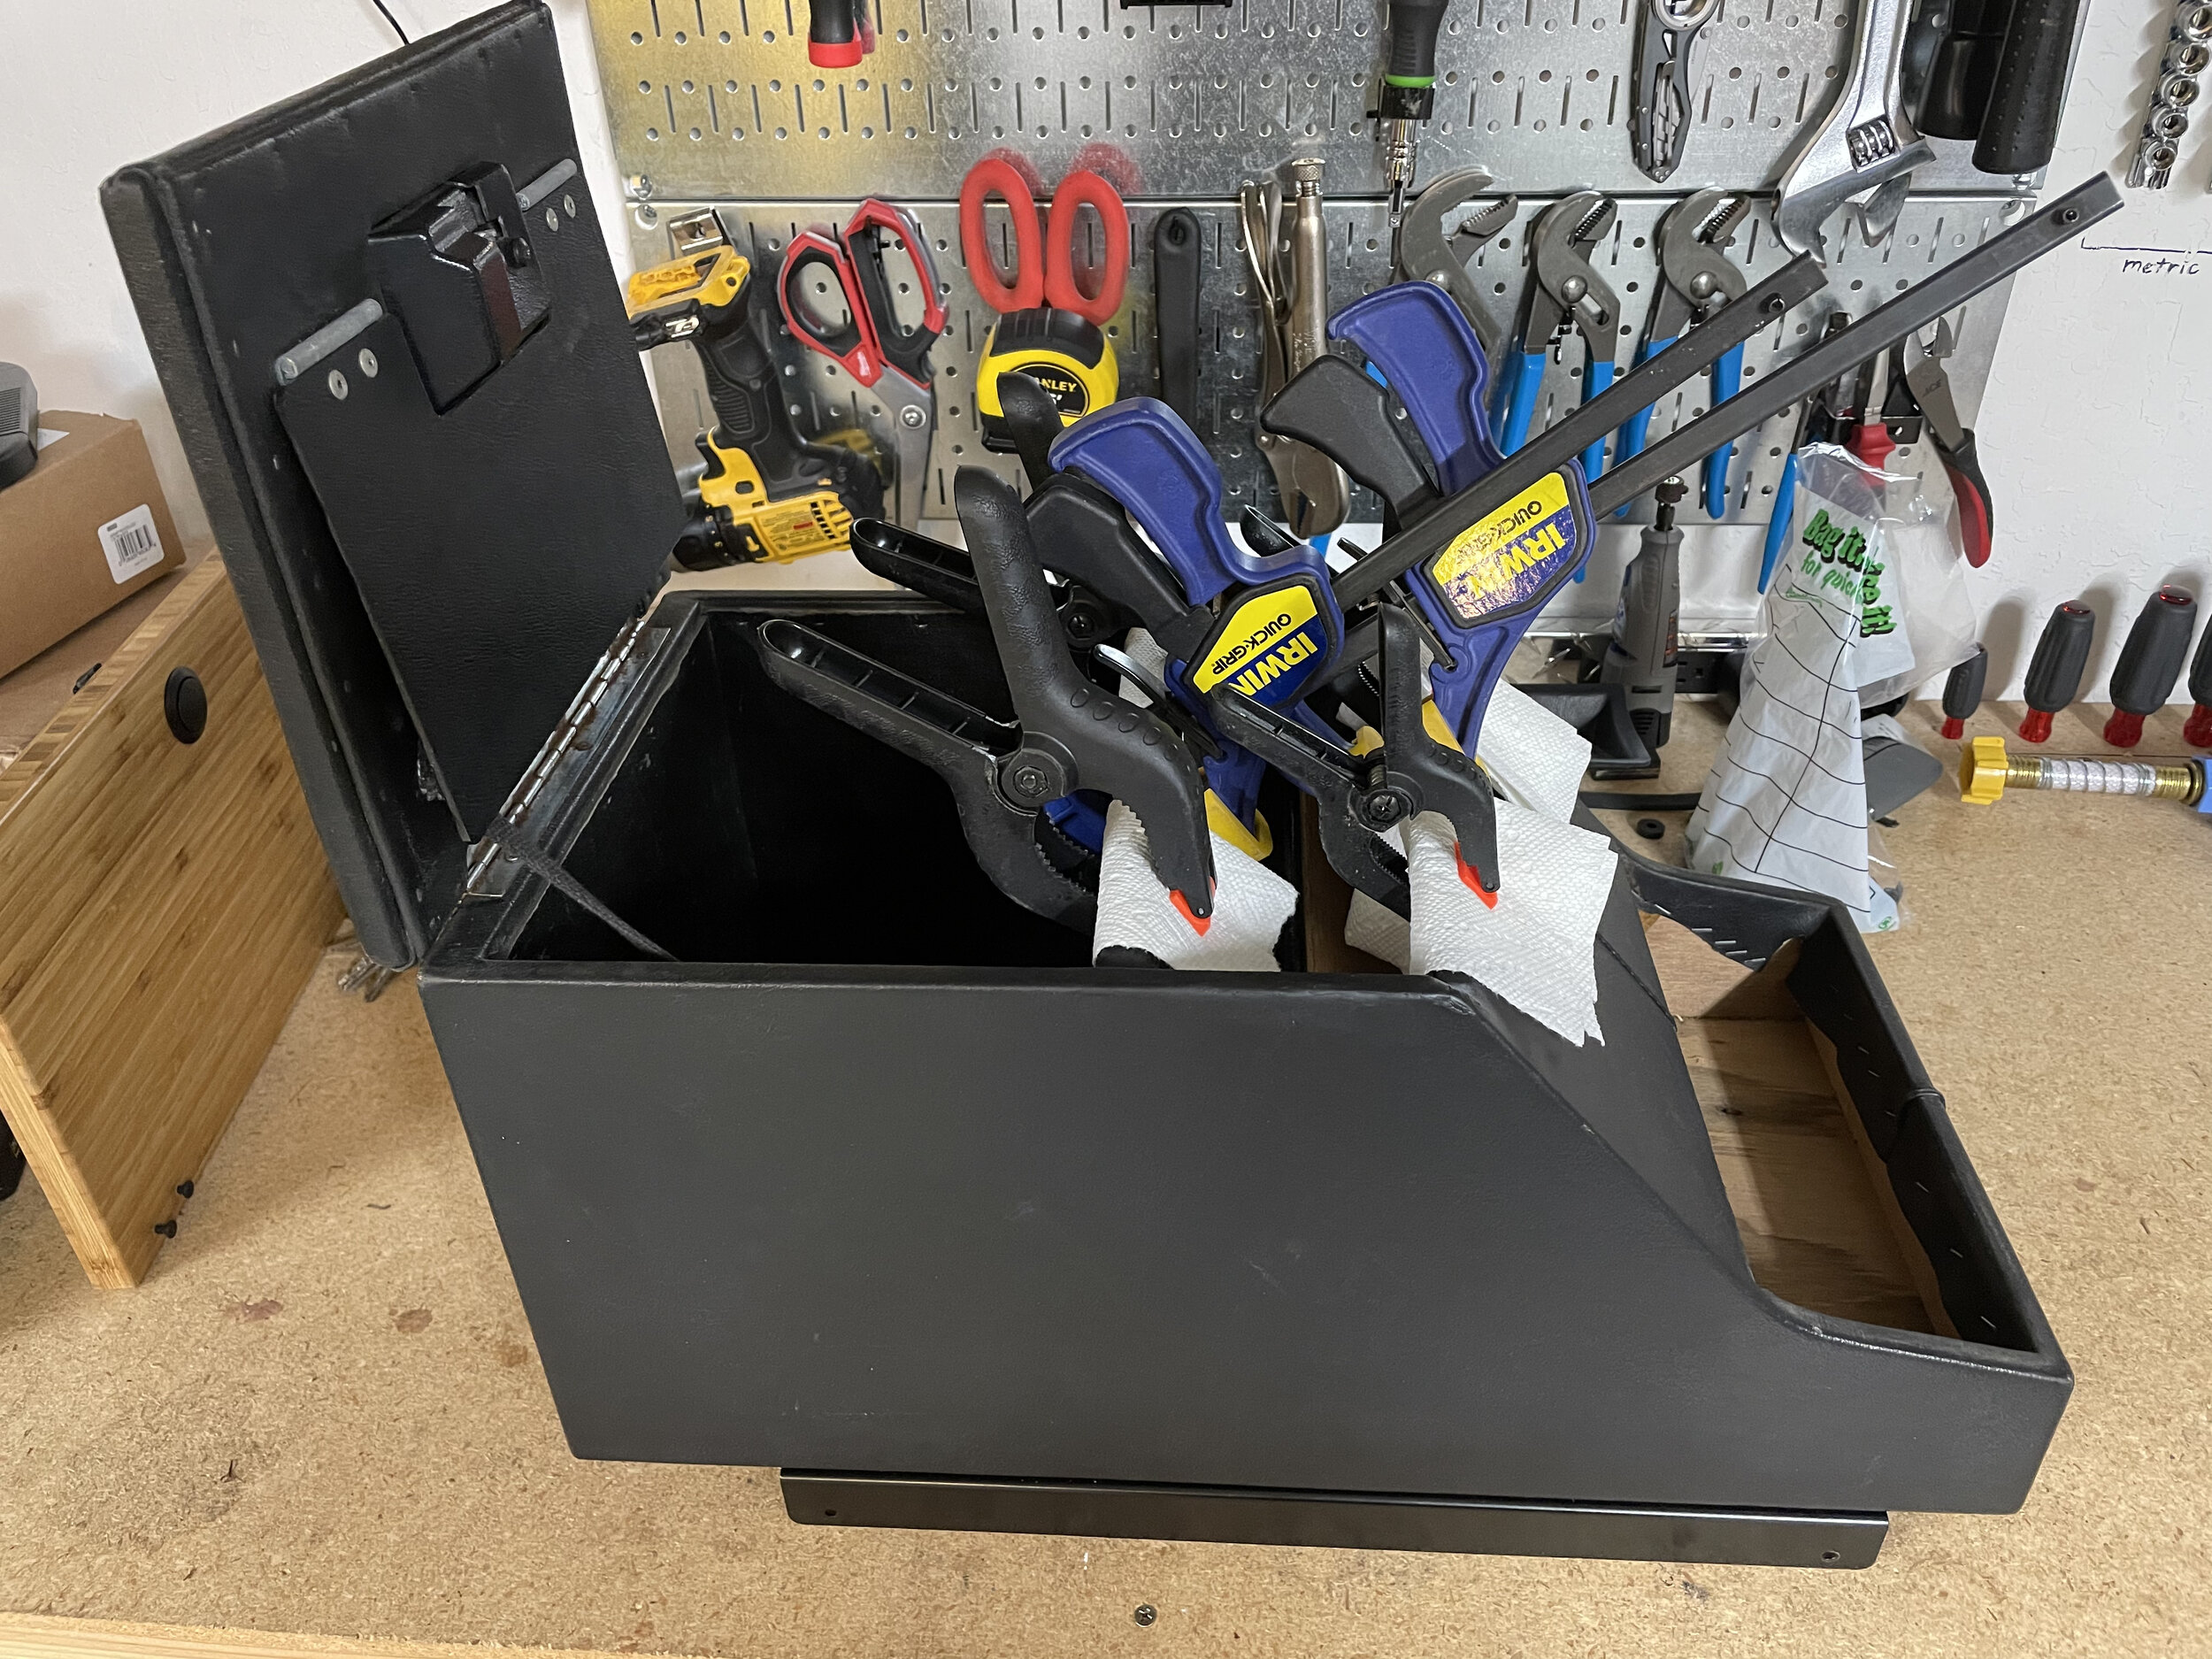
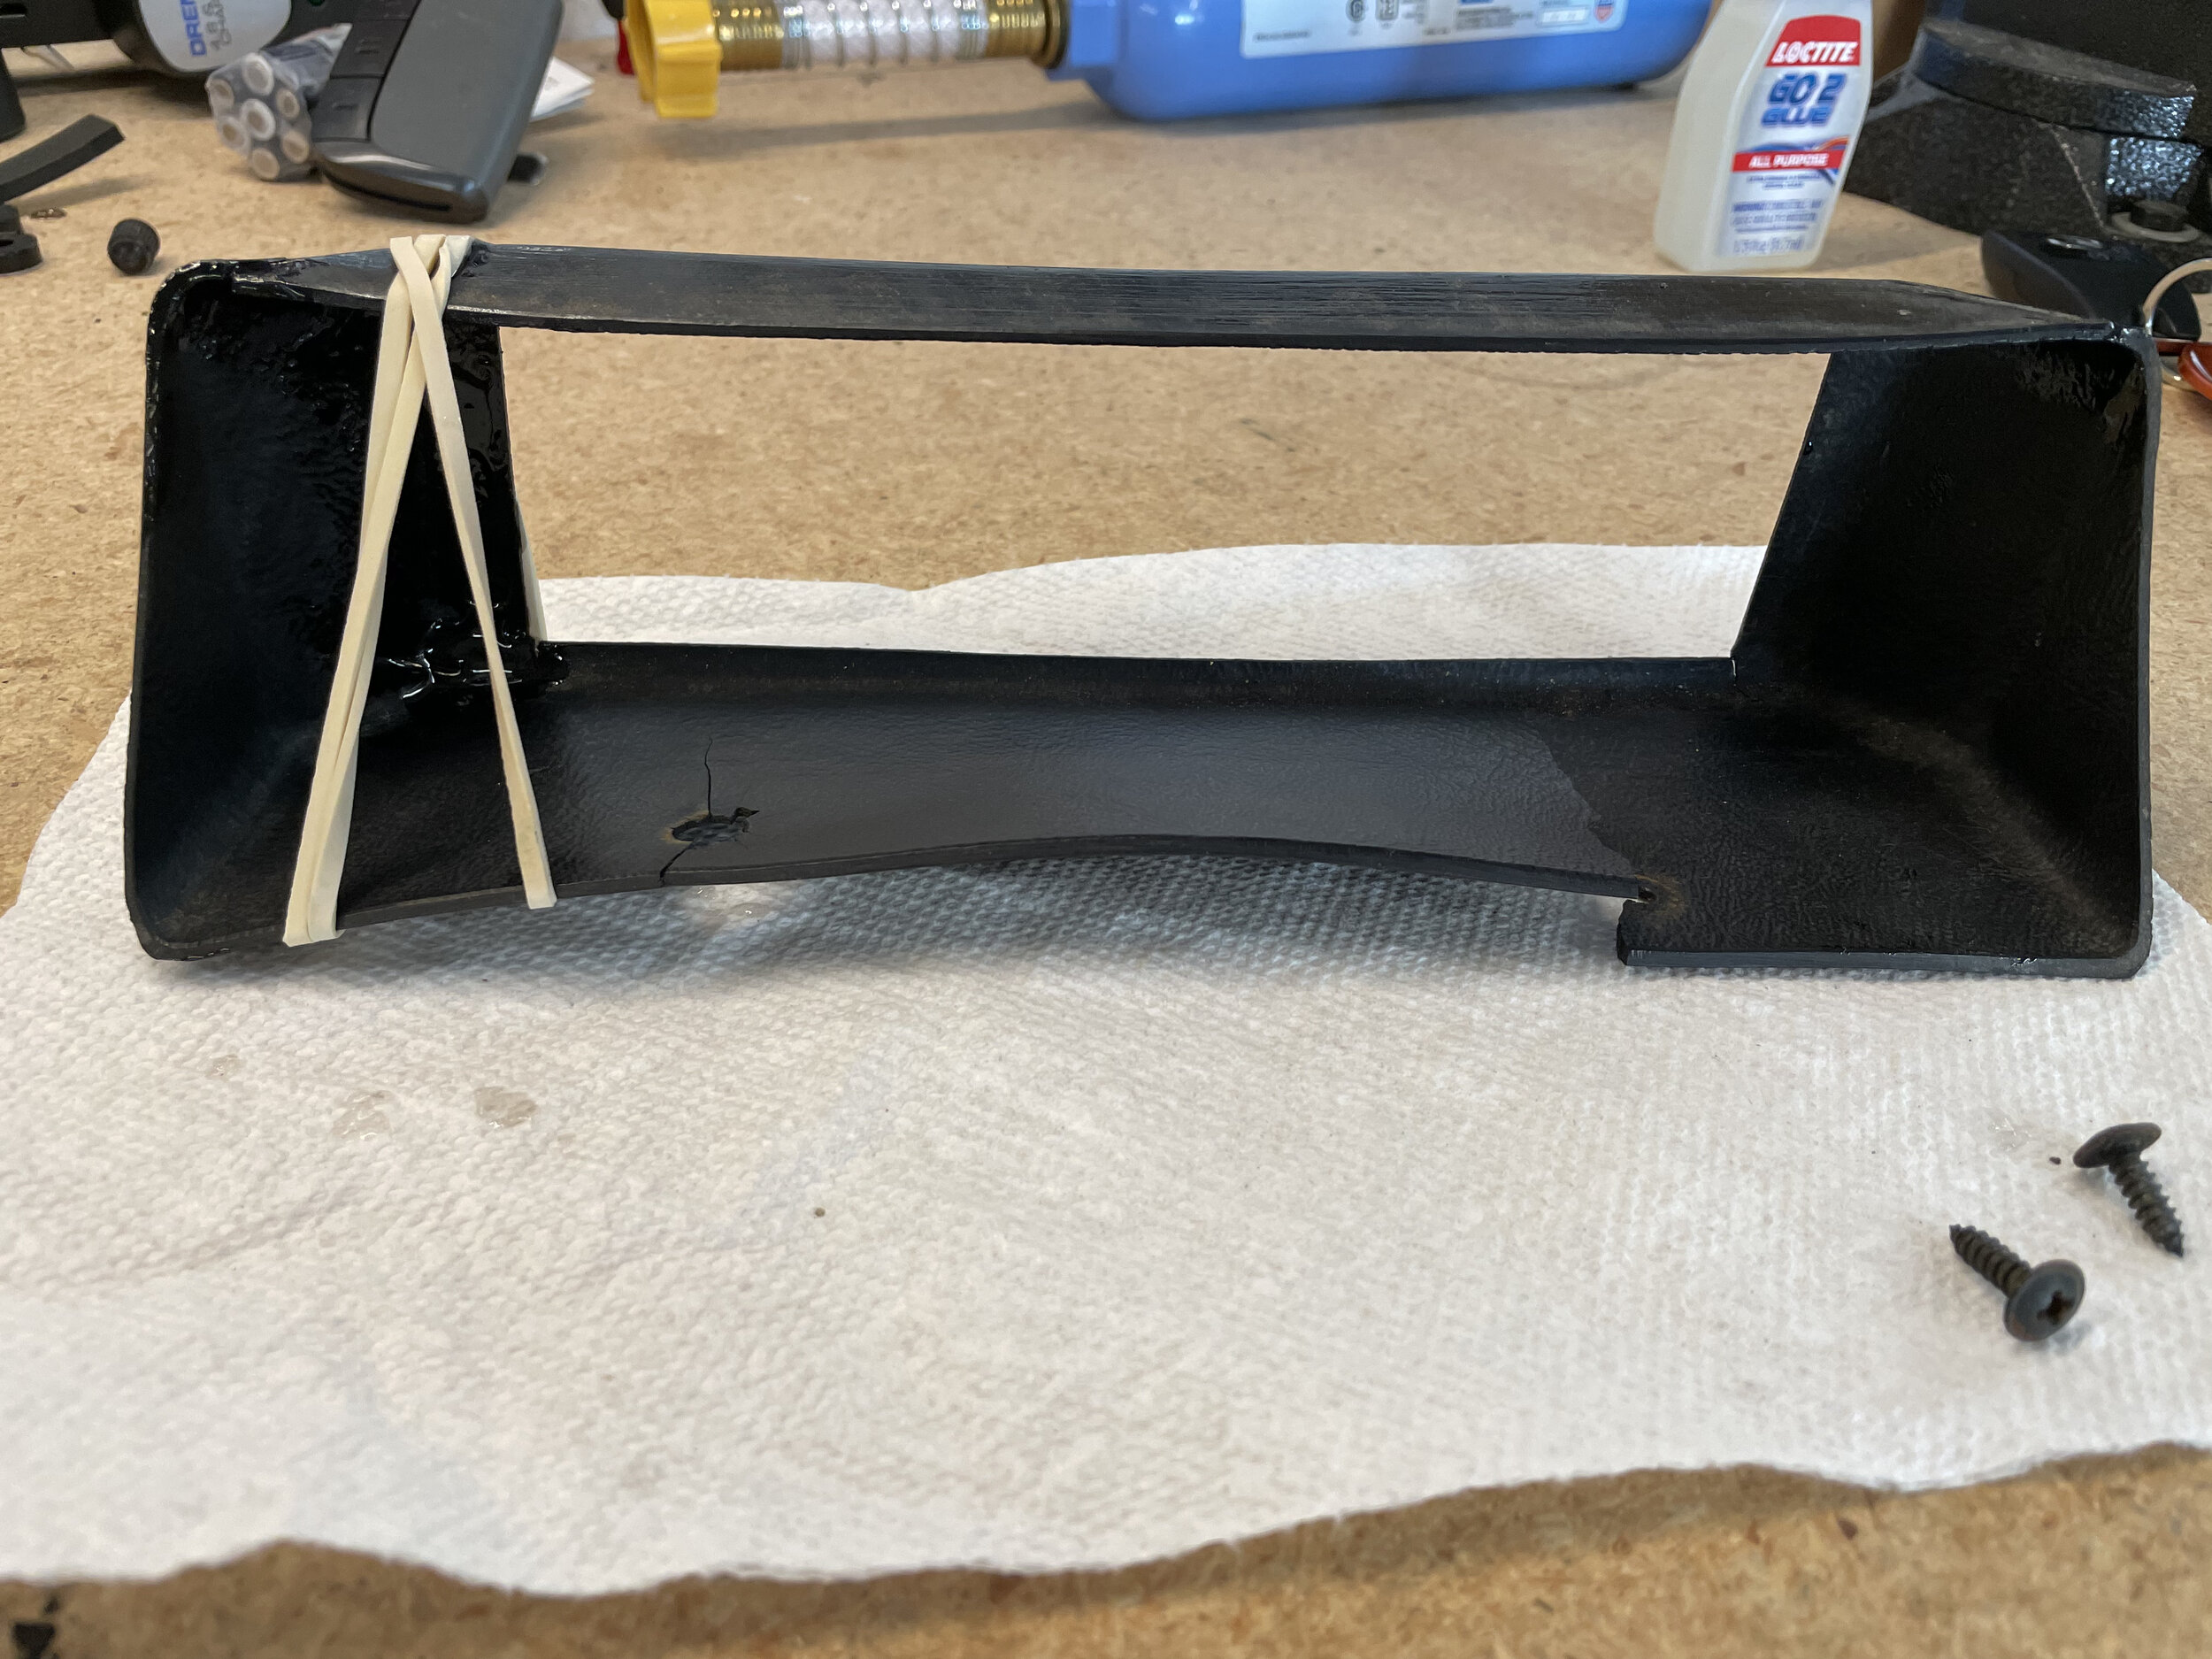
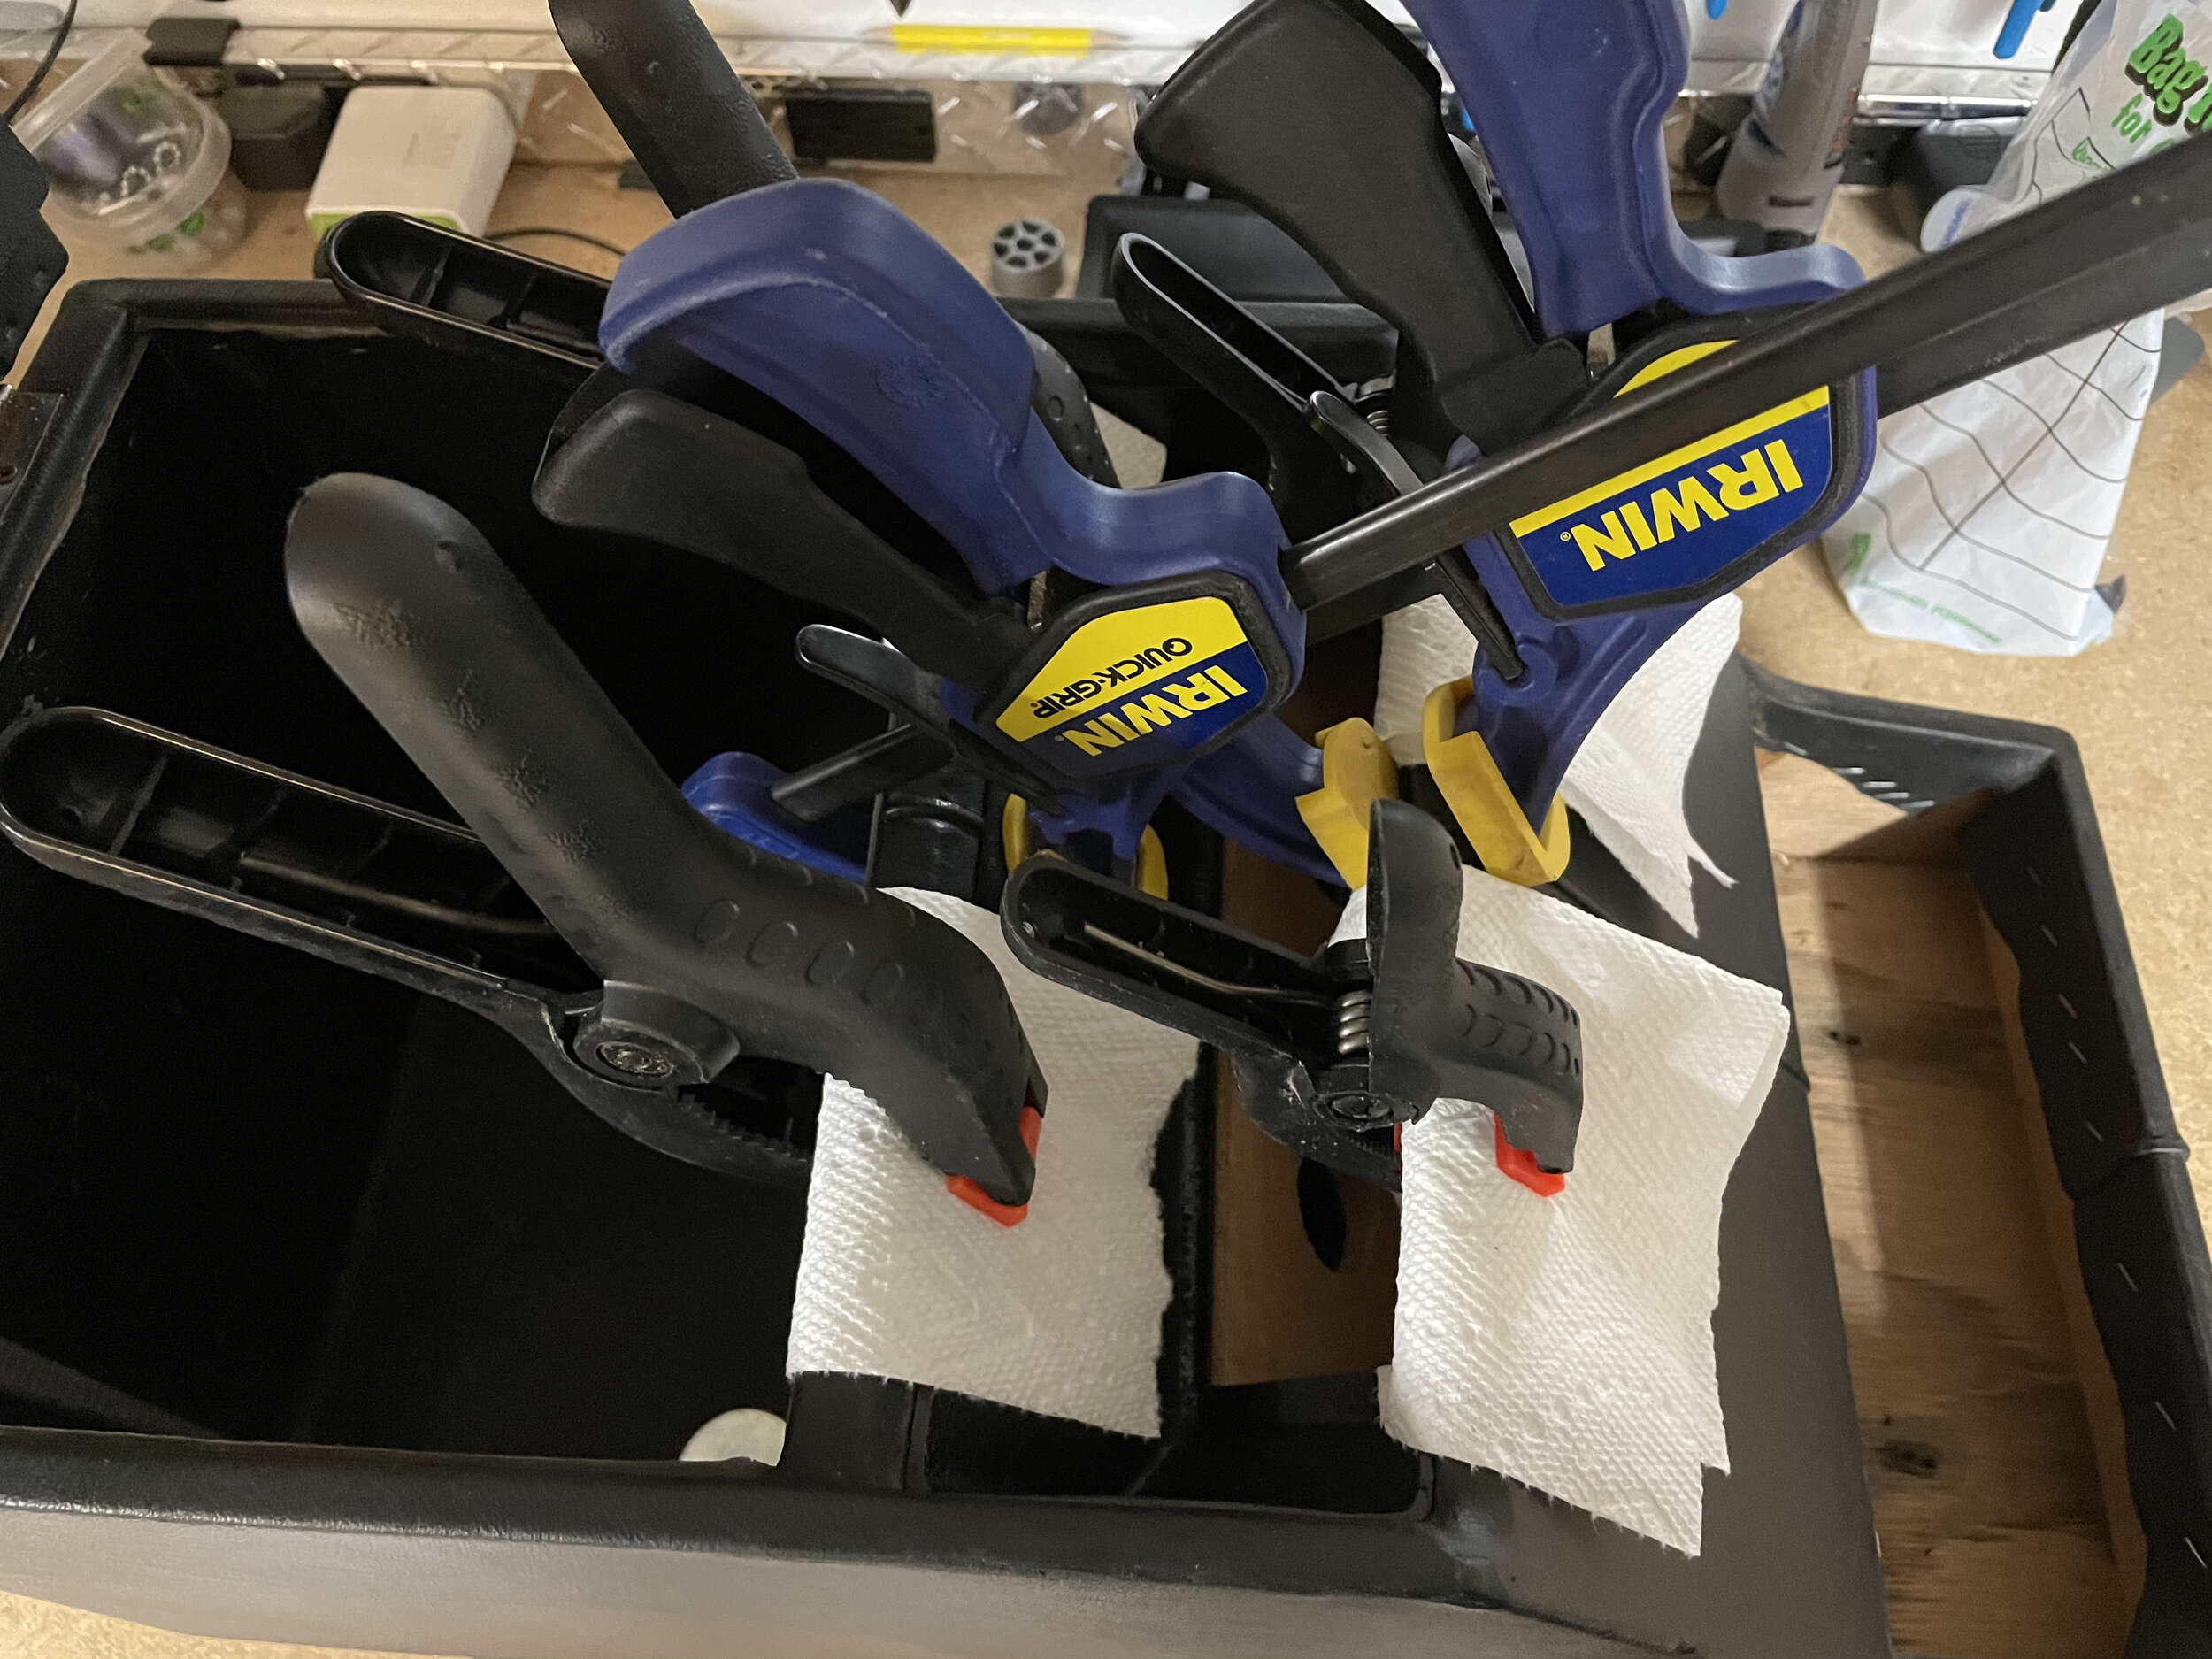
With that as the plan I started out by installing the Mudd subwoofer cage which was easy enough. I had to grind out a small piece of metal to pass through the OEM radio wiring harness. I also had to raise the cage off the floor of the car a bit by stacking some metal washers to make space for the wires. Next I took apart the cubby box and started gluing the plastic trim back together and then hit it with some black paint. Not a pro job but good enough. The original cubby boxes had some wood risers nailed into the bottom which are normally not noticeable but once you raise it up by the Mudd cage all of a sudden those risers were an eyesore. So I removed the risers to bring the cubby box flush to the cage. The cage rises the cubby box by about 4 inches which makes the cubby box more comfortable as an armrest.
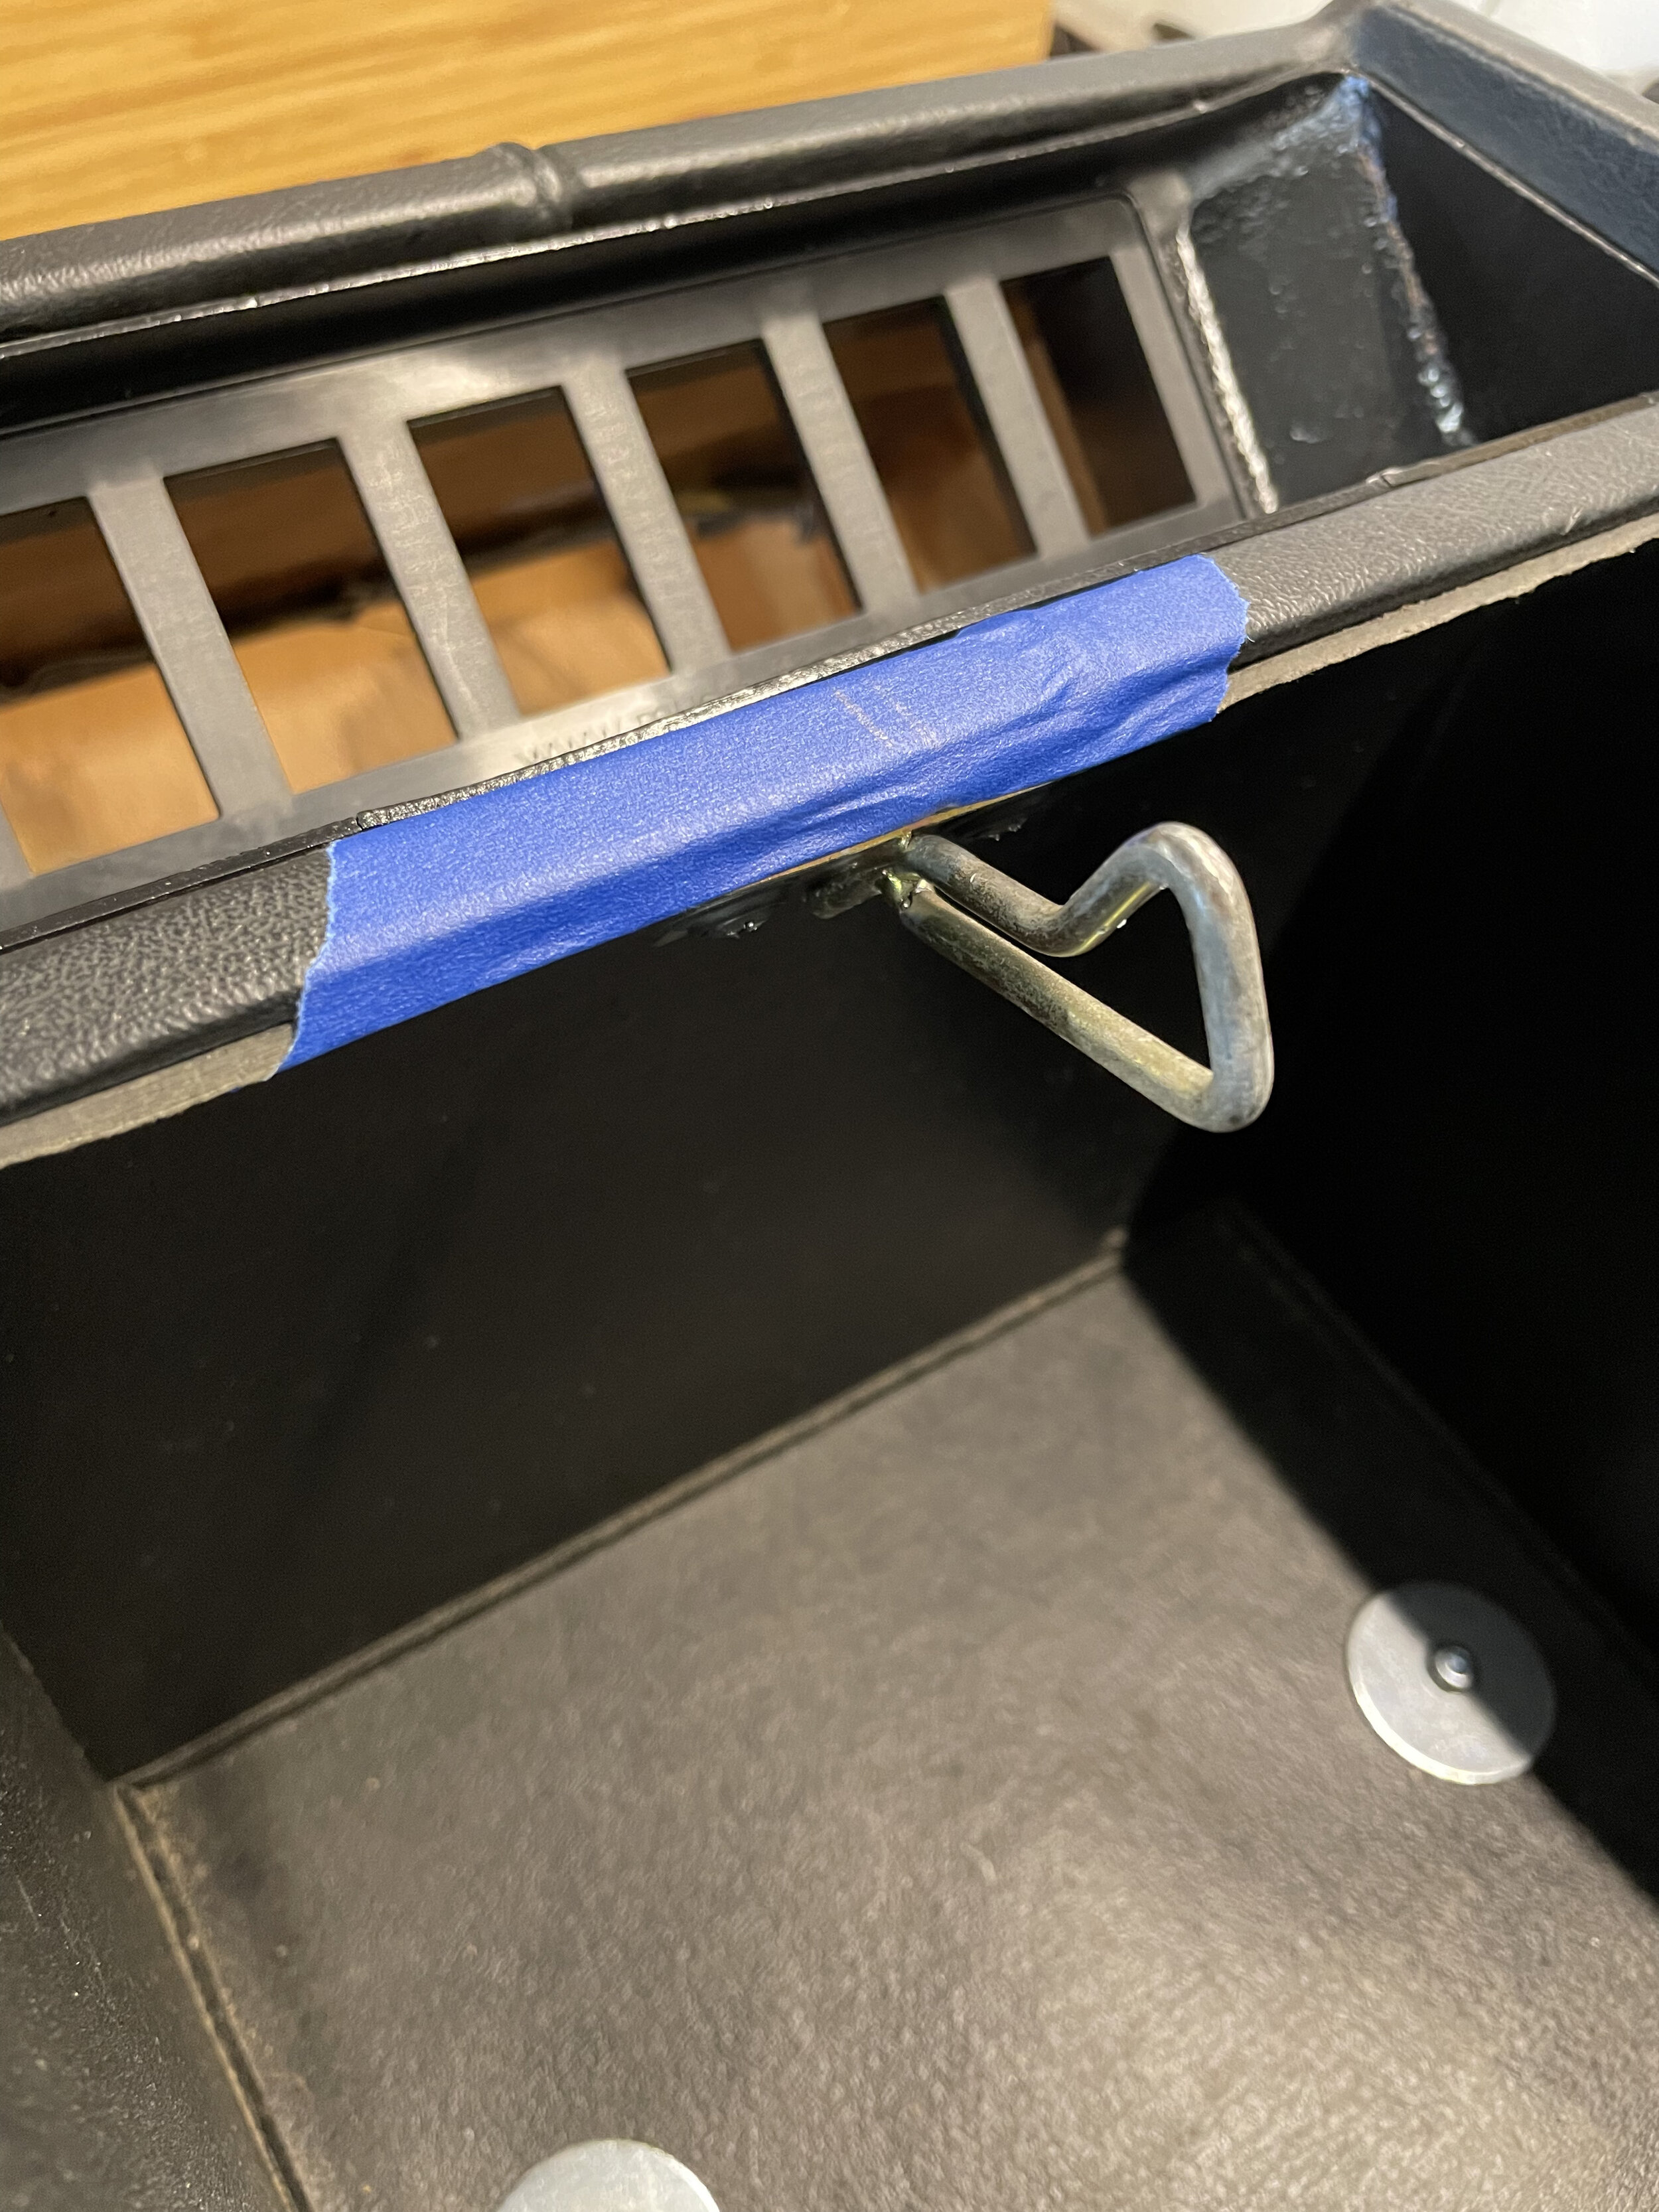
I then spent some time bending and positioning the strike plate so that the lock mechanism would engage properly. After many attempts I finally got it. Next I took the lock mechanism to a locksmith who rekeyed the lock so that it would function properly. Now I have a working lock for the cubby box albeit not overly secure….any child could simply rip these lids off the hinge. For me I just wanted the damn thing to work properly.

For the stereo I tried a couple different headless radio solutions. The first was the Memphis Car Audio. That had a volume issue so I ditched that. I then tried a small Kicker amp with an MTX bluetooth module which worked well but the MTX had a lot of interference in the sound. I tried a few things to reduce that interference but I could not get rid of it and realized it is just the inefficiency of the design…..so I ditched it. I ended up keeping the Kicker amp and simply plugging in my iPhone to the RCA hookups of the amp. That eliminated the interference and gave me great volume control. To make it a bit easier to control the songs and volume while driving I got a bluetooth remote that mounts to the steering wheel. I then replaced the marine grade speakers with more responsive speakers by Kicker.
For the switch panel to hold the Carling switches in the cubby box I went with a custom solution by Mudd. The final result is a working locking cubby box that is more comfortable as an armrest since it is raised and I have a hidden radio solution with 6 switches to power my accessories over time. All while keeping the original 90’s look with no damage to the truck.
All in all this was a much bigger project than I had thought. The amount of reworking I had to do to get the system working properly while keeping the original look was a PITA. But I am happy with it.