
Defender Build - Stereo and Switches
If you have read our entire build process you might have noticed we have tried a few things to figure out the perfect stereo and aux switch setup. As a reminder there were no aux switches when we bought the truck and the original stereo had been replaced with a modern one, but that stereo was in the original enclosure. I didn’t want to cut into the dash or do any permanent damage so I have tried to figure out switch locations that keep the truck clean and stock. My first attempt was to remove the stereo and go with a headless unit and then to put switches were the stereo is normally. It worked well but eventually I got tired of having a headless unit because it meant I could not have handsfree calling.
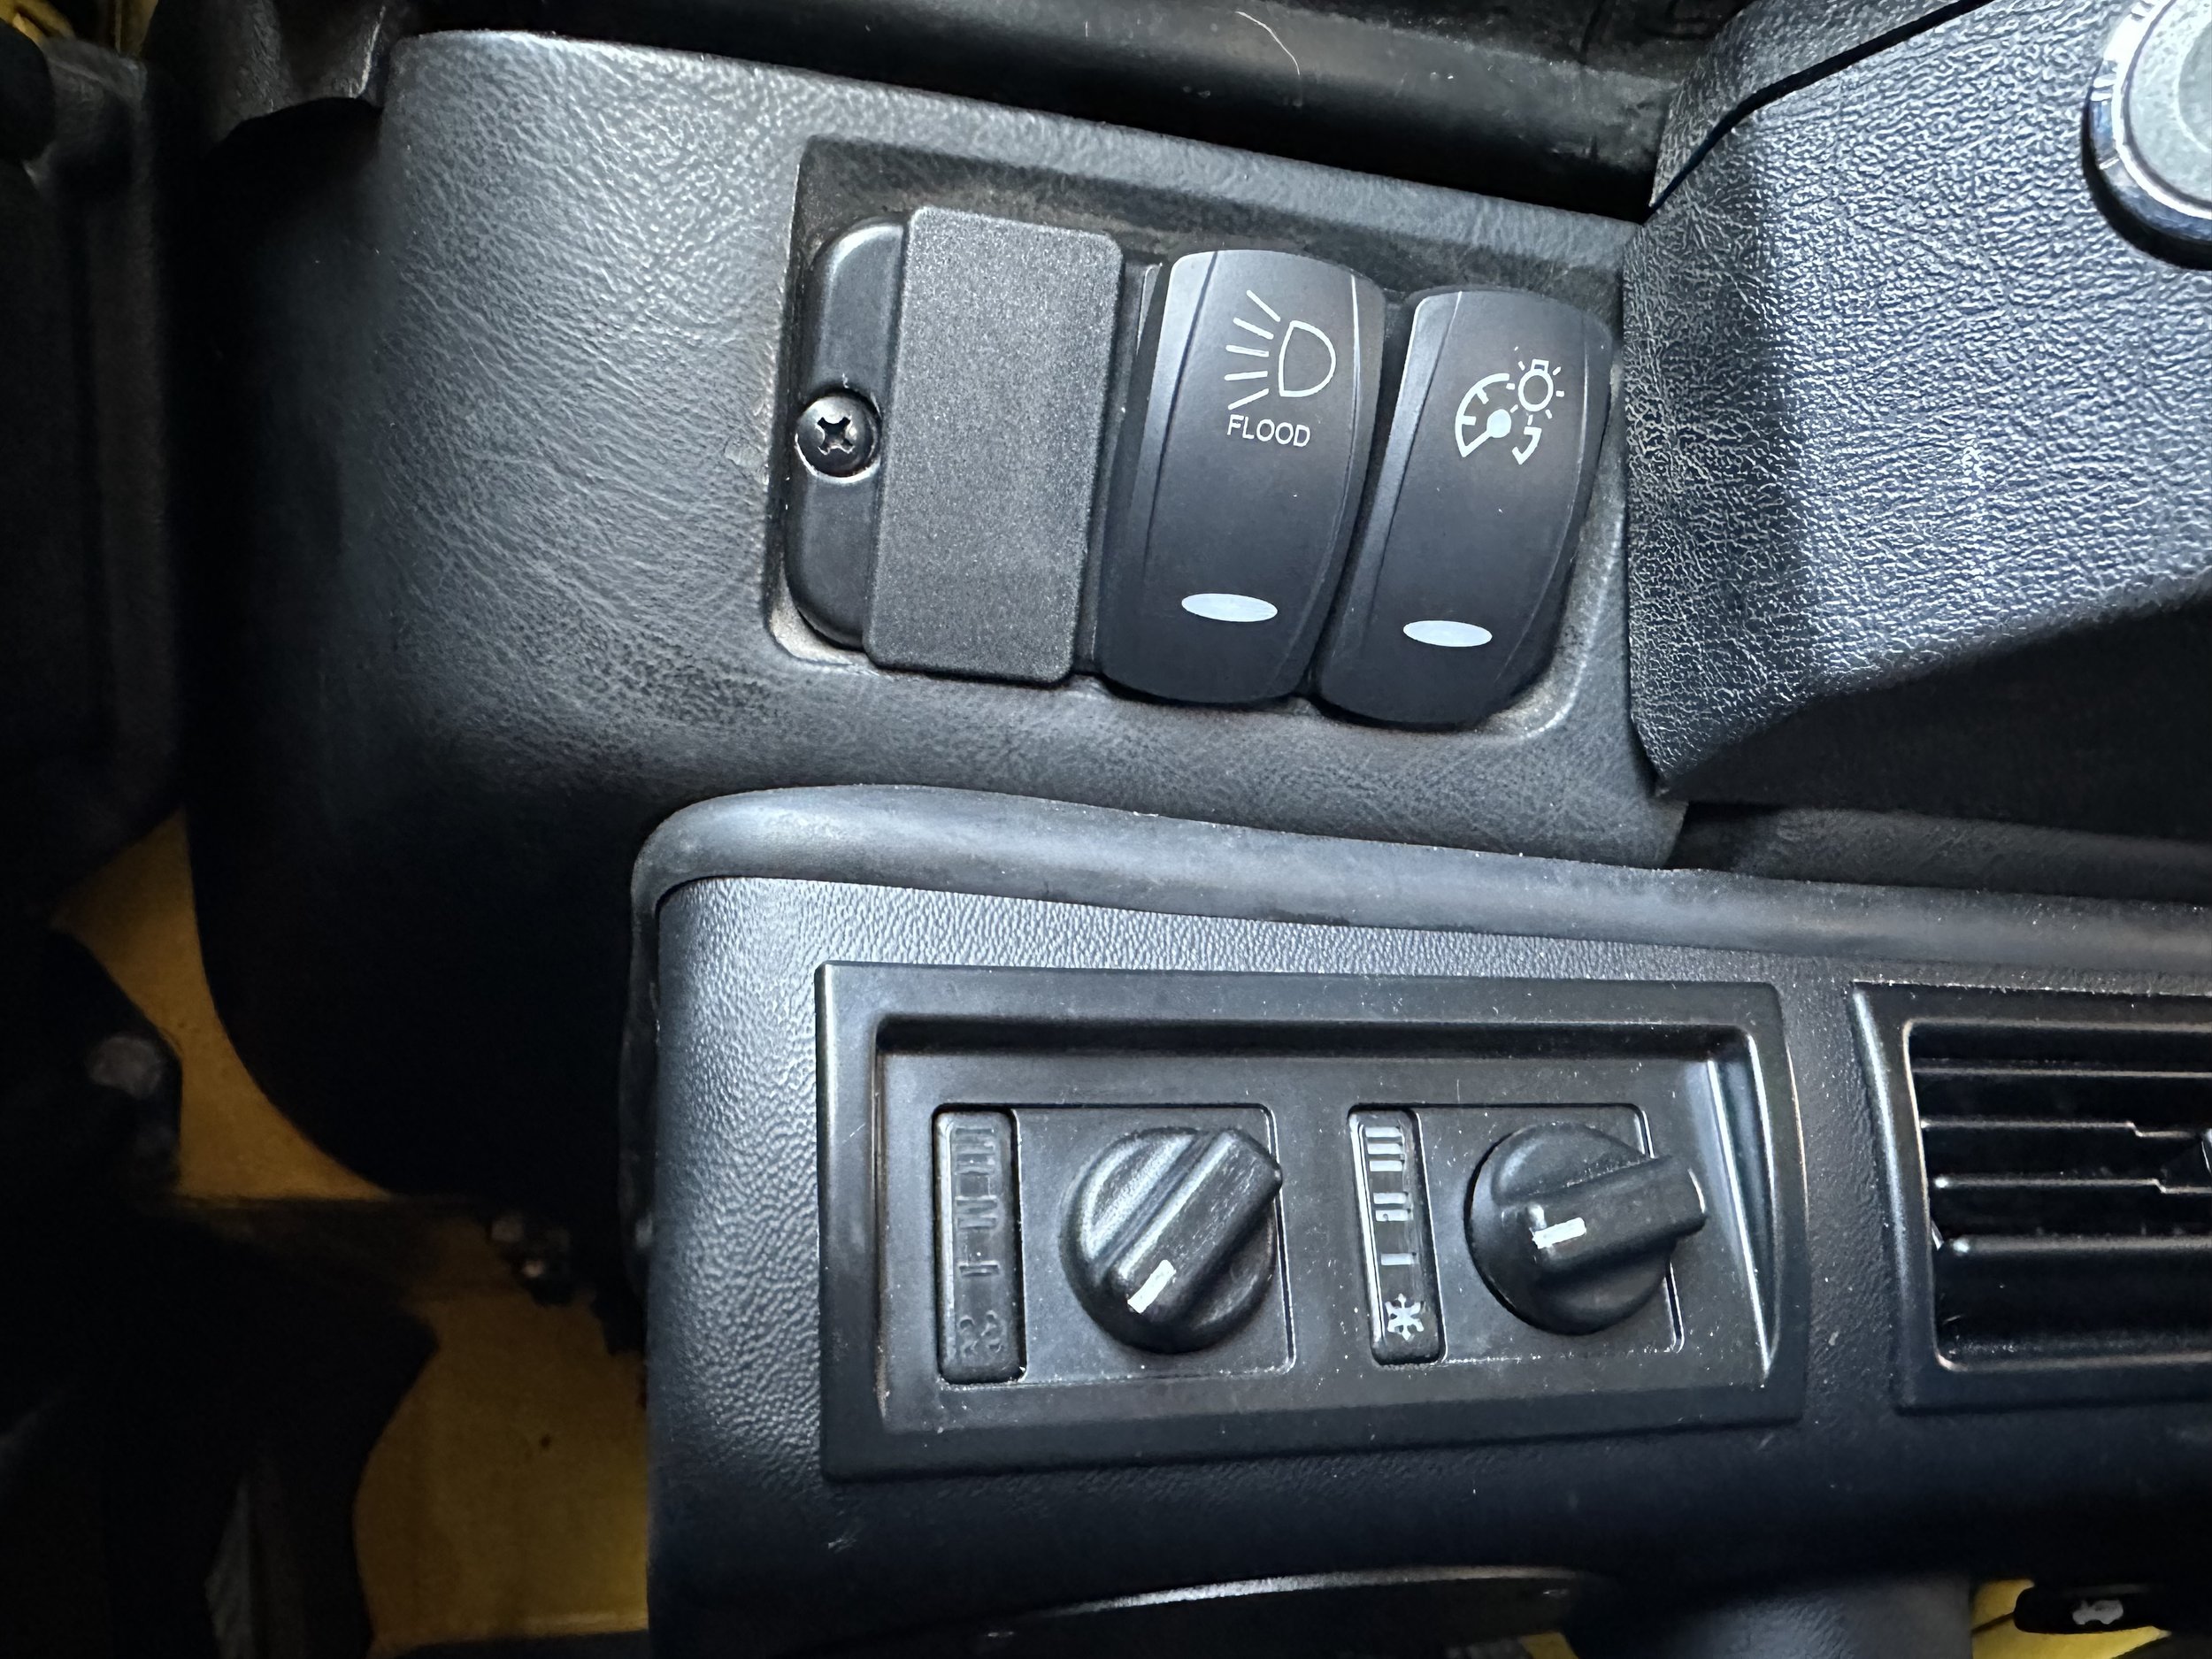
My second attempt was to get a retro stereo (modern but looks like it came from the 90’s) and install it in the stock location and then to move the switches to the dash using a combination of switch plates specially designed to fit in Defender OEM locations. I liked having a traditional stereo again as this gave me radio, bluetooth streaming, and handsfree calling all while looking old school. The switch plates look great but I ended up wanting more switch options. So I had to try something else.
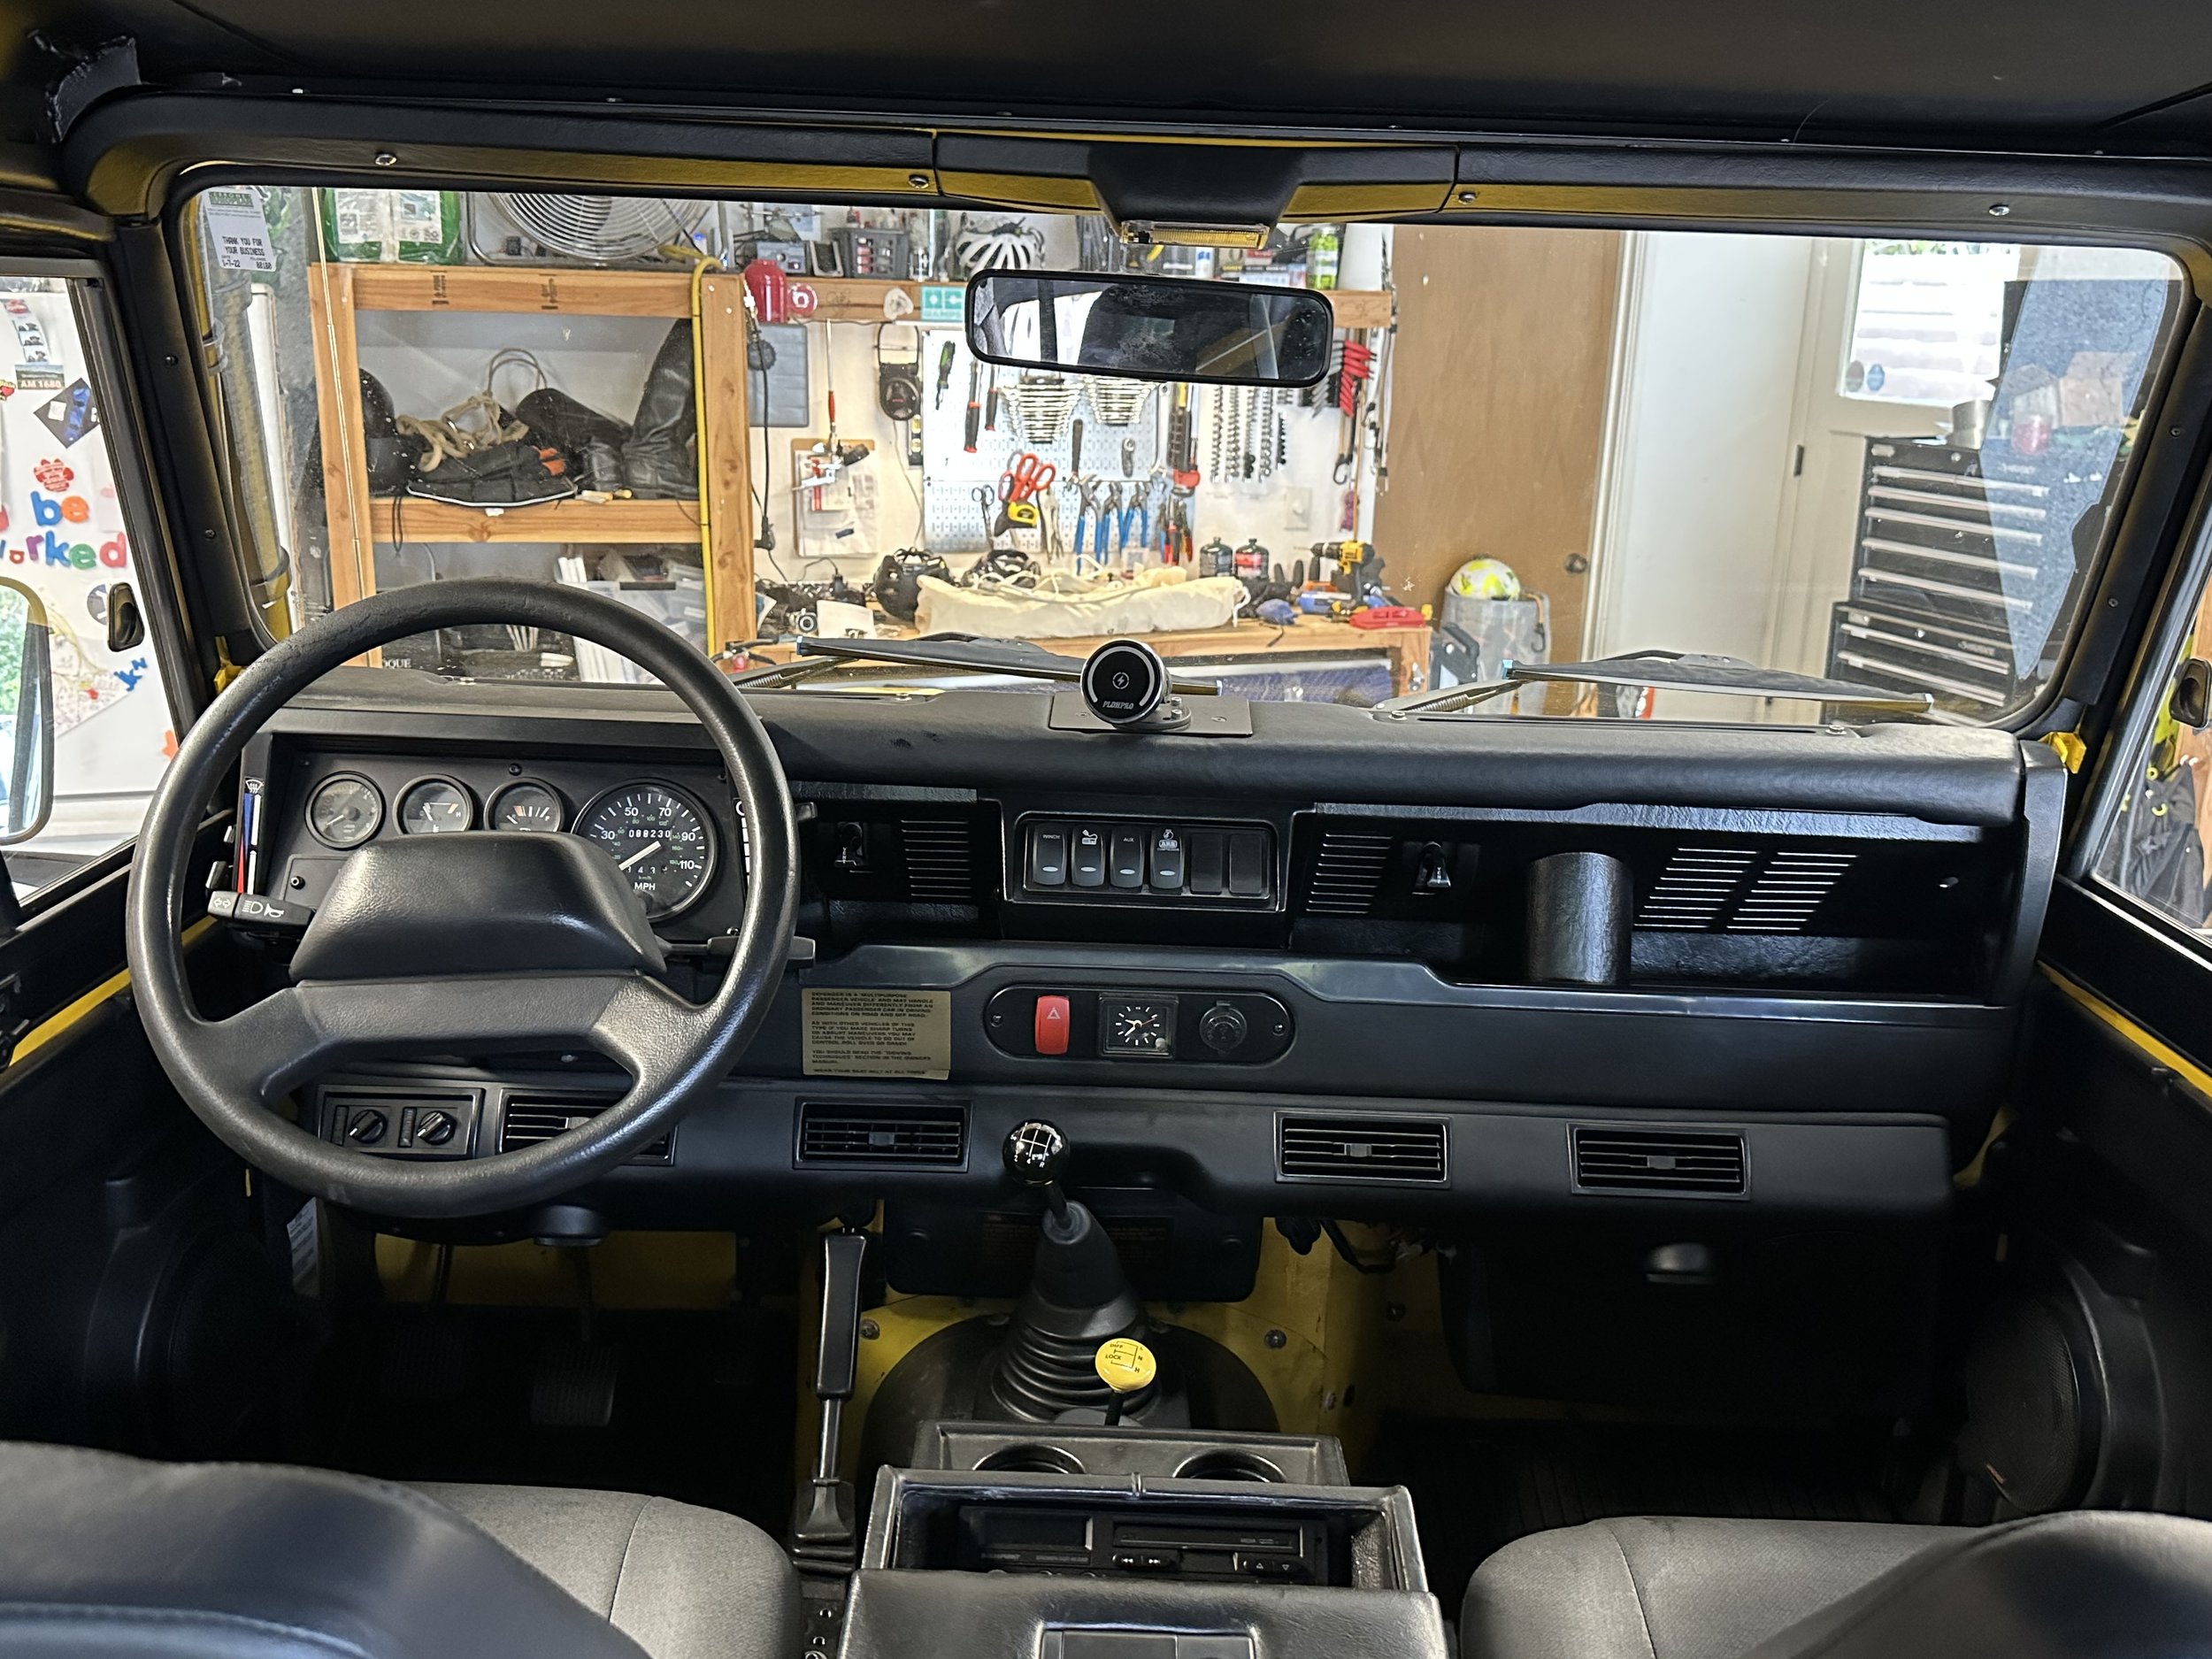
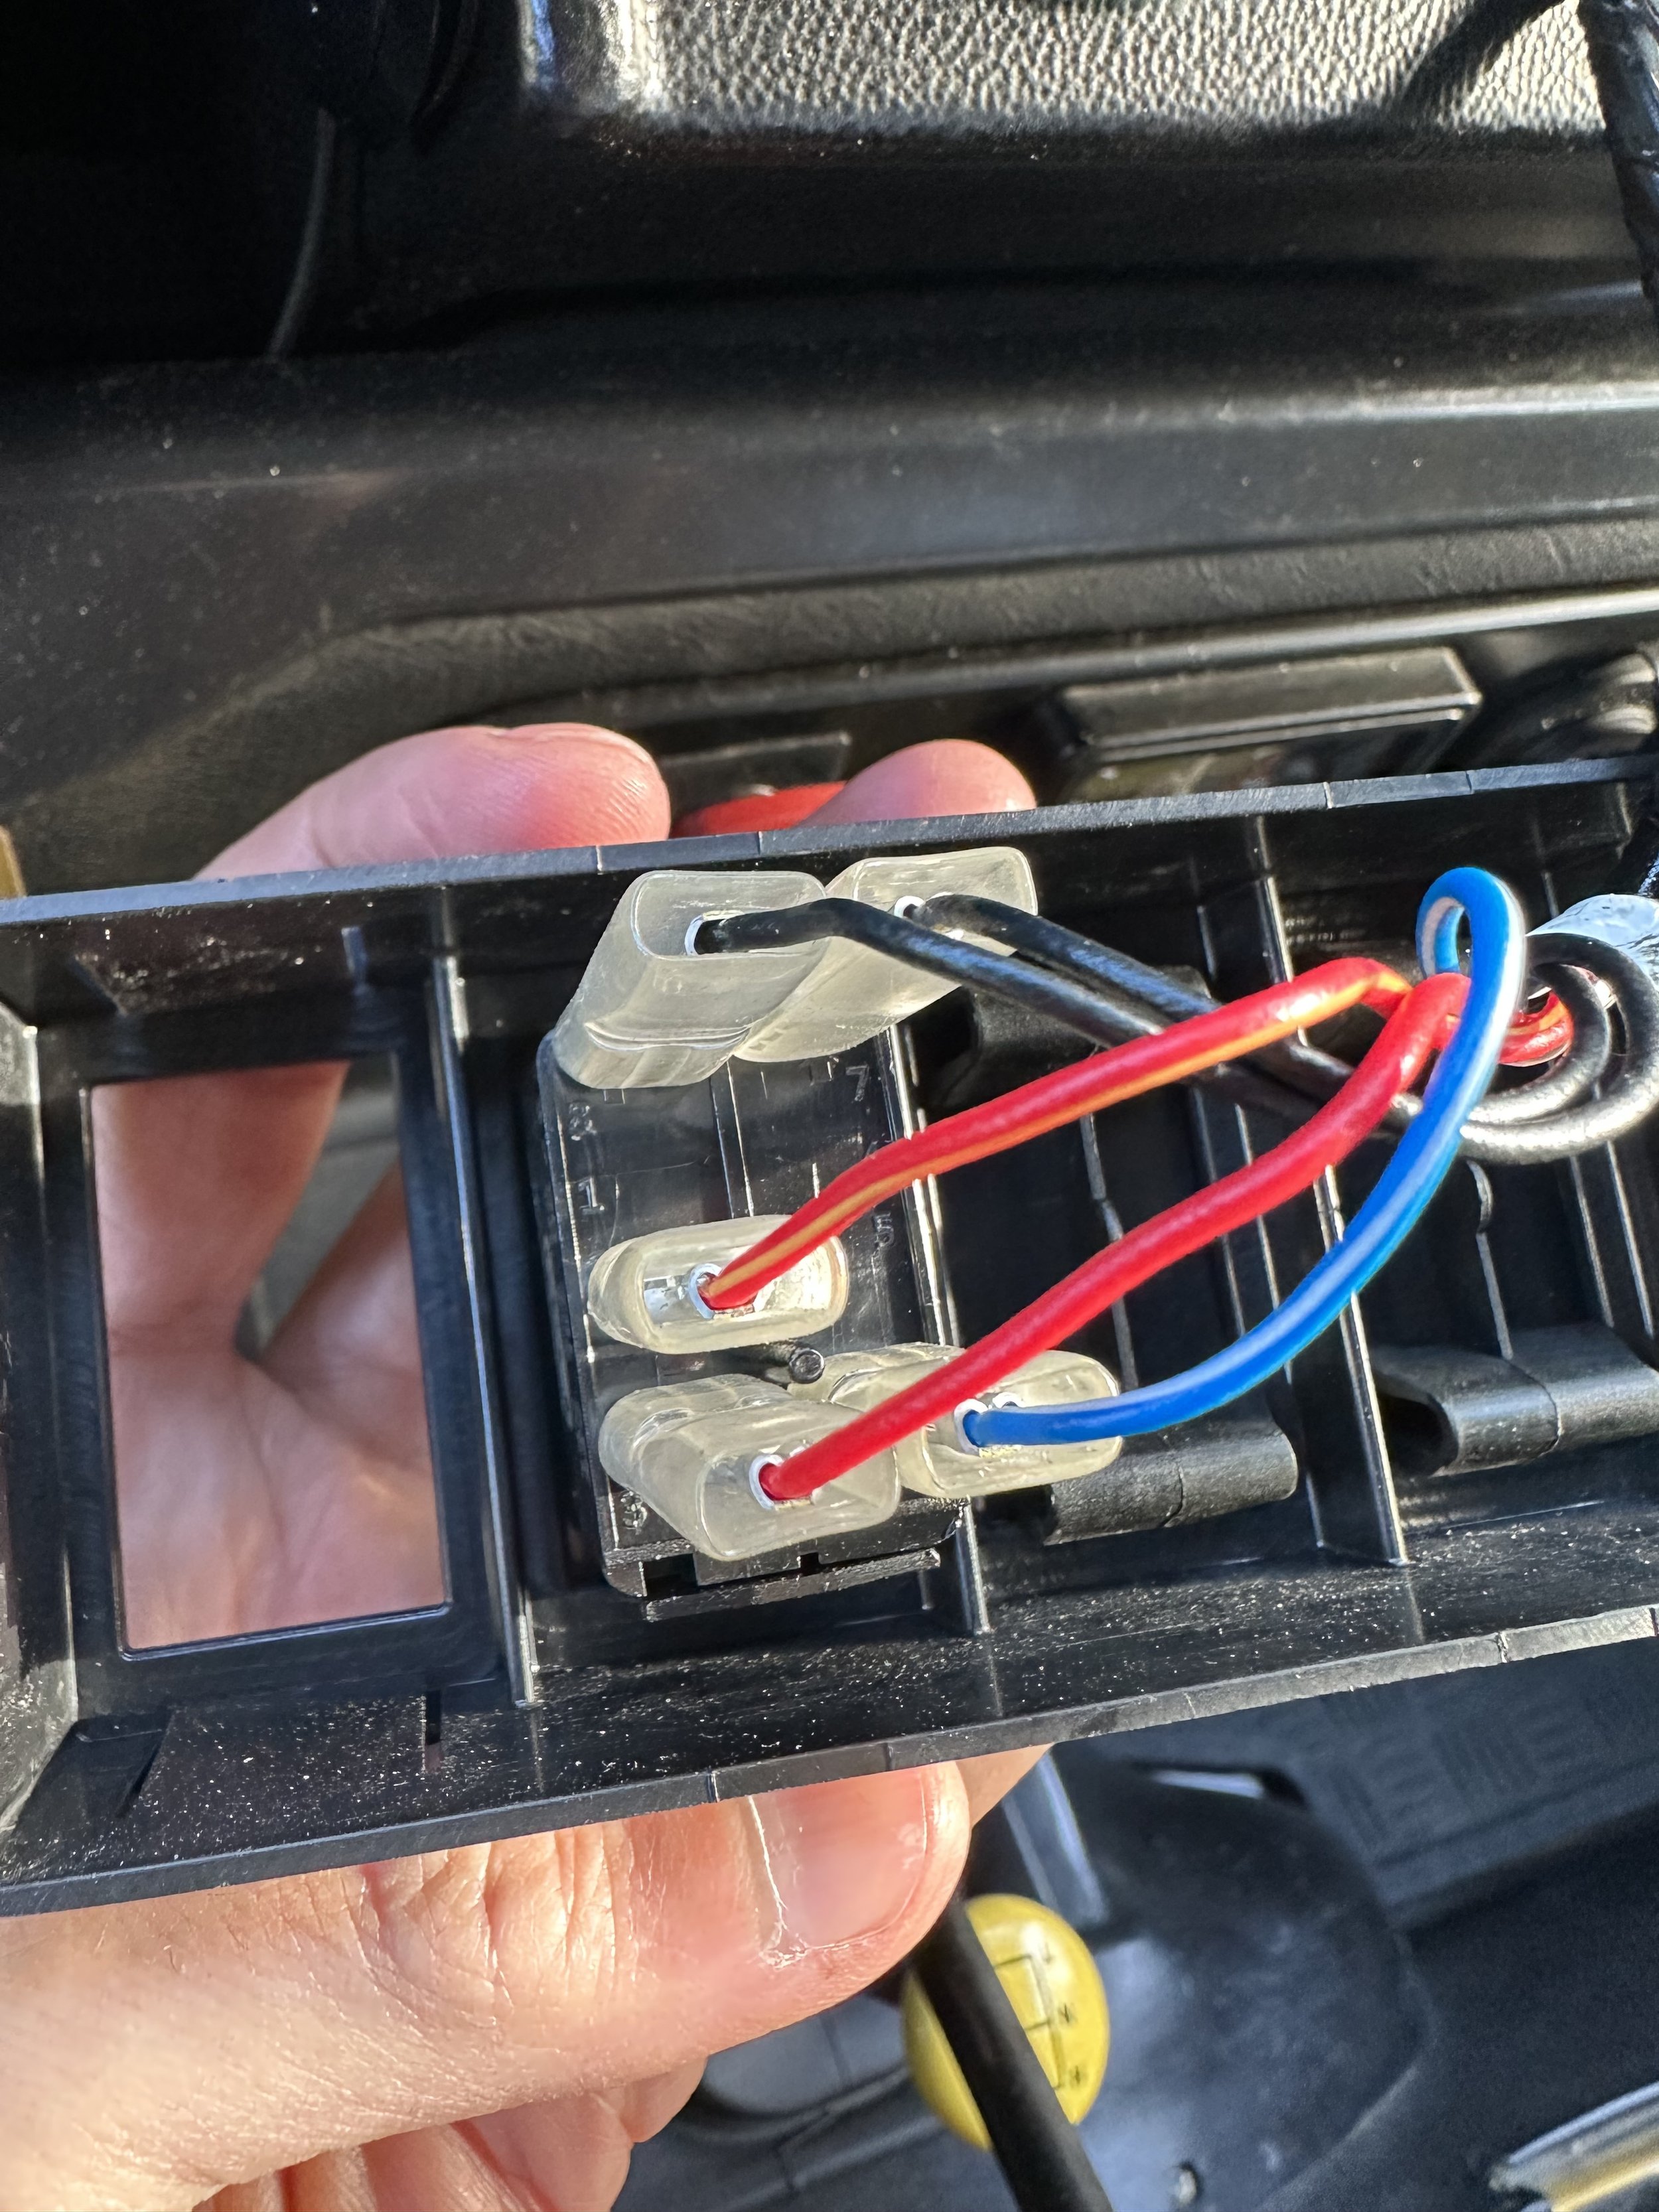
That has led me to my third attempt, which is to keep the retro stereo in the stock location, keep the custom switch plates, but to add the optional radio housing in the center dash which I would fill with switches. The problem is that it requires adding wires up through the dash in factory wire channels which sounds easy enough, but that process is still a pain in the ass as you need to take apart the dash. This option would give the most flexibility, most custom install, while keeping the design aesthetics intact. And then if you are going to have to take apart the dash I felt I might as well reupholster the dash as well as paint the plastic dash fascia black which was a design change Land Rover made in the later years. Anyone with an older Defender that has the gray plastic knows that gray turns yellow over the years. Going black is a much cleaner look and still stock in some circles.
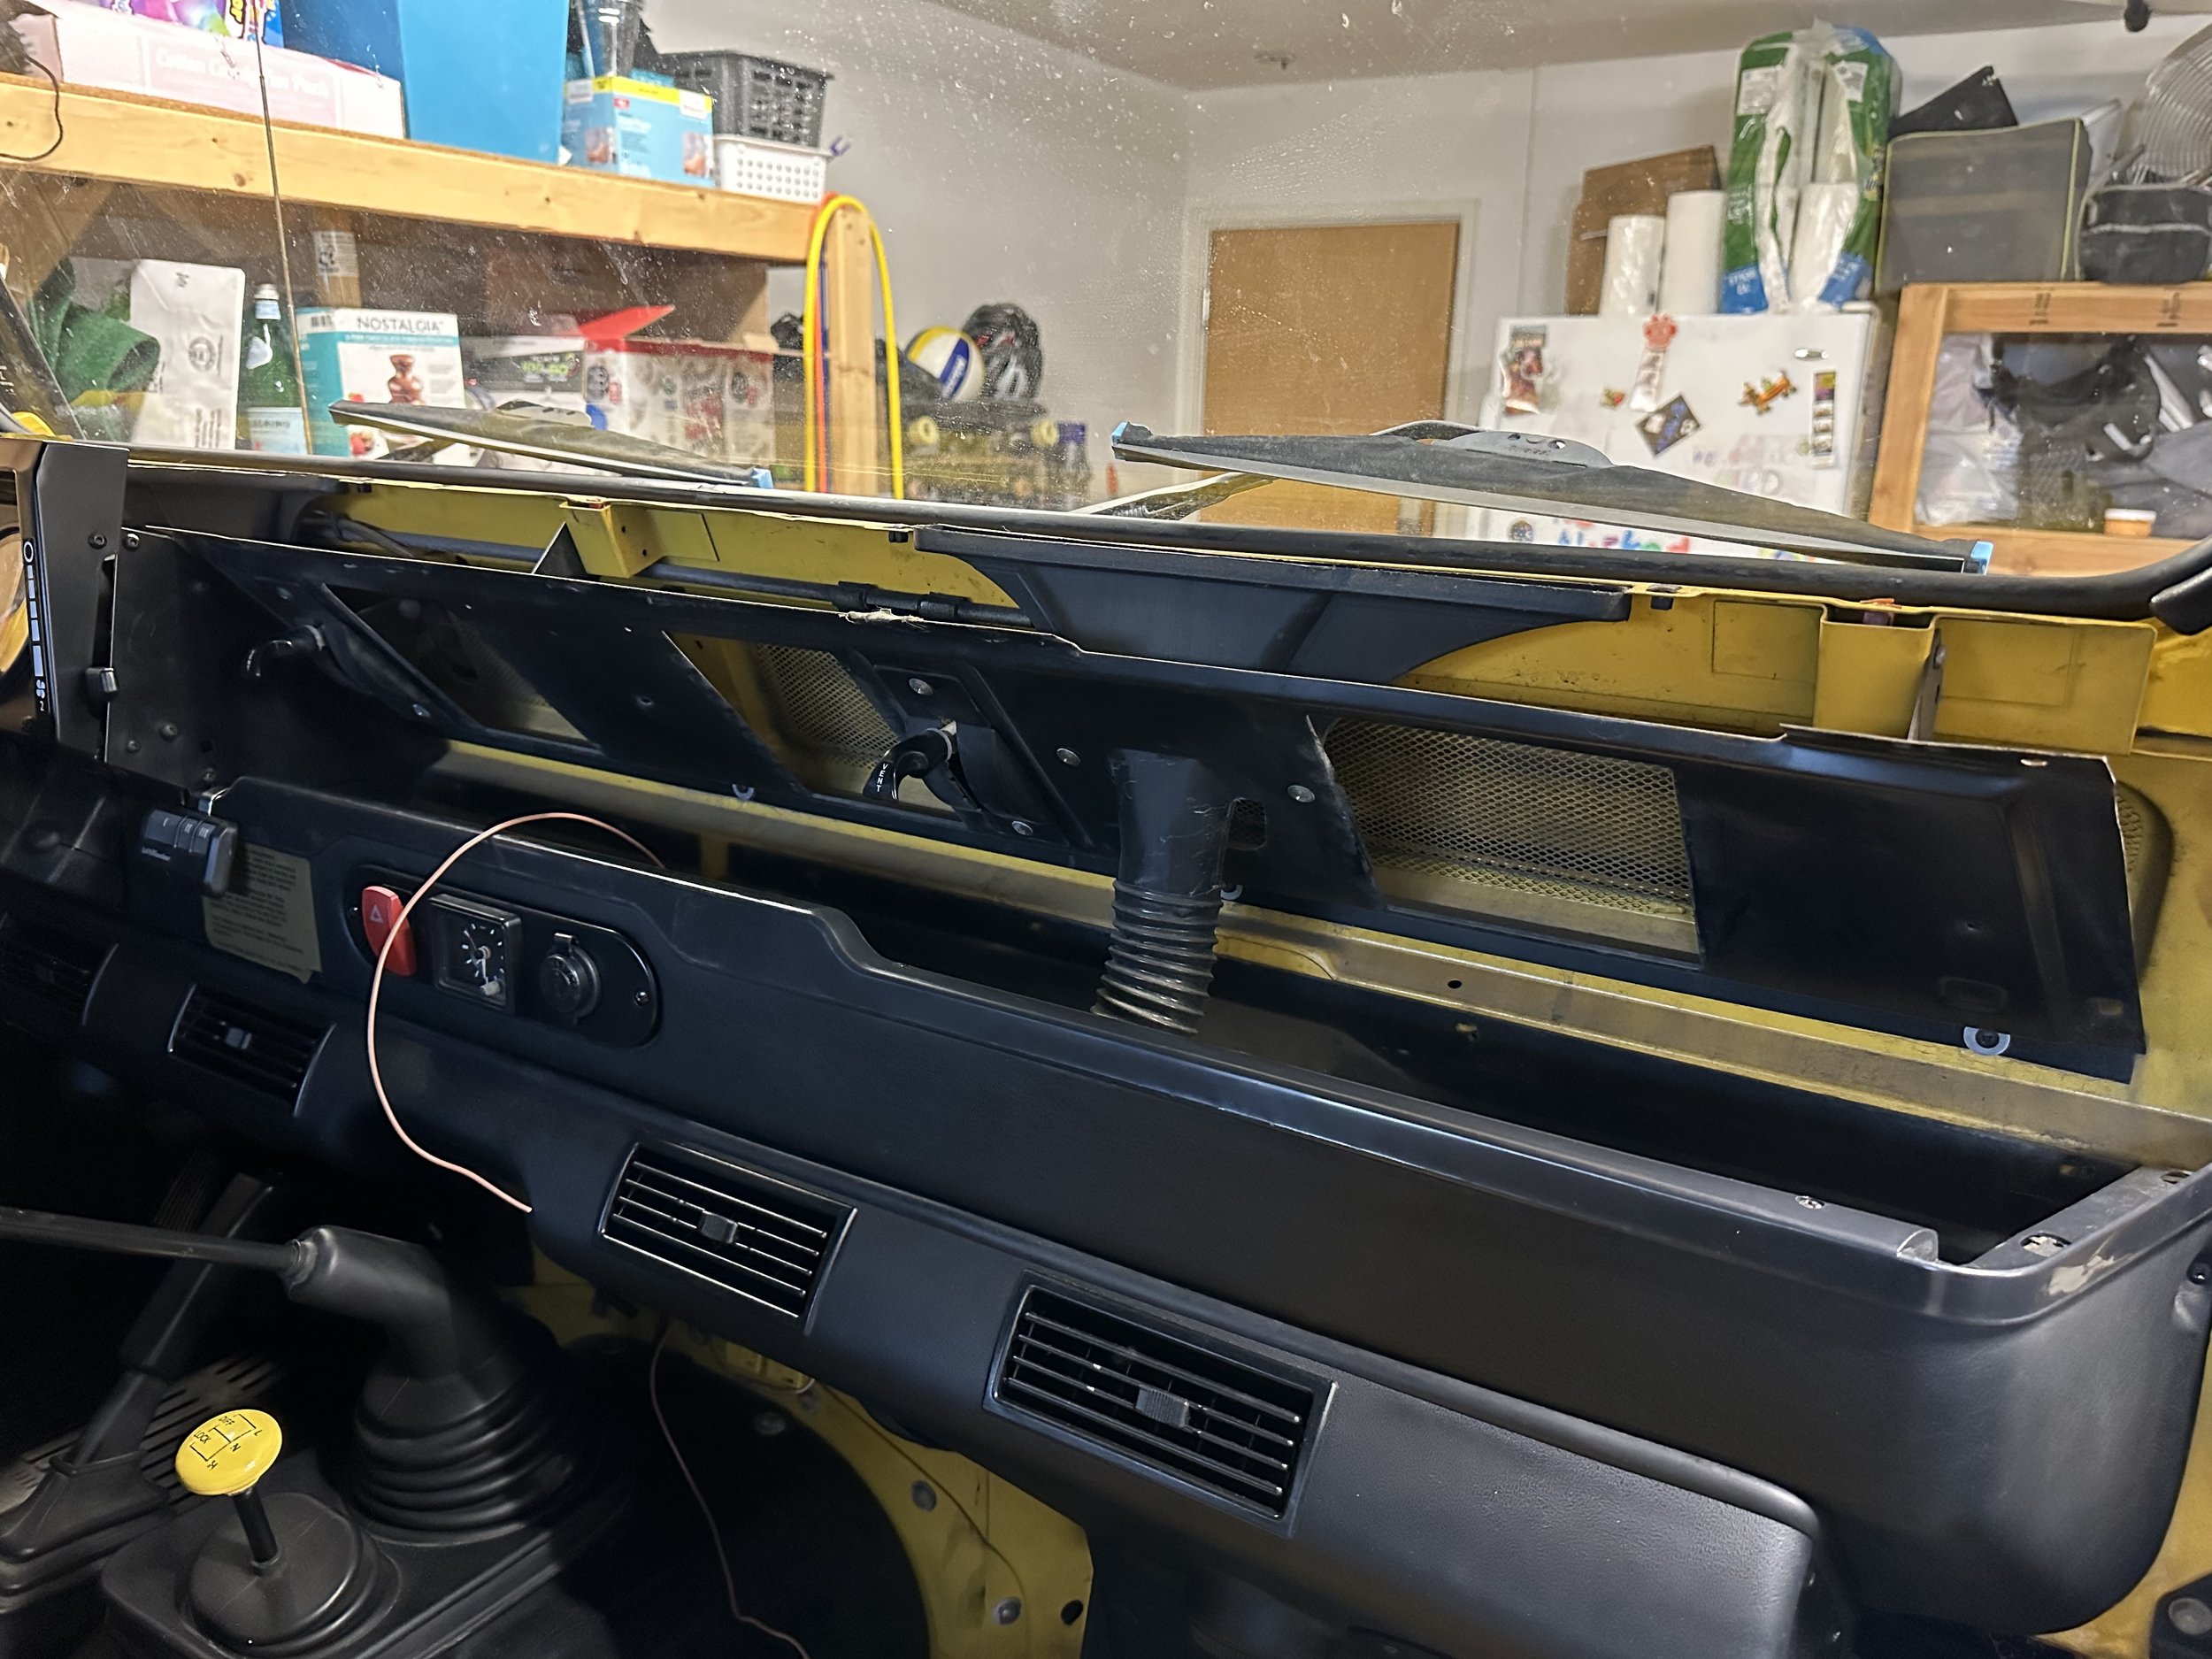

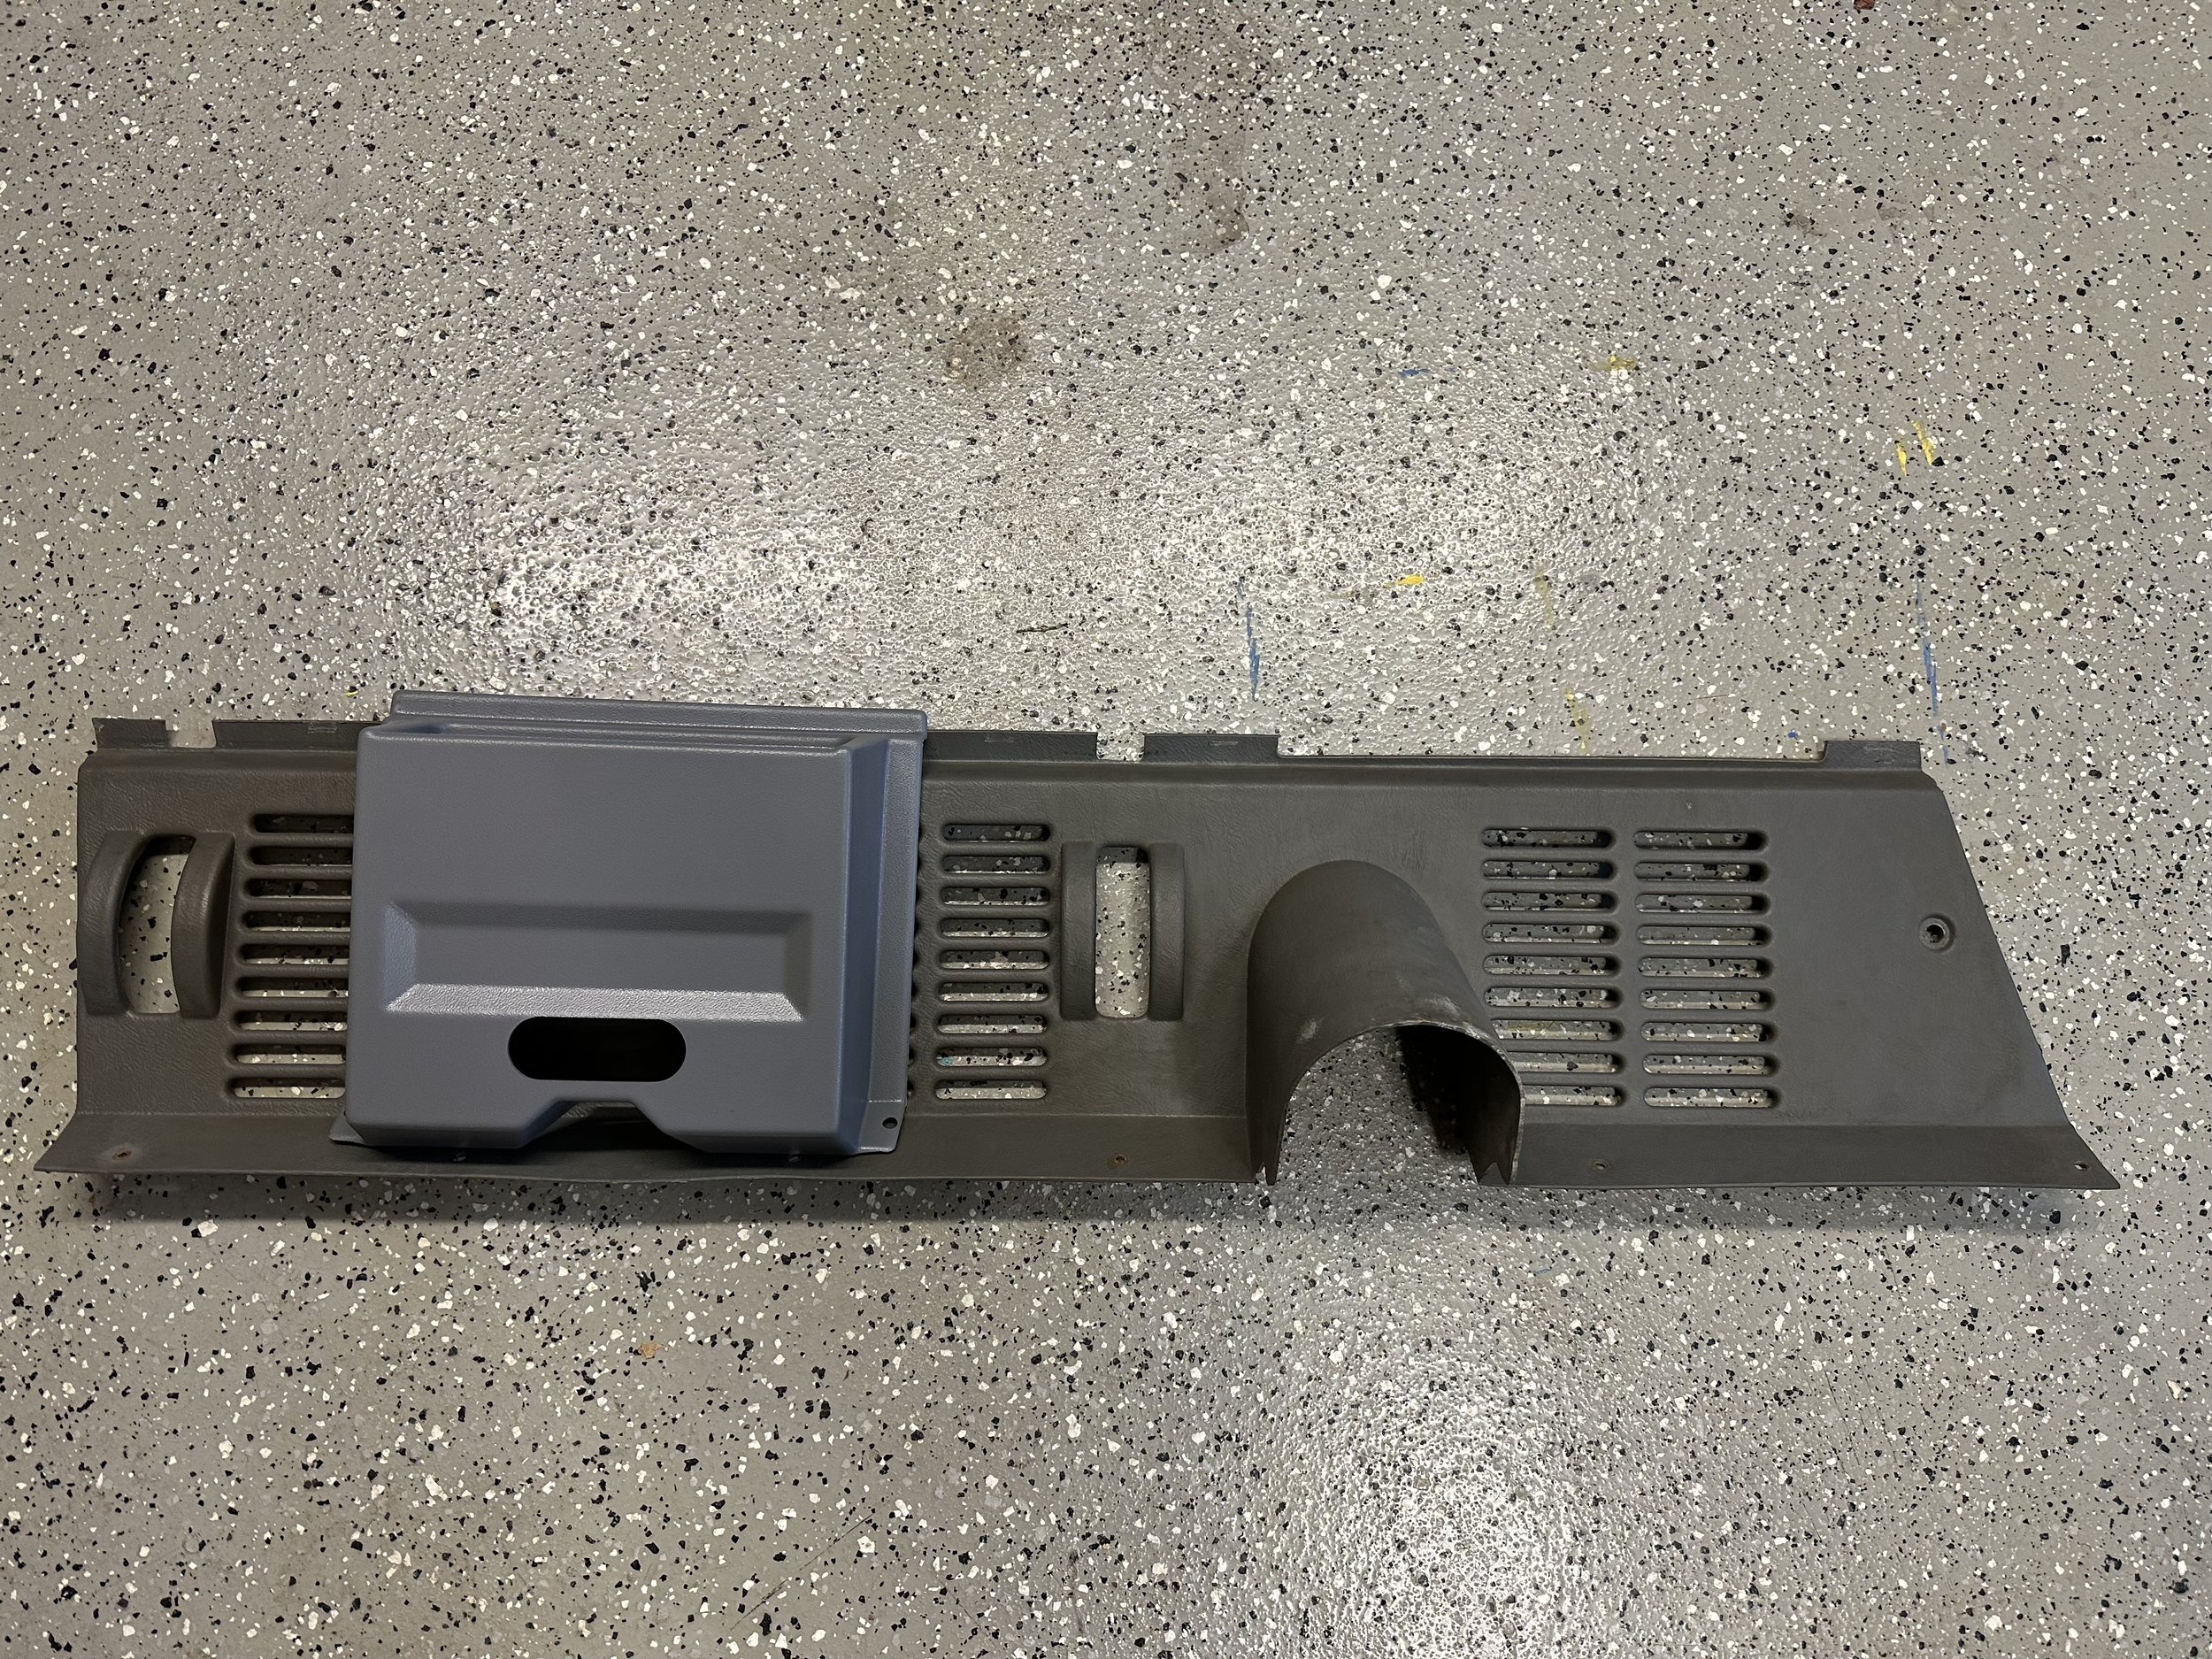

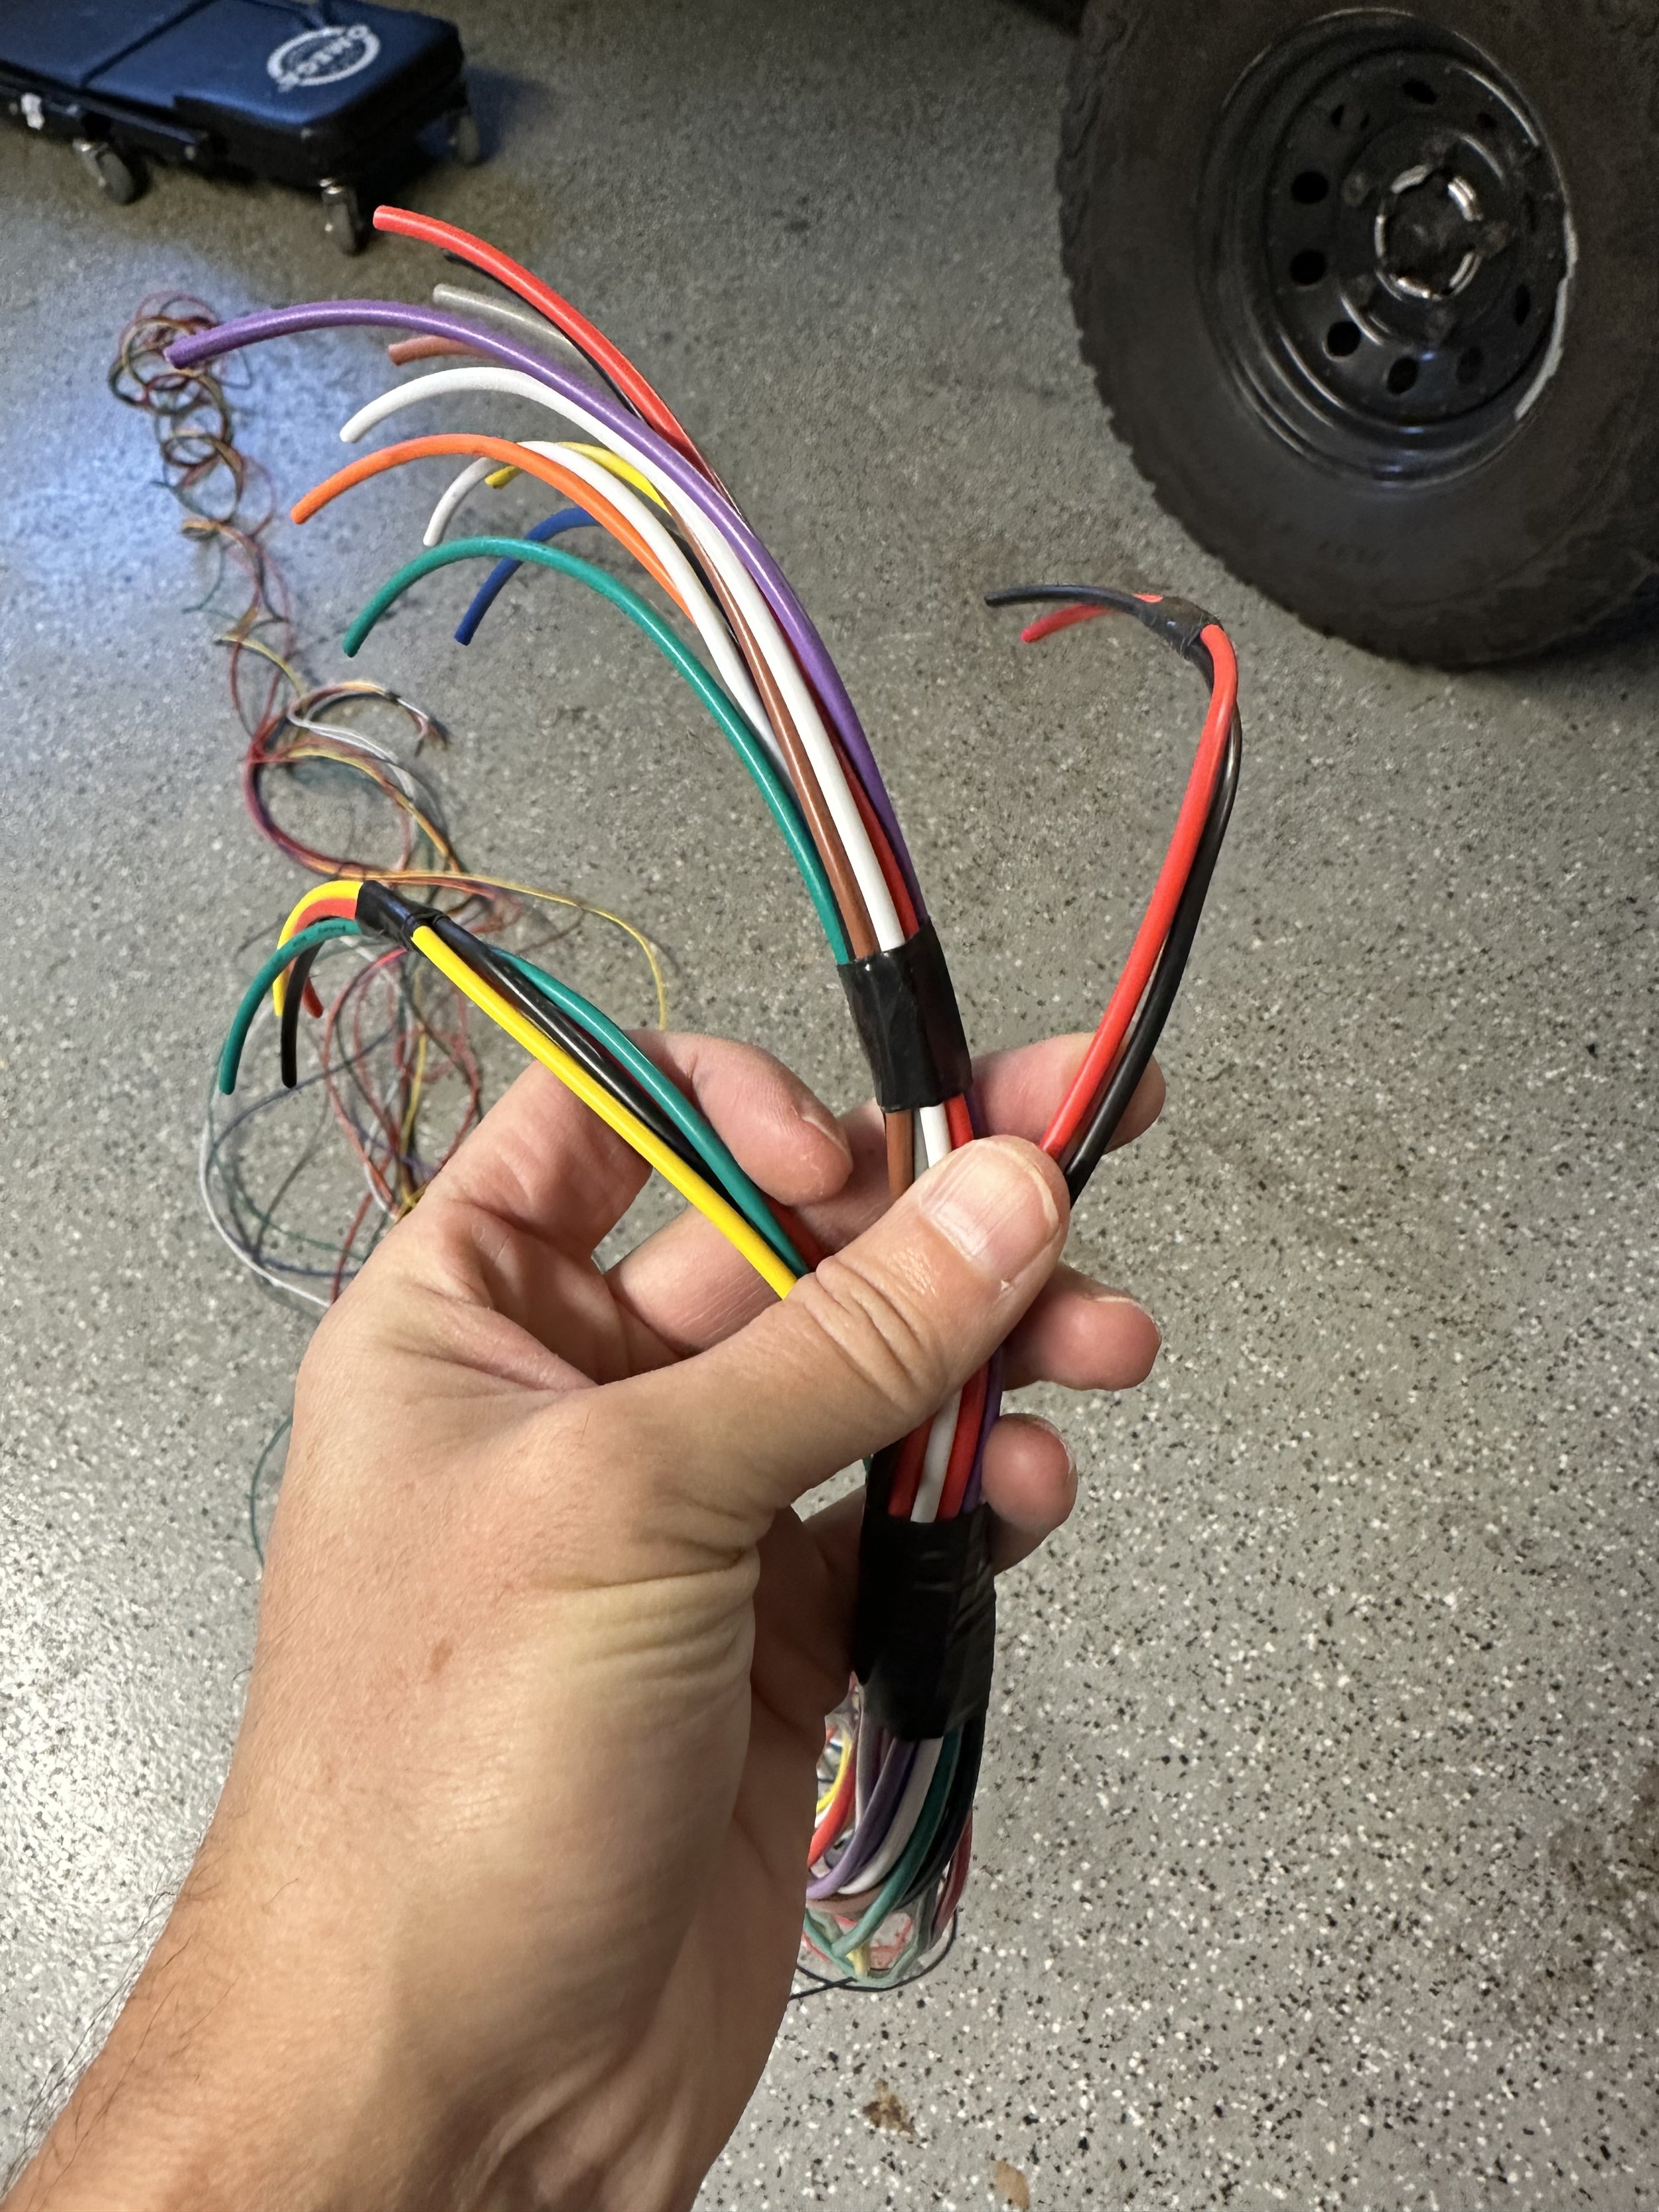
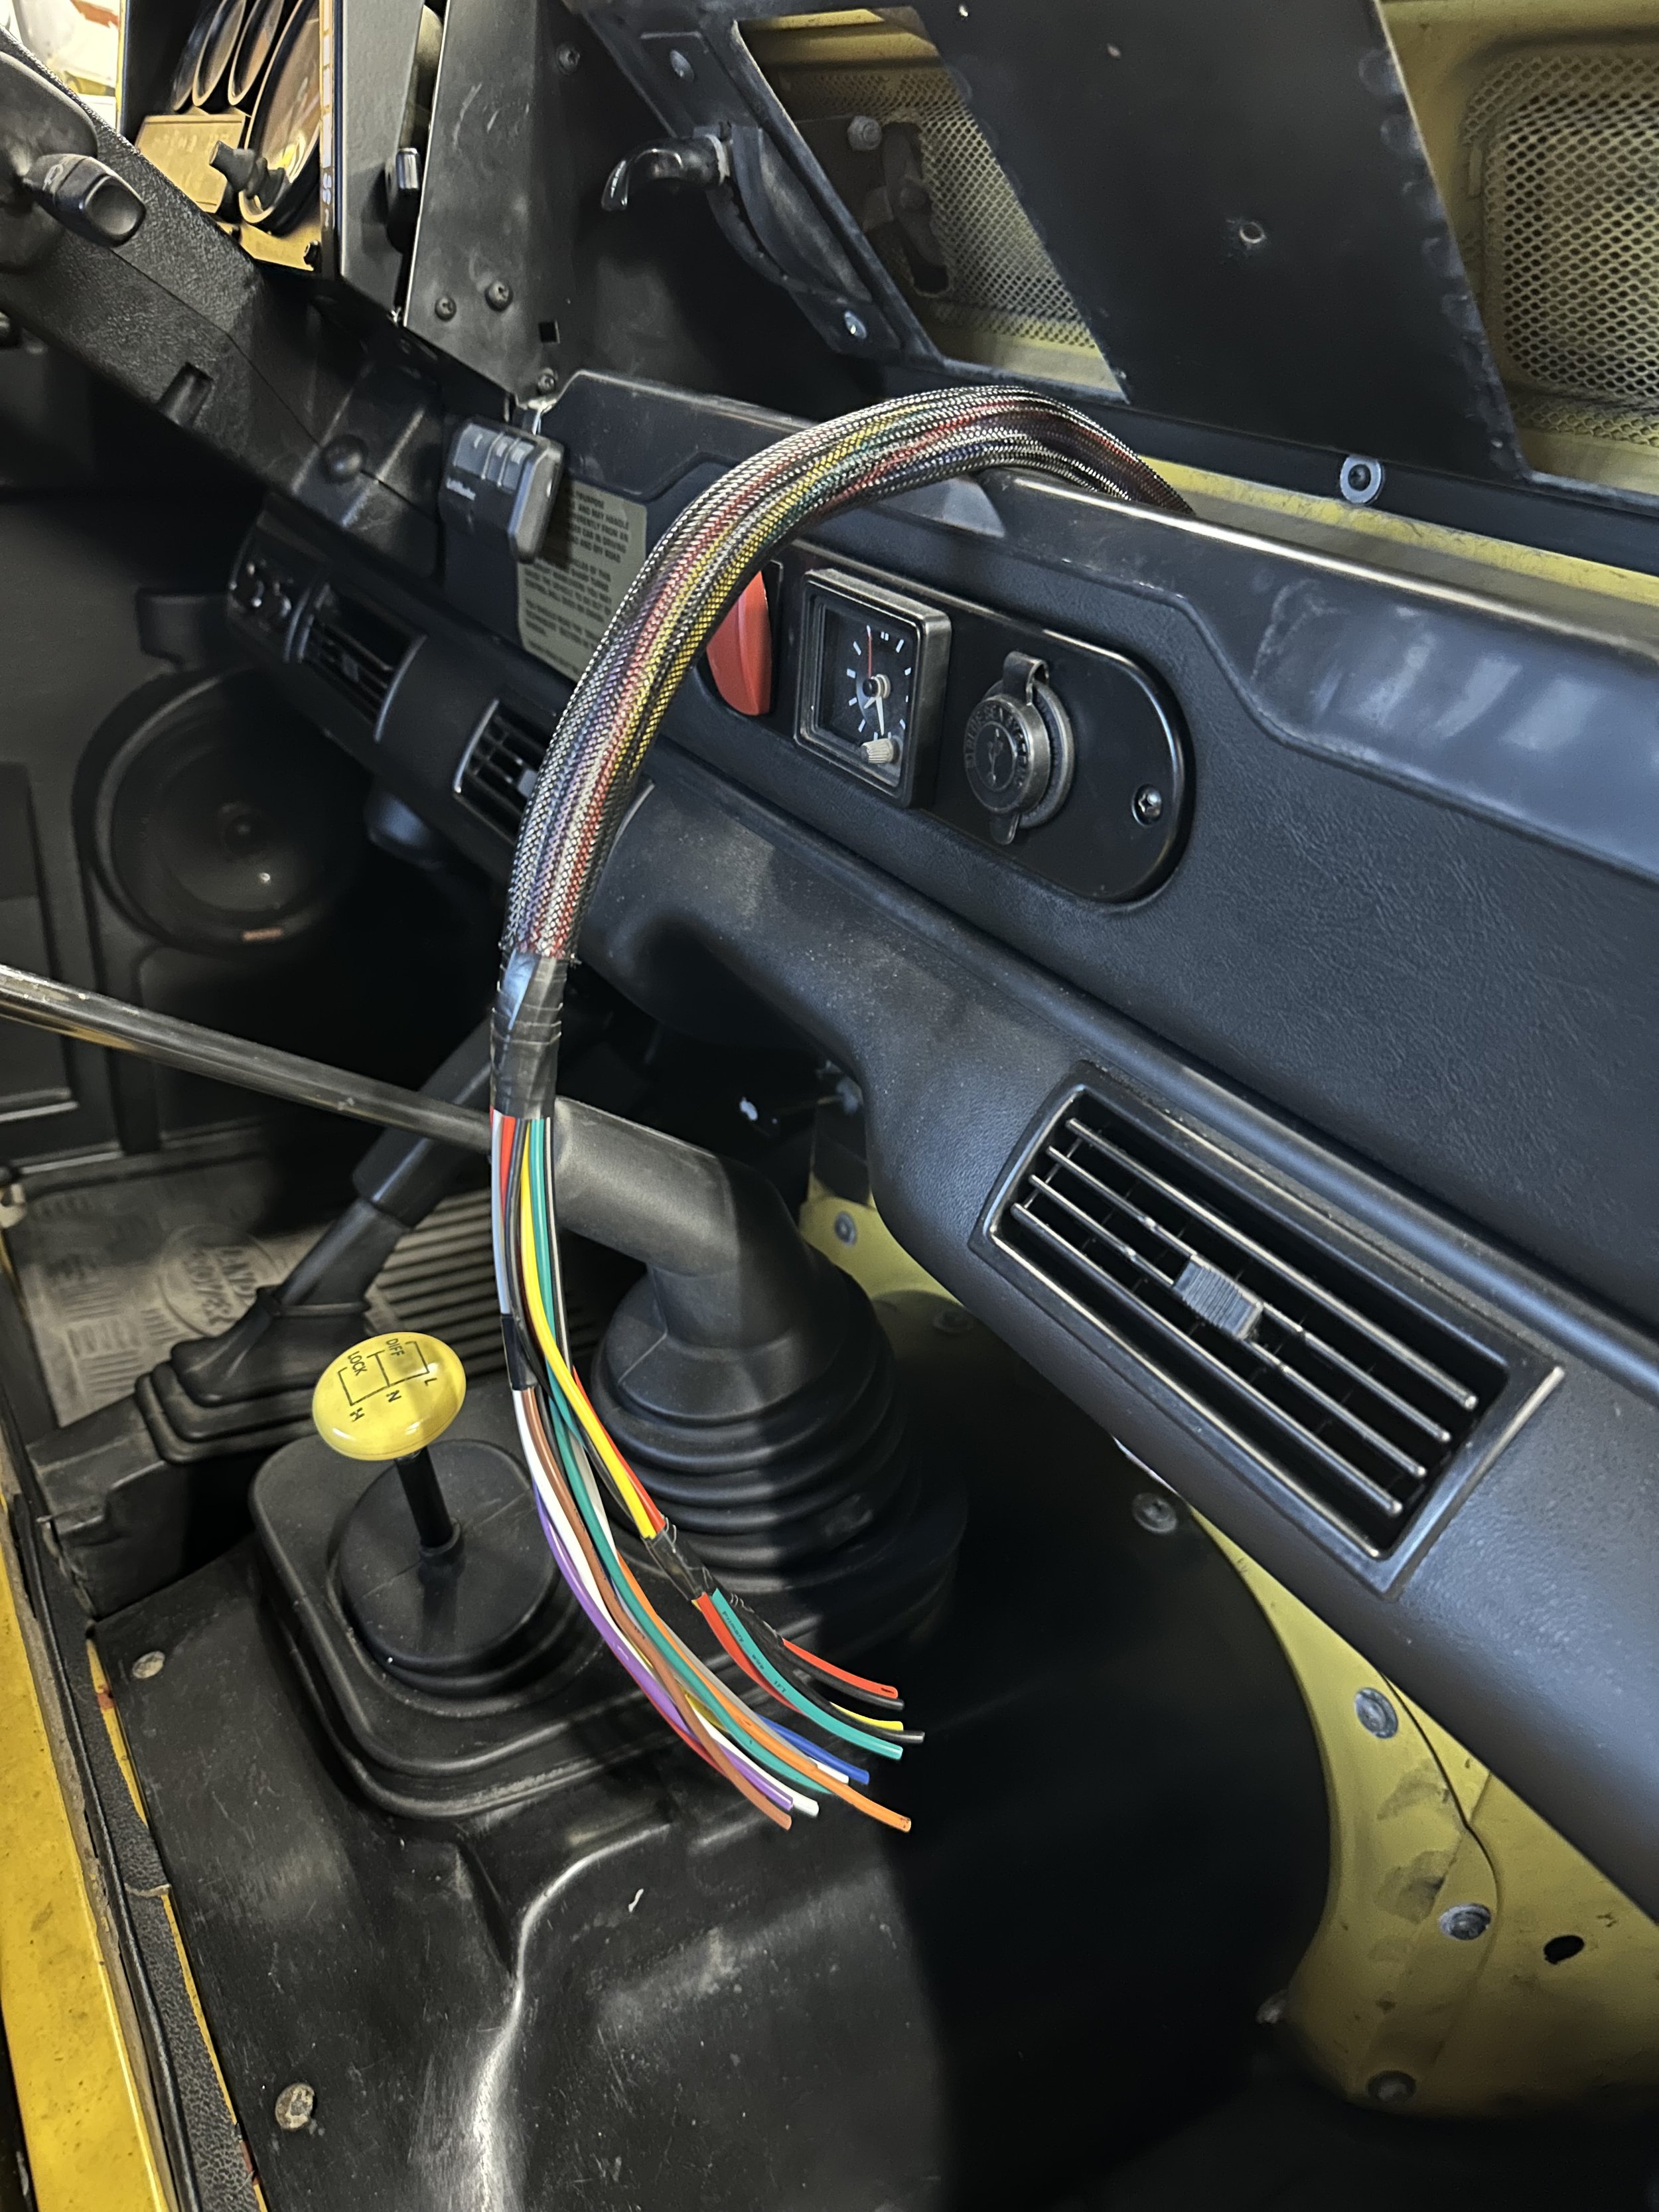
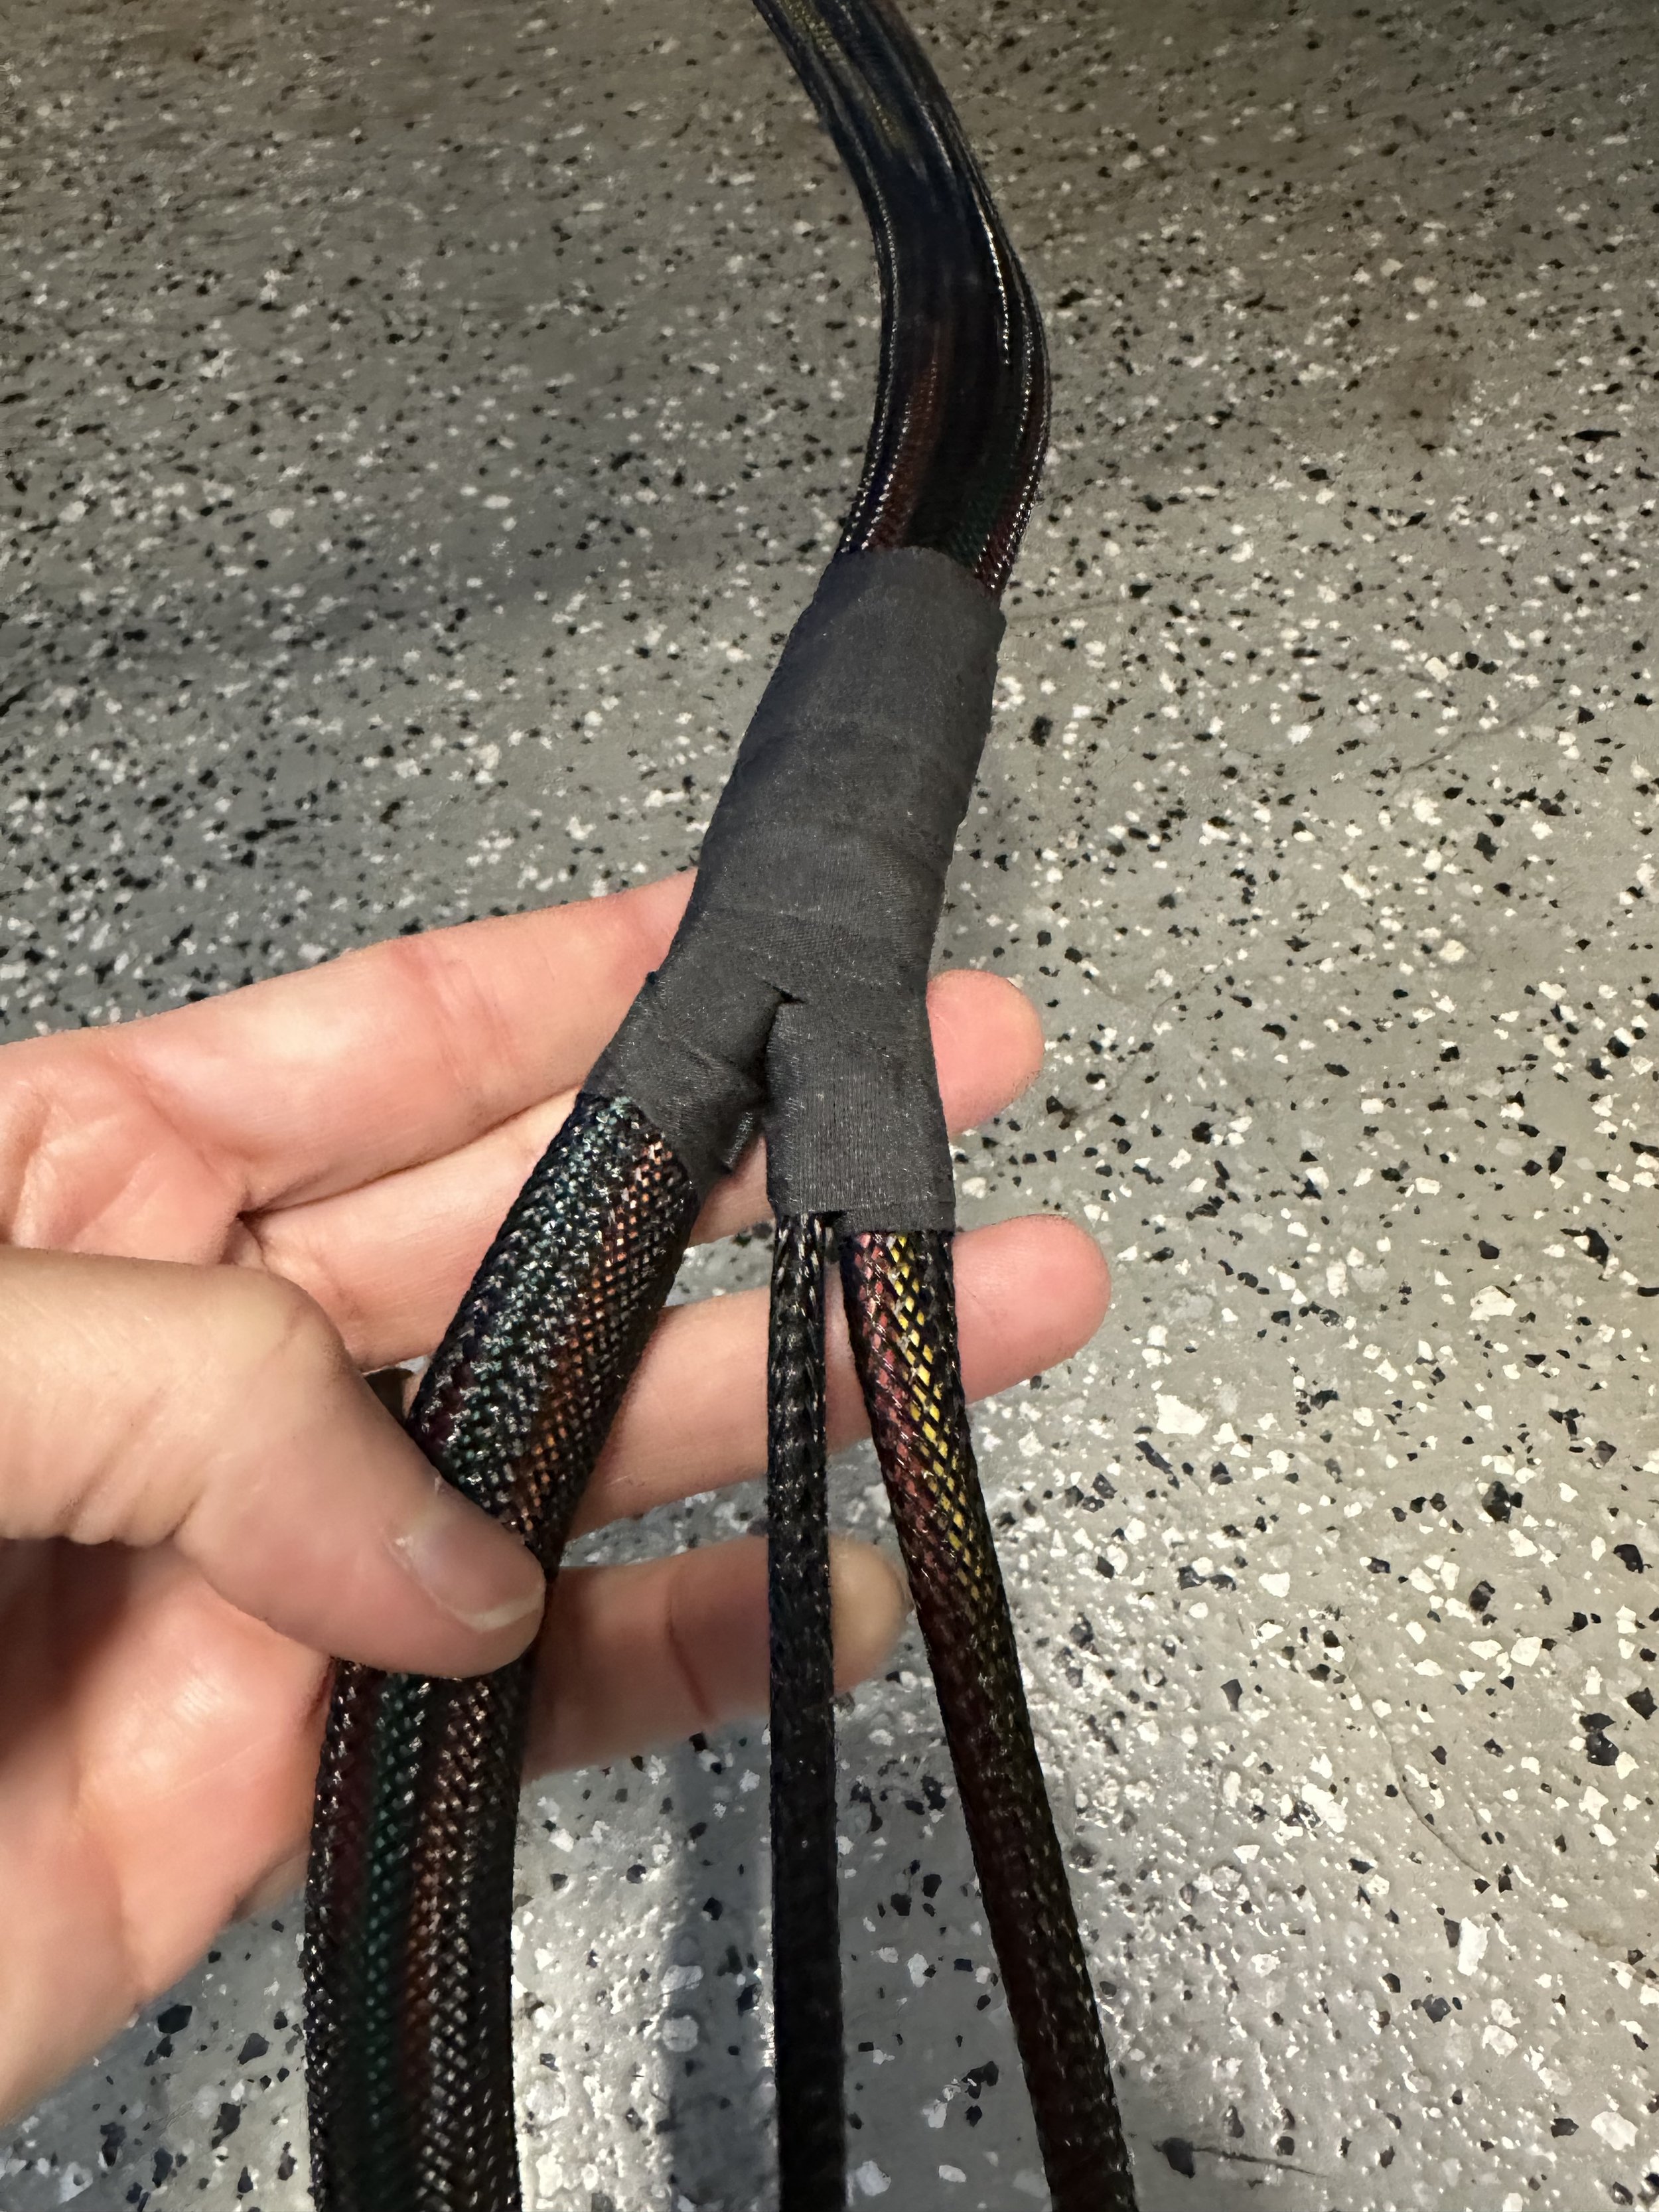
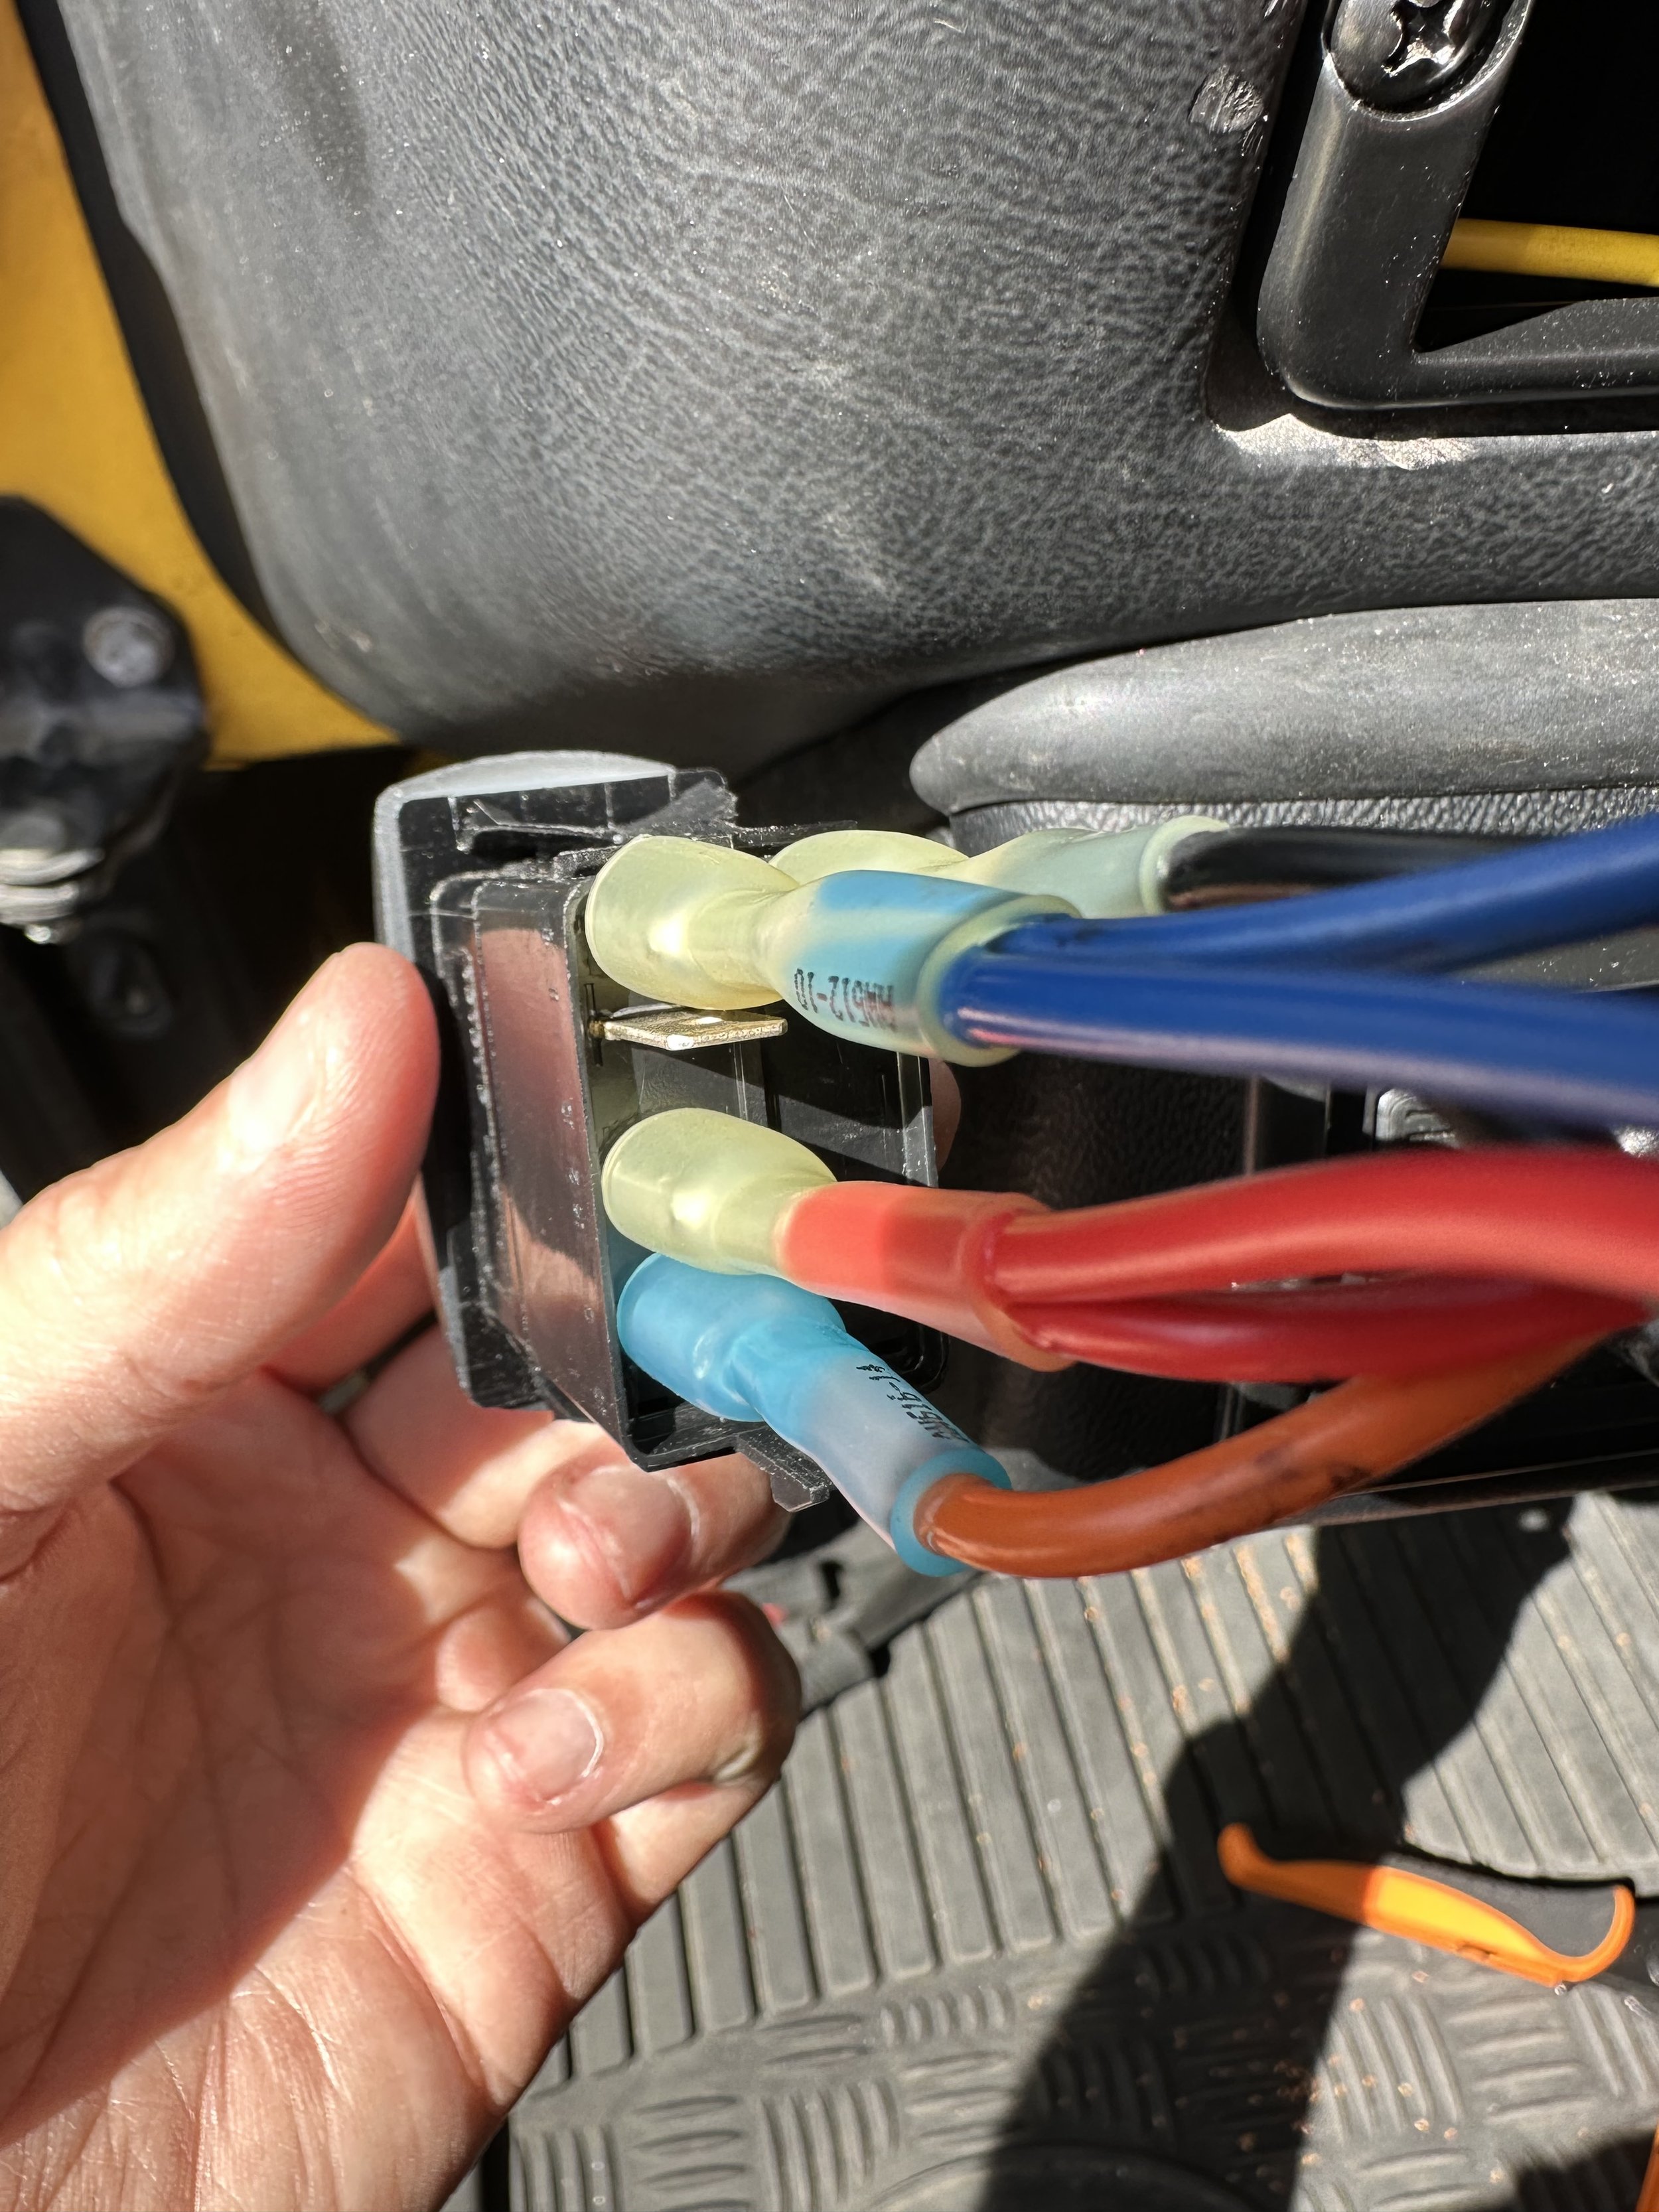
After getting the dash dismantled I sent out the dash to be professionally reupholstered and the plastic bits to be hit with automotive black paint. That allowed me to gain access to the wire channels, but first I had to create my own wire harnesses. I mapped out my wire needs but then added a few extra wires to future proof my design. I then went with larger gauge wire than I needed so that I don’t have to worry in the future about the wire harness being able to handle different levels of power. I then measured and cut the wire so that I could wrap it with automotive grade wire wrap. I then used automotive grade wire tape to seal the wrapped ends. Needless to say this whole process took many hours but I feel the end product is worth it.
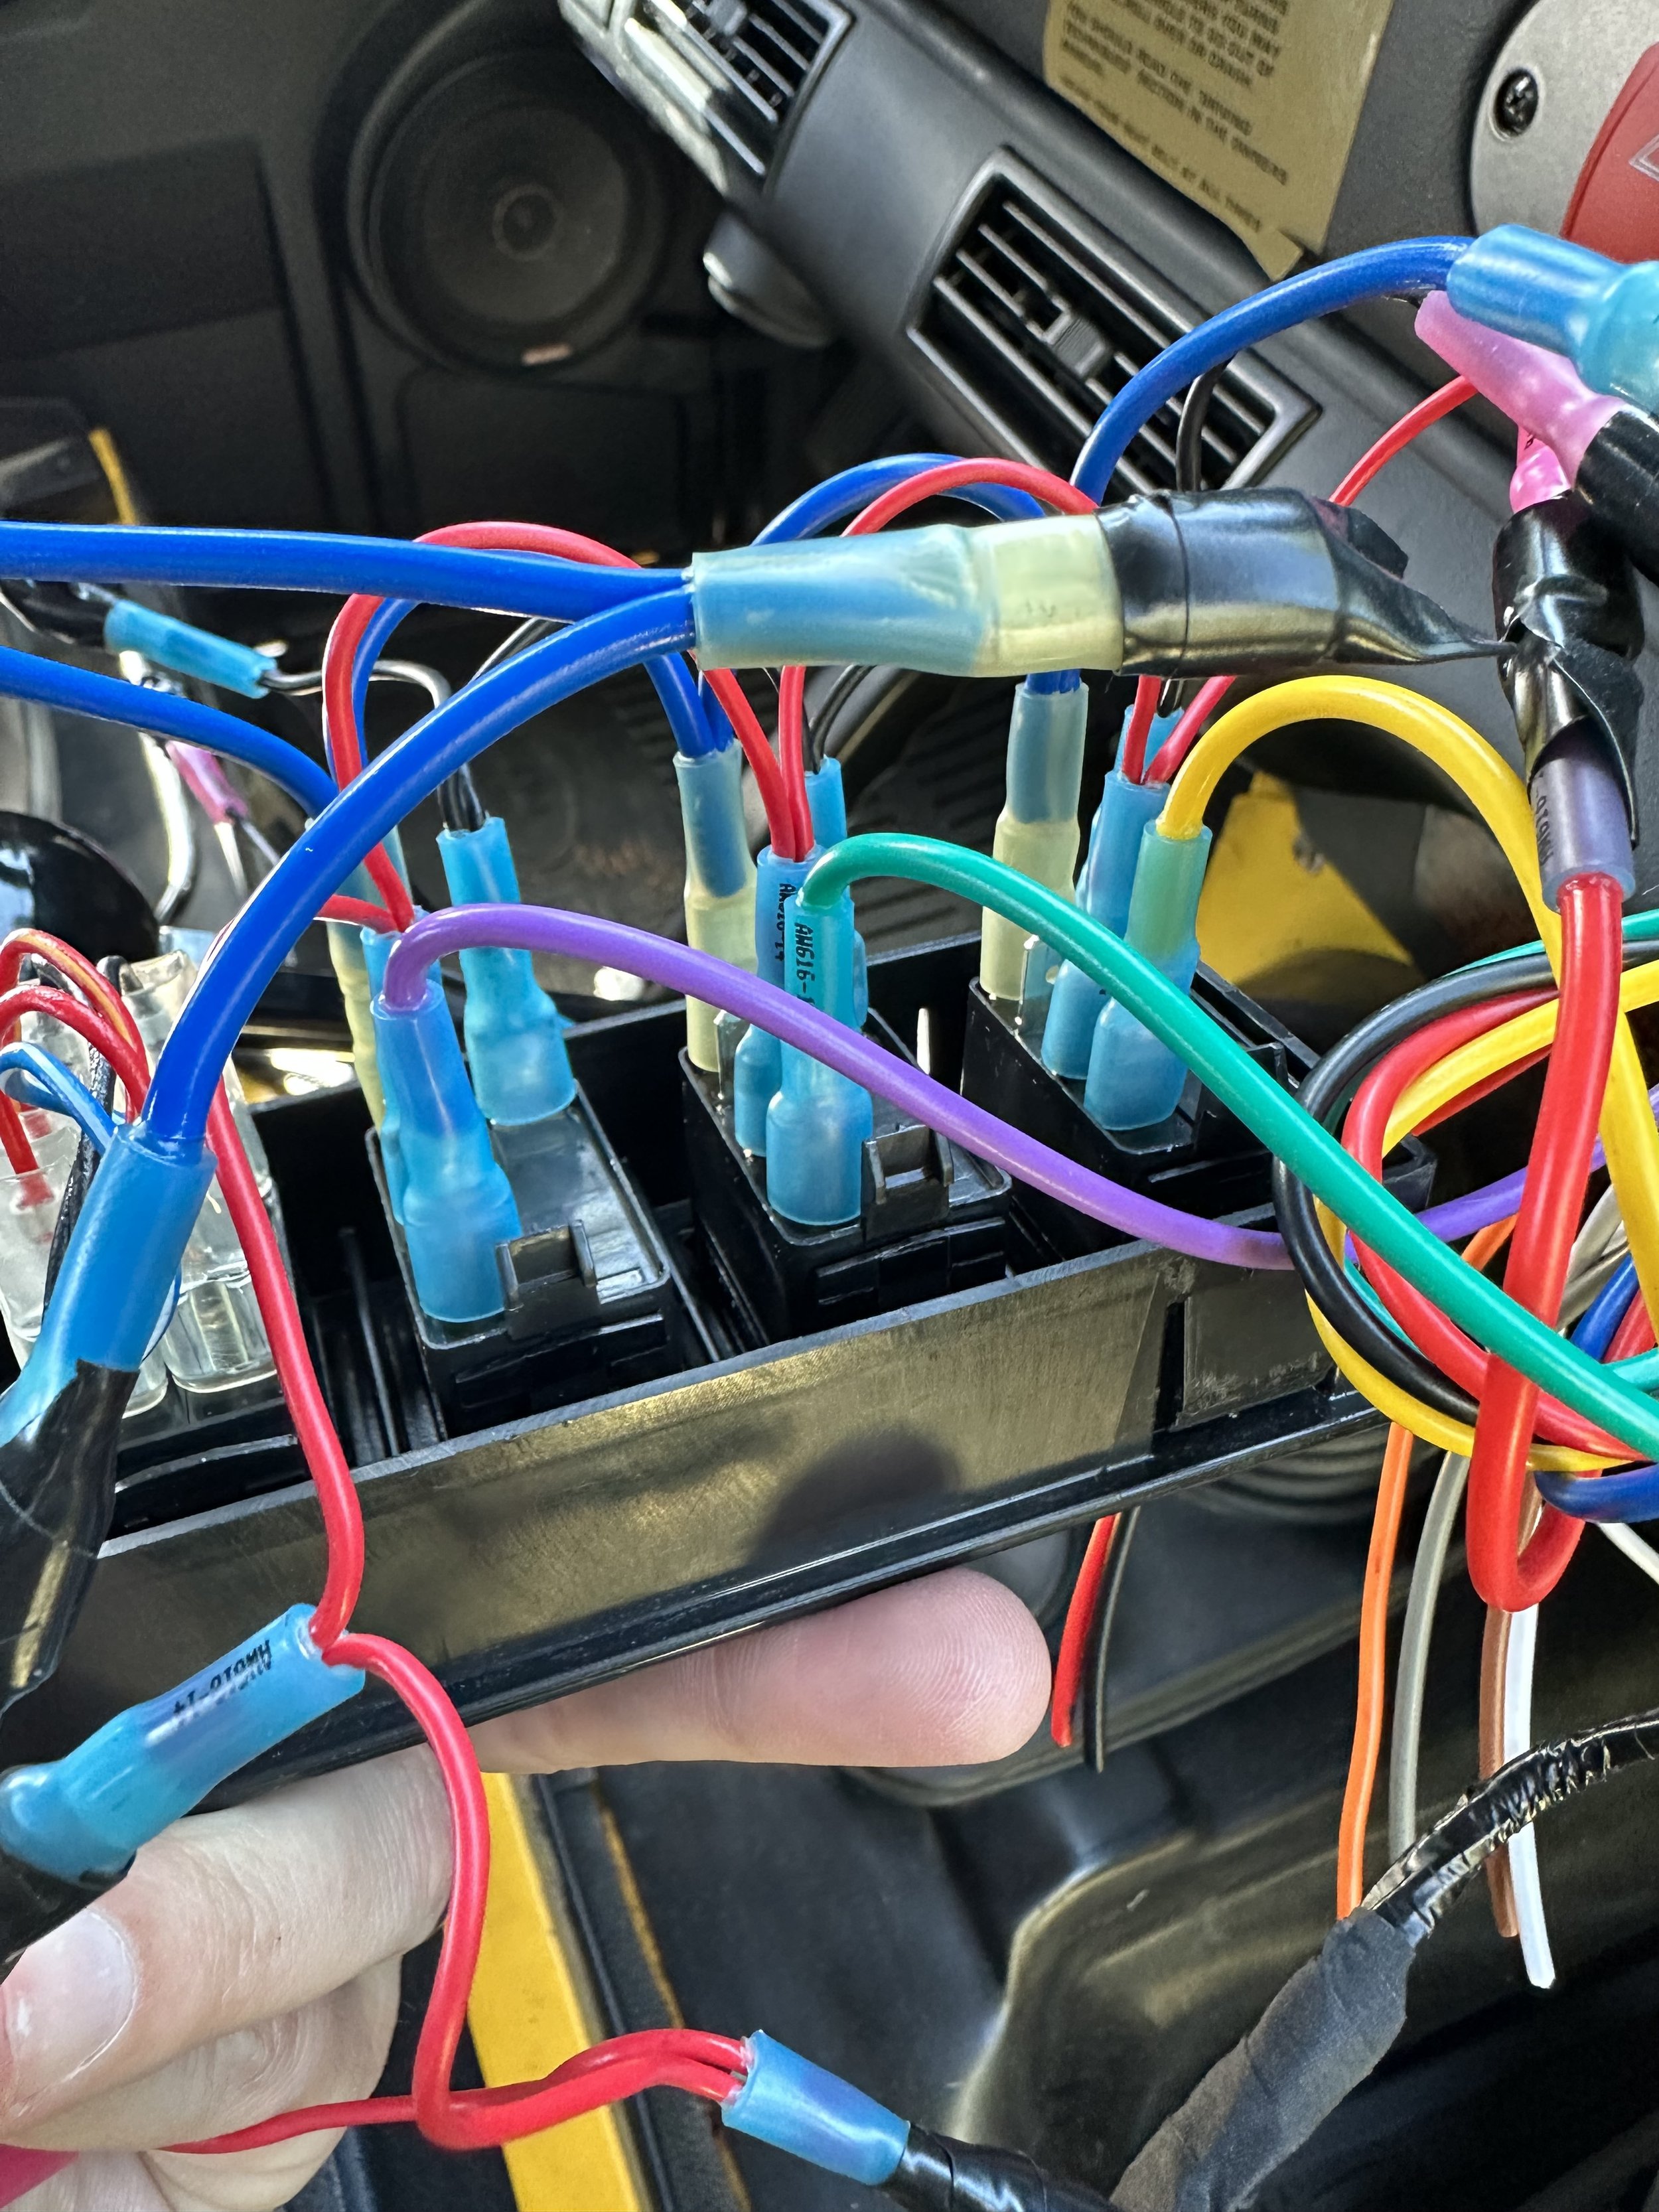
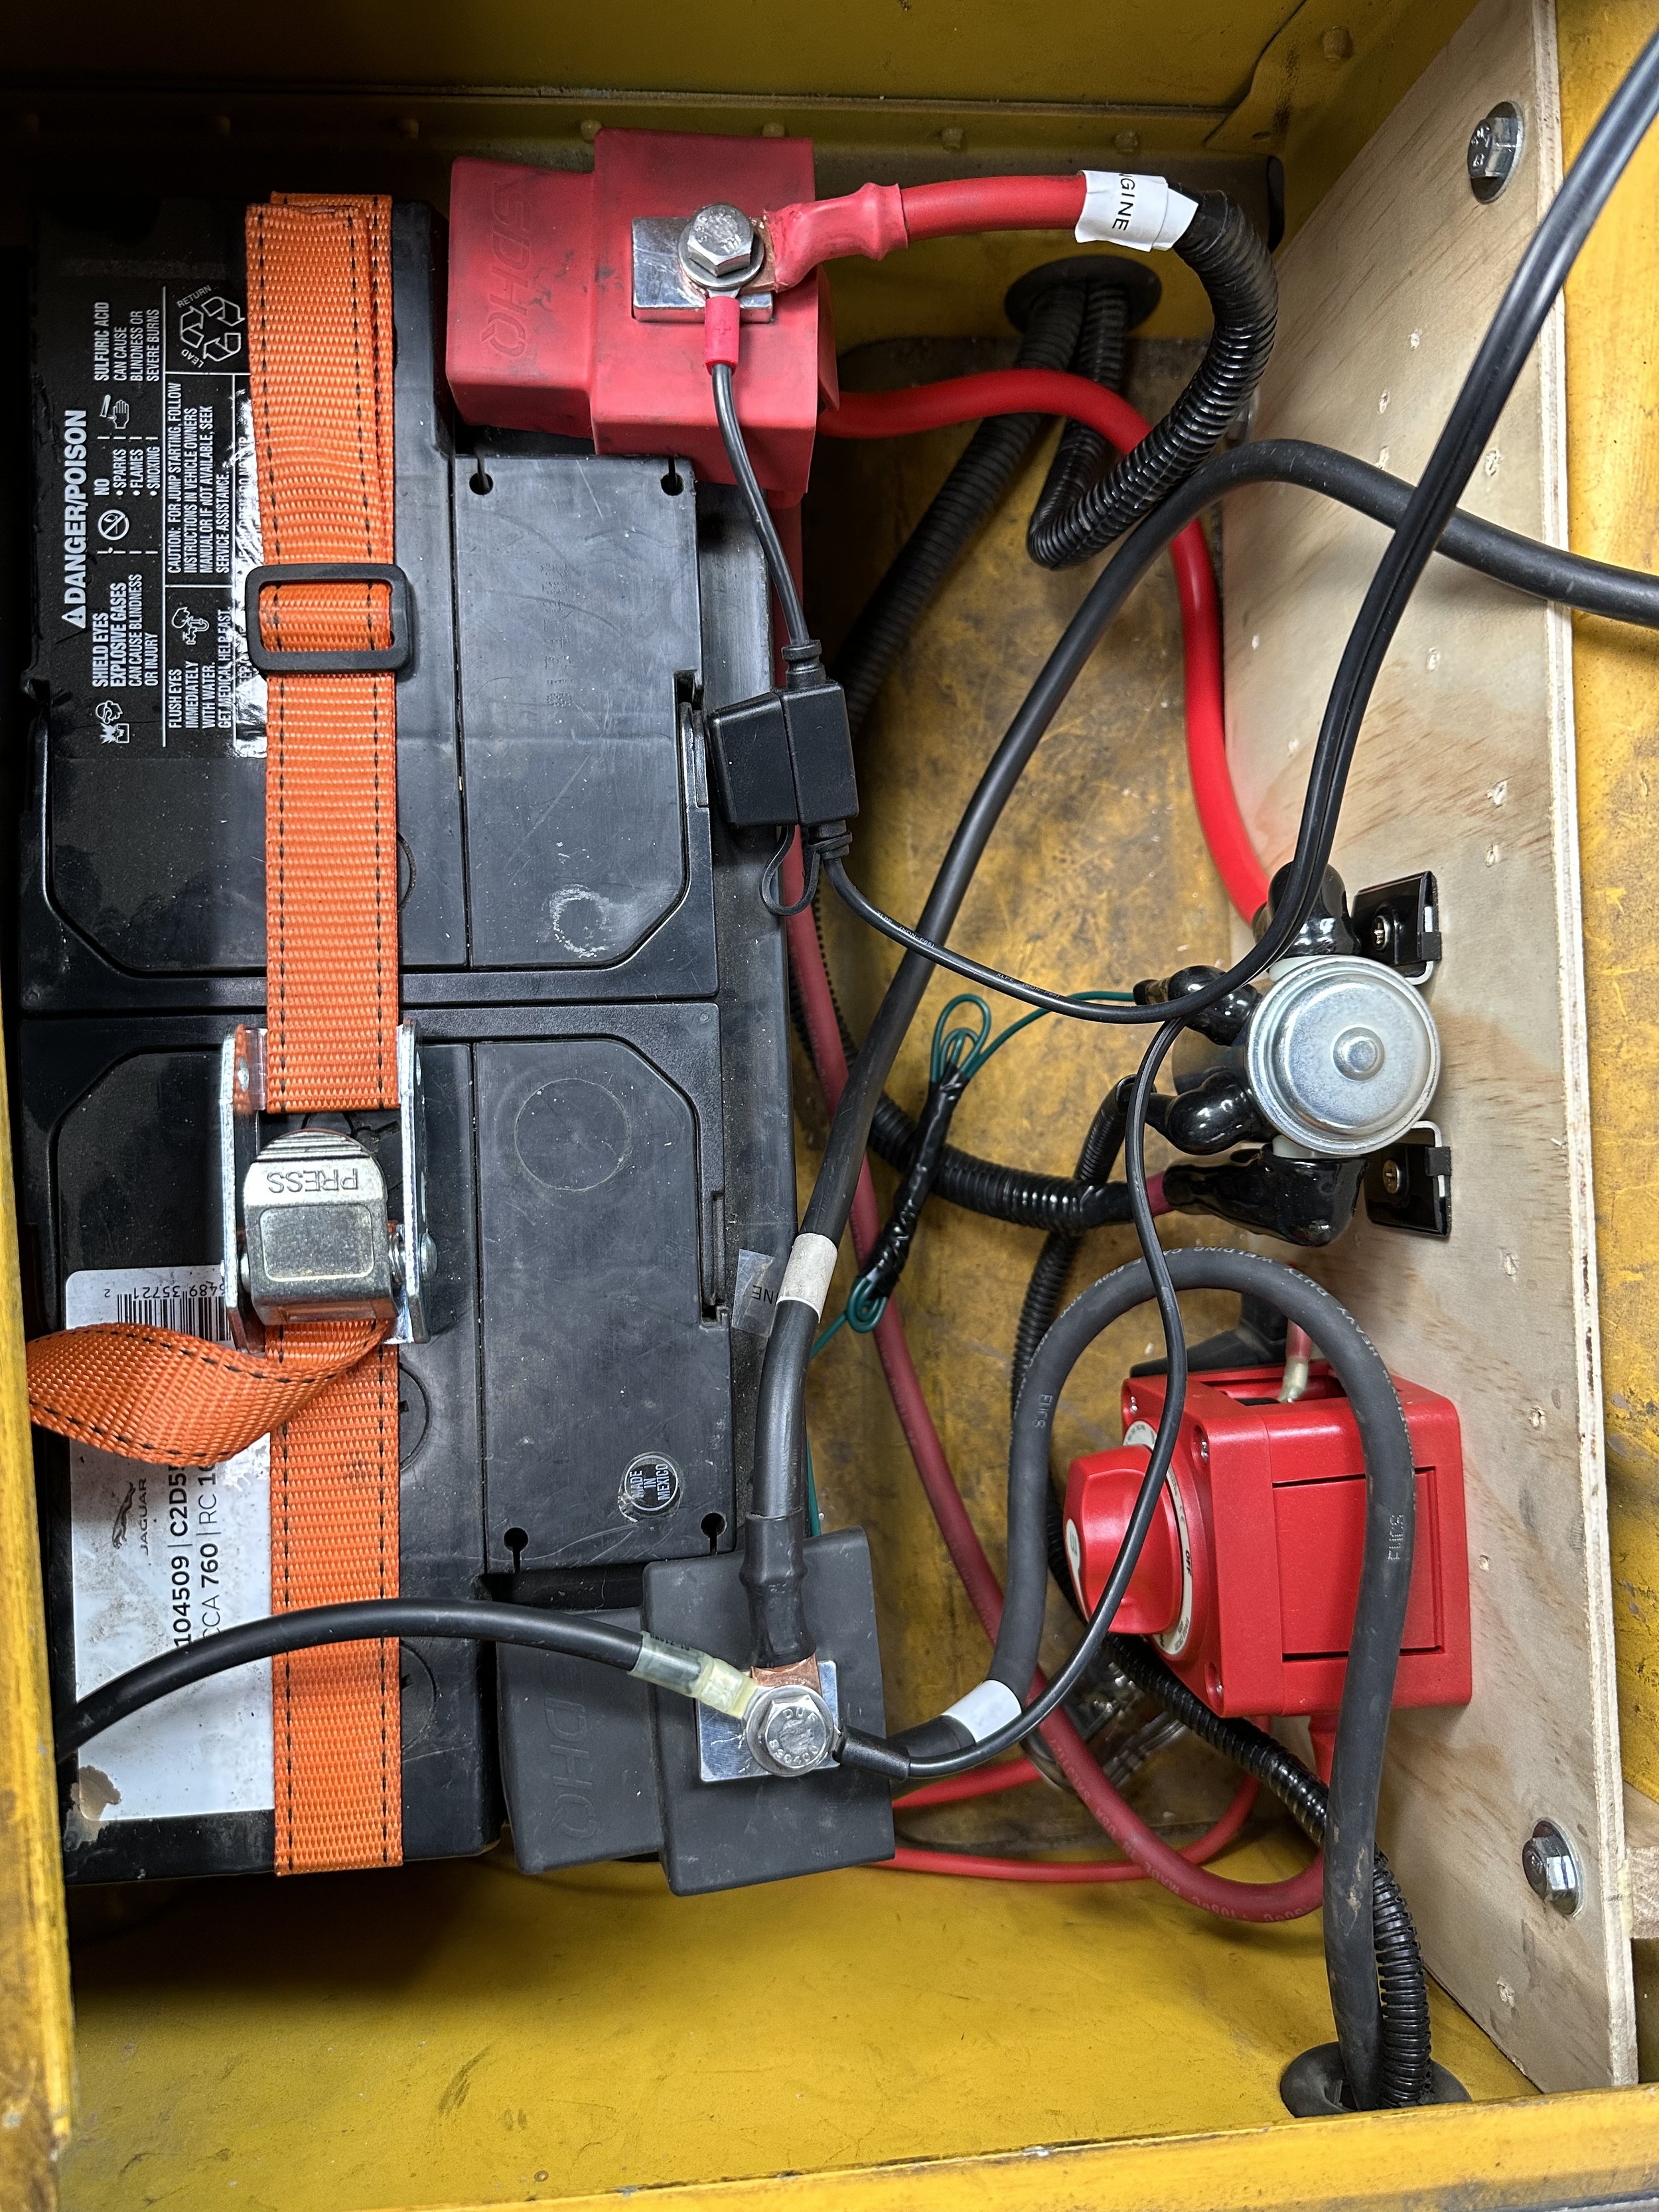
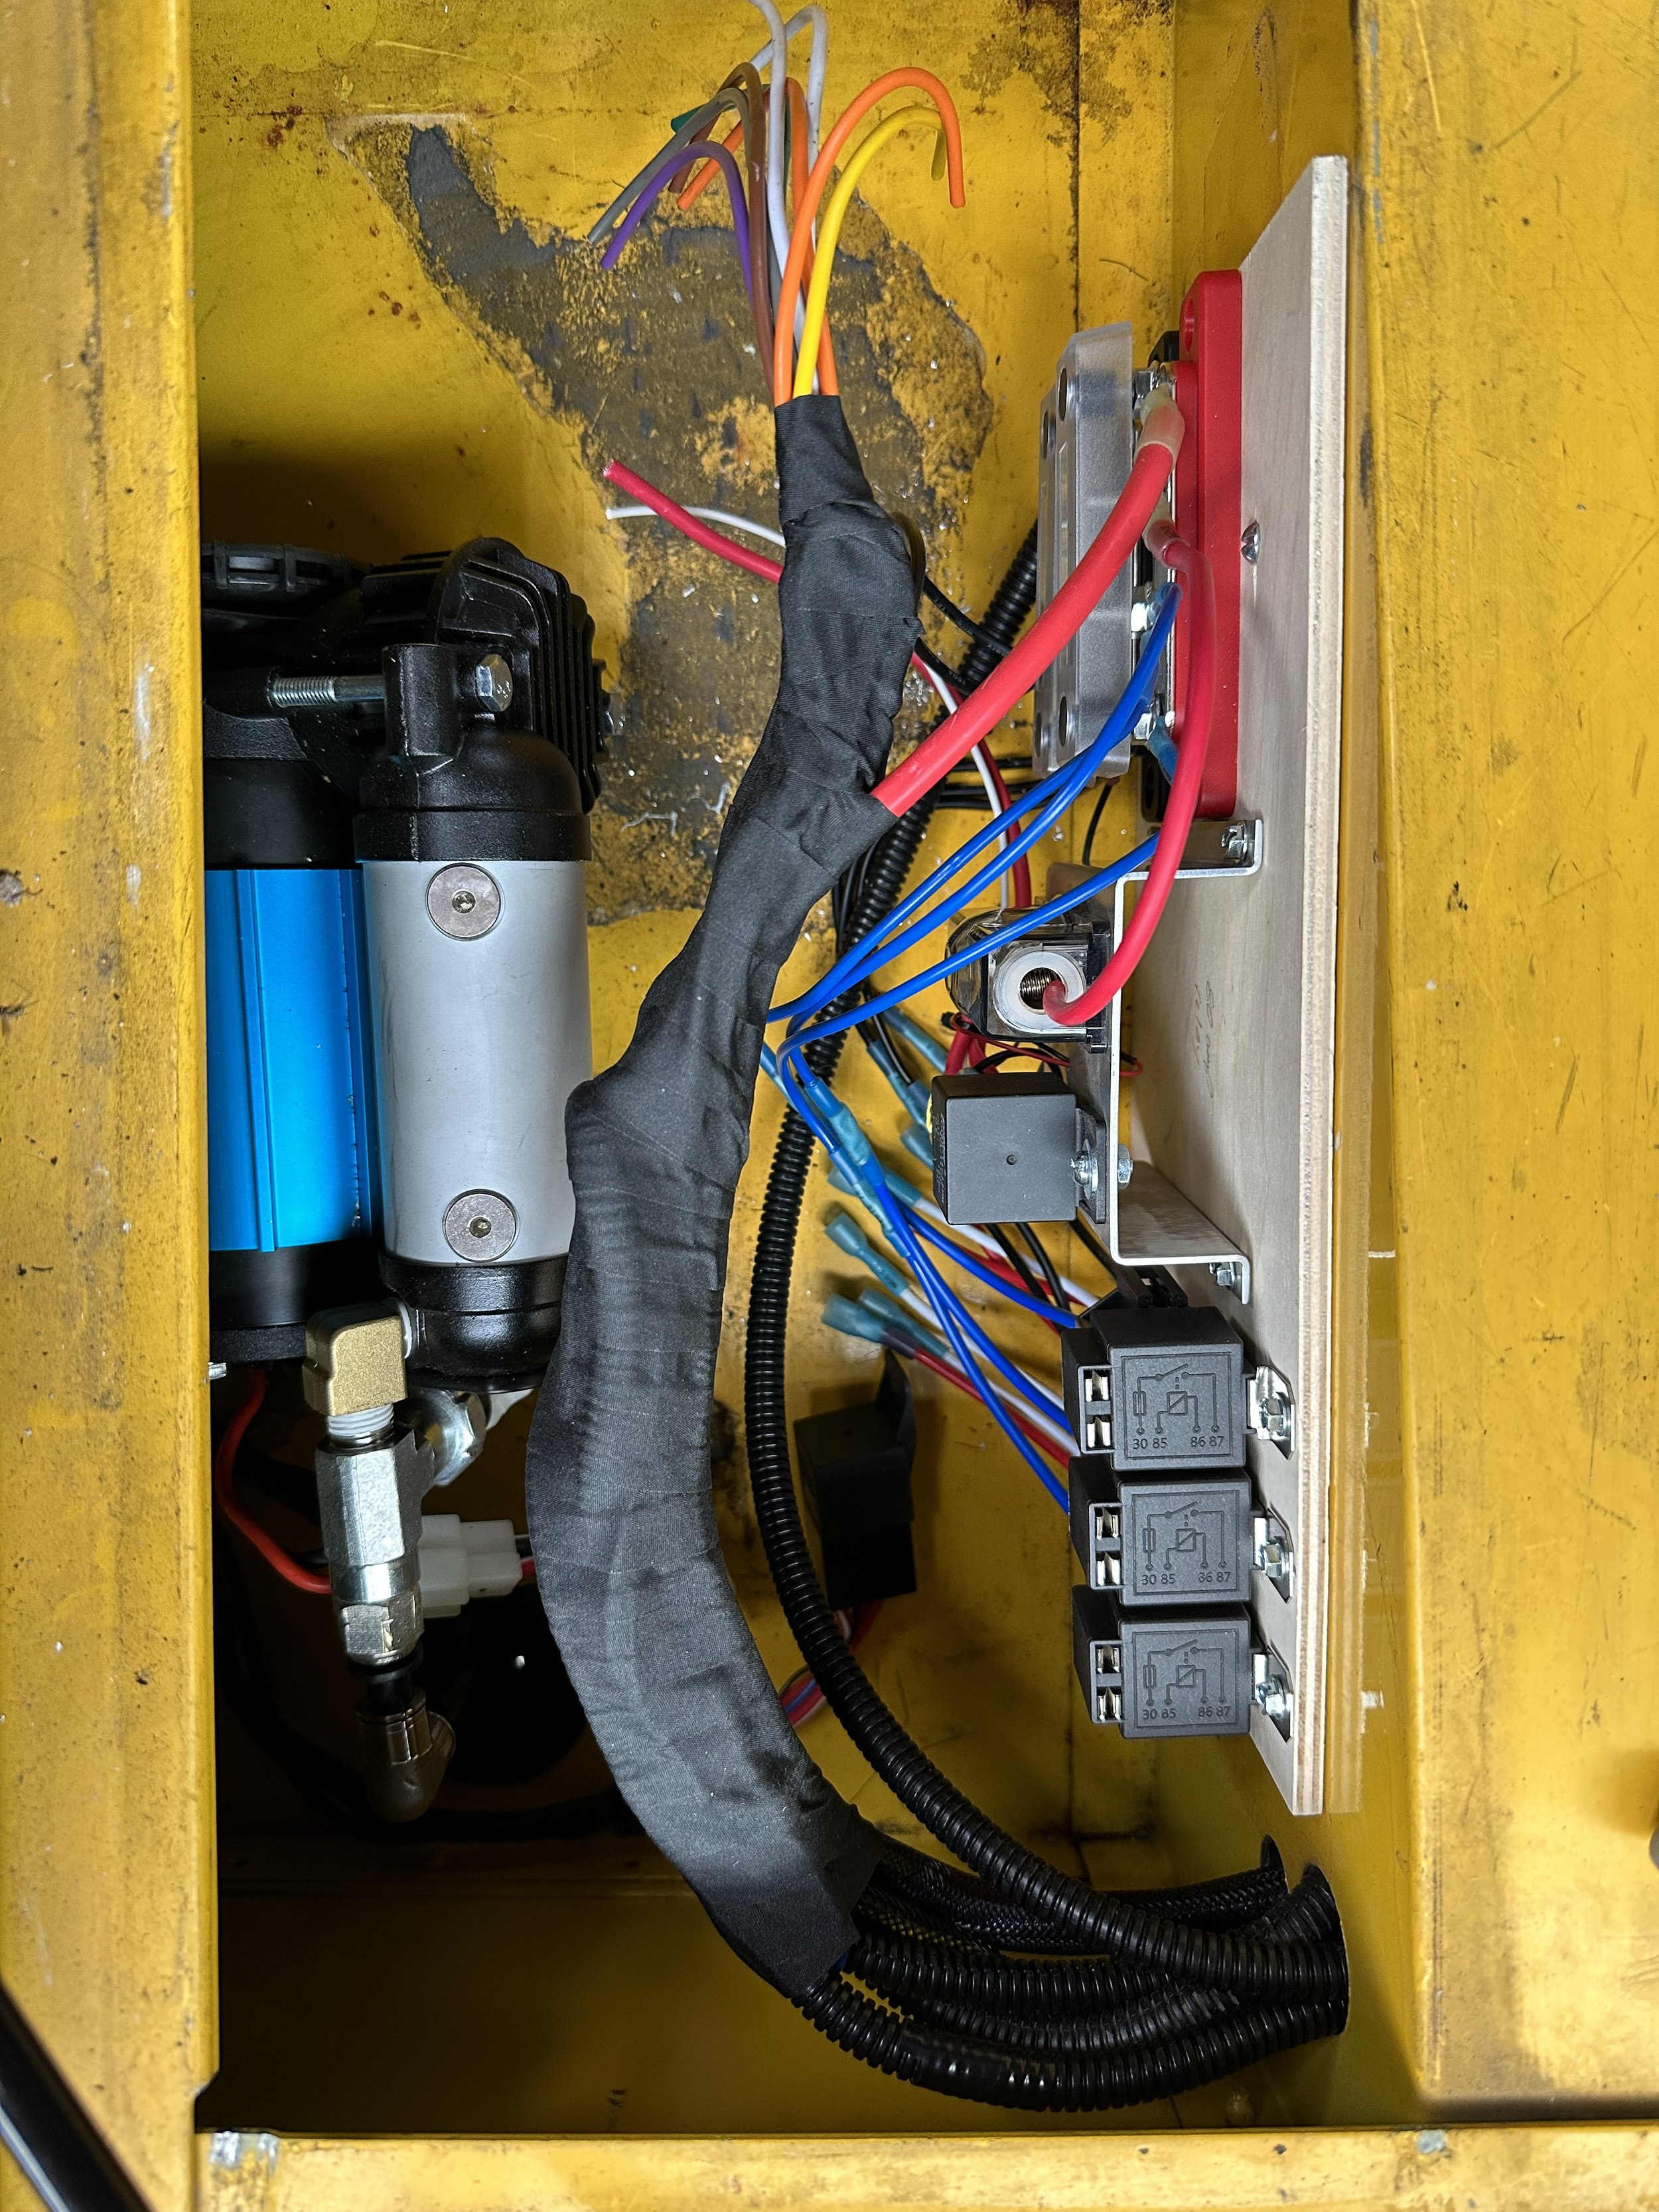
As I mentioned I wanted to future proof my wiring because at some point you need to stop ripping apart your truck. After I run 20 or so wires behind the dash to connect to various switch options in three different locations I ran those wires back to the passenger seat box, the driver seat box, and the center console. This allowed me to install a solenoid for the winch and a kill switch for the entire aux system in the driver seat box. It also allowed me to run a few wires to the center console to power a hidden GMRS radio and some USB chargers. And finally it allowed me to install relays in the passenger seat box to power all of the aux devices that are connected to the switches (air compressor, lights, etc).
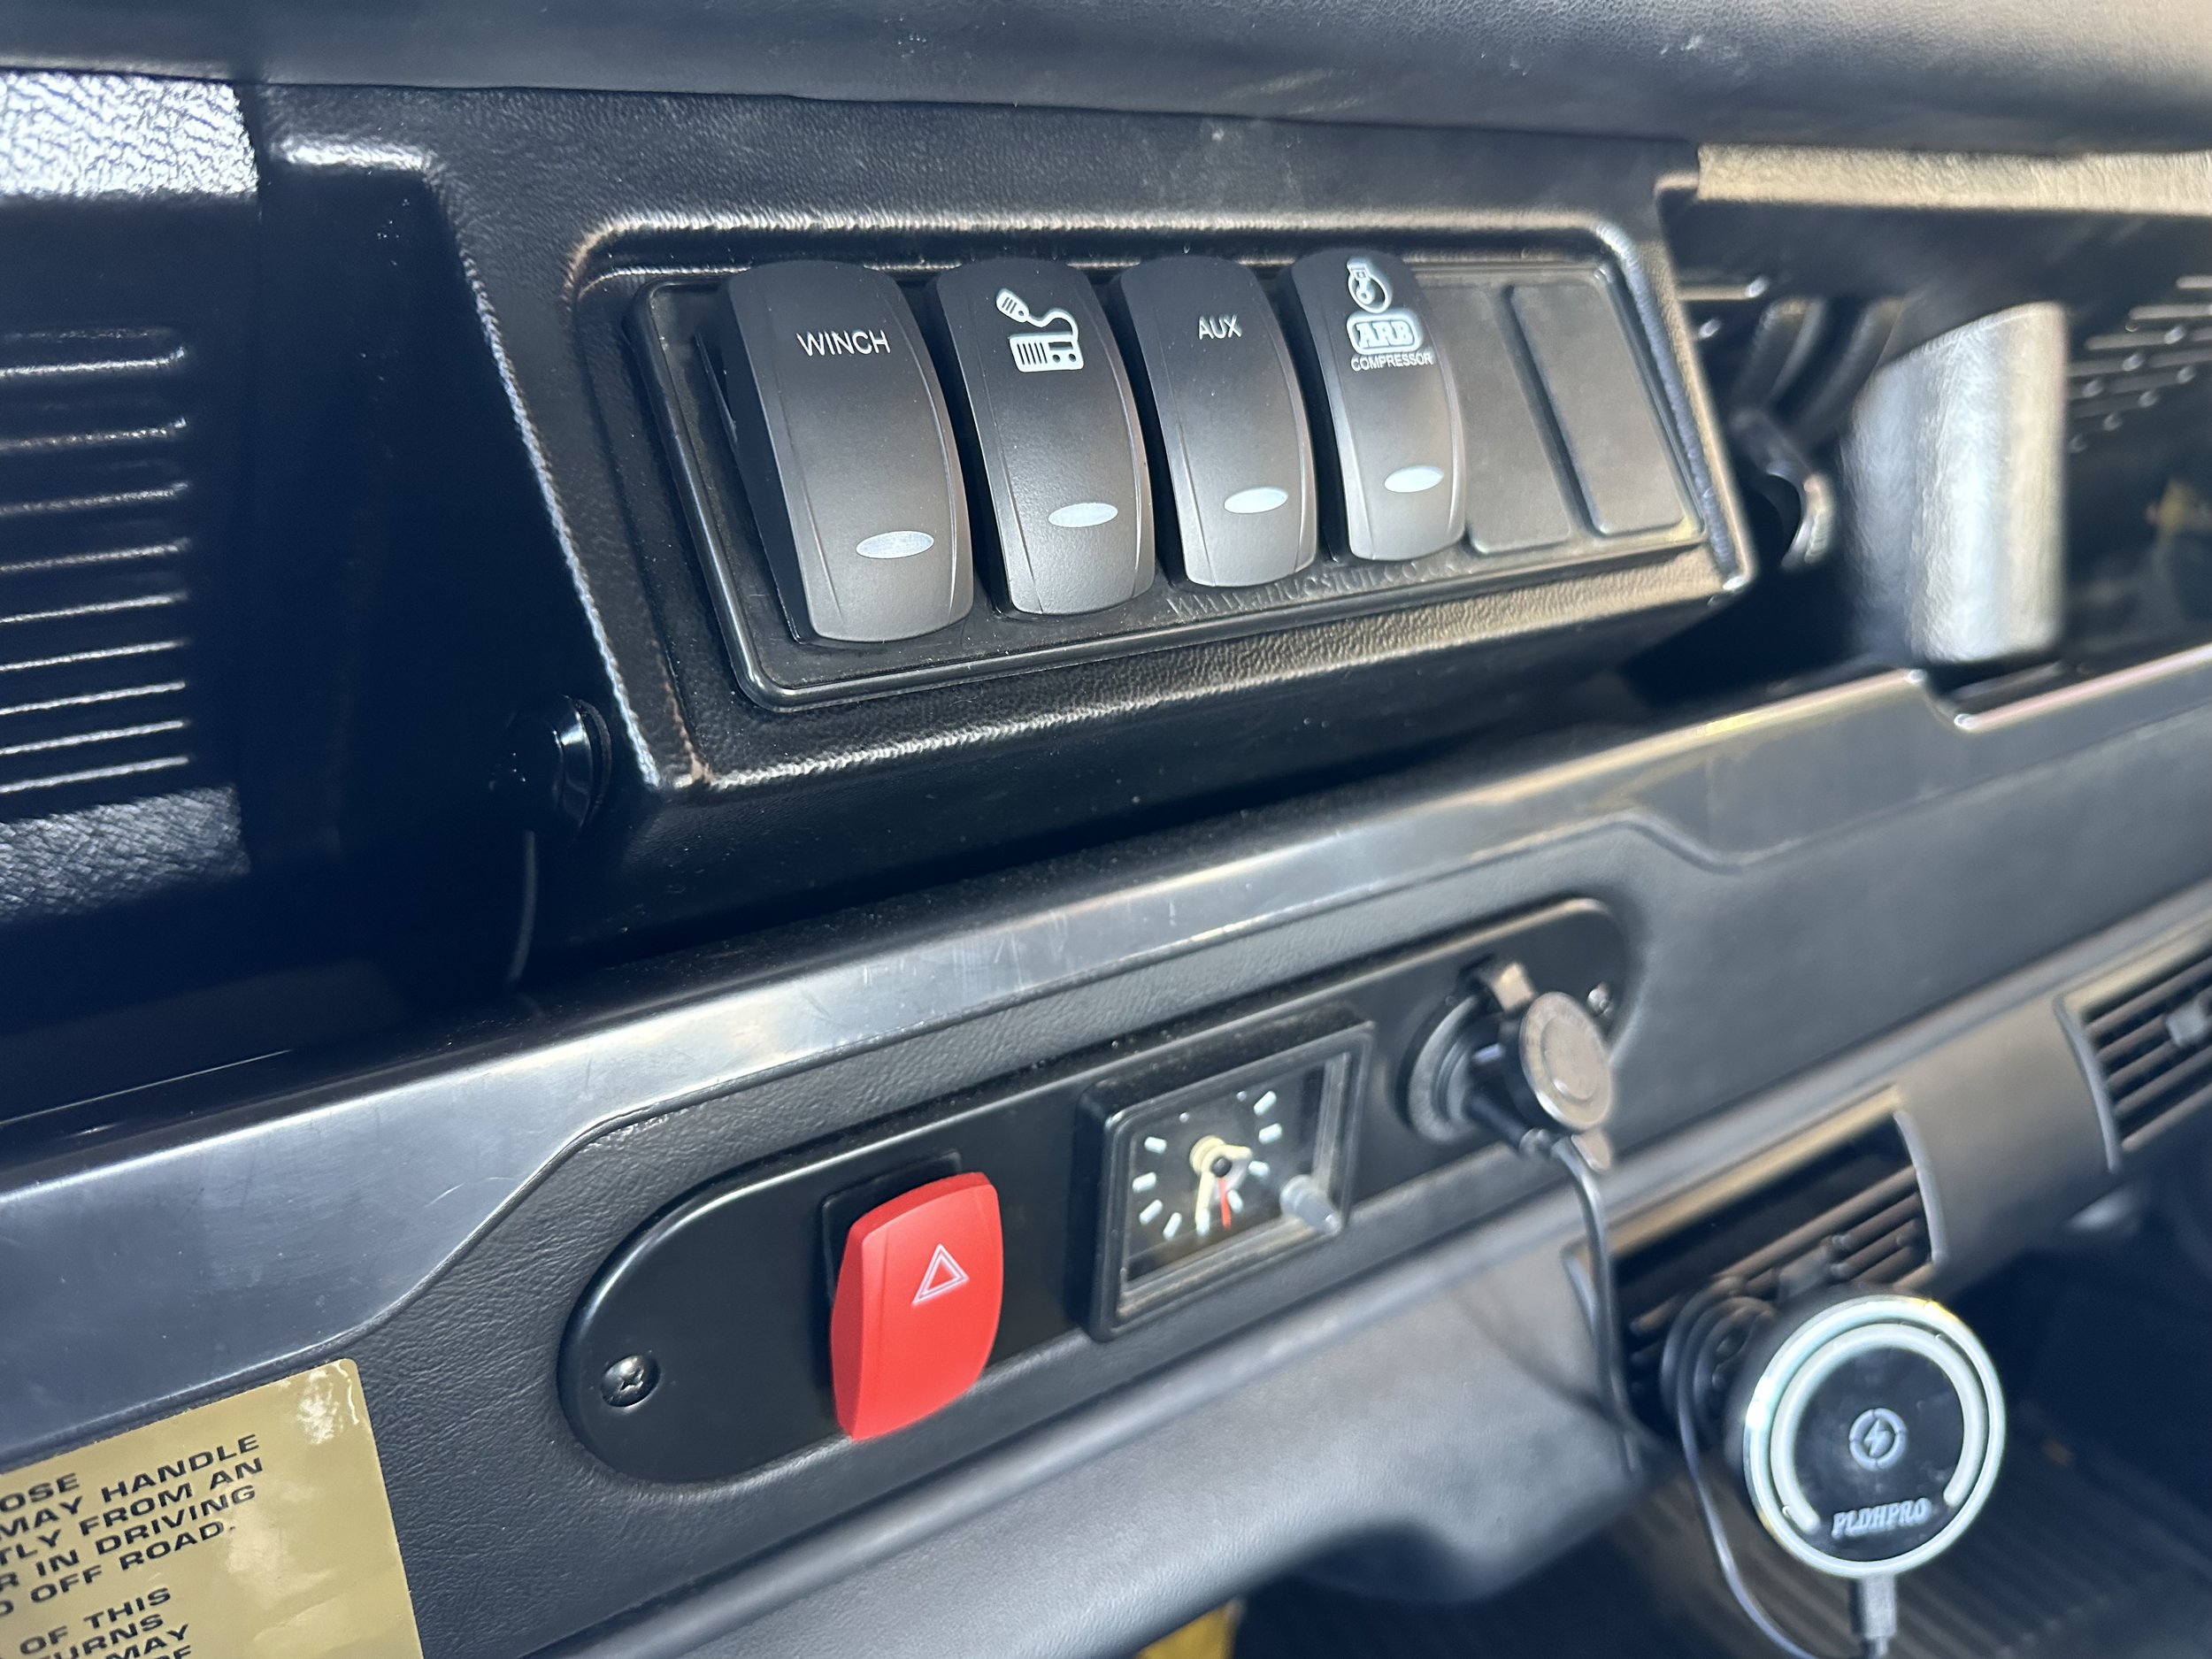
I guess third time is the charm as I love this design. I can have 9 switches with the option of expanding even further if I wanted to while not cutting ANY part of the dash and keeping an authentic look. The design is overkill, the wire gauge is overkill, it allows expandability without running any more wires, and the custom wire harness is neatly tucked behind the dash and under the truck for a clean look. Now the hard part…..deciding just how many aux devices I really need.