
Defender 90 Build - Binnacle Upgrade
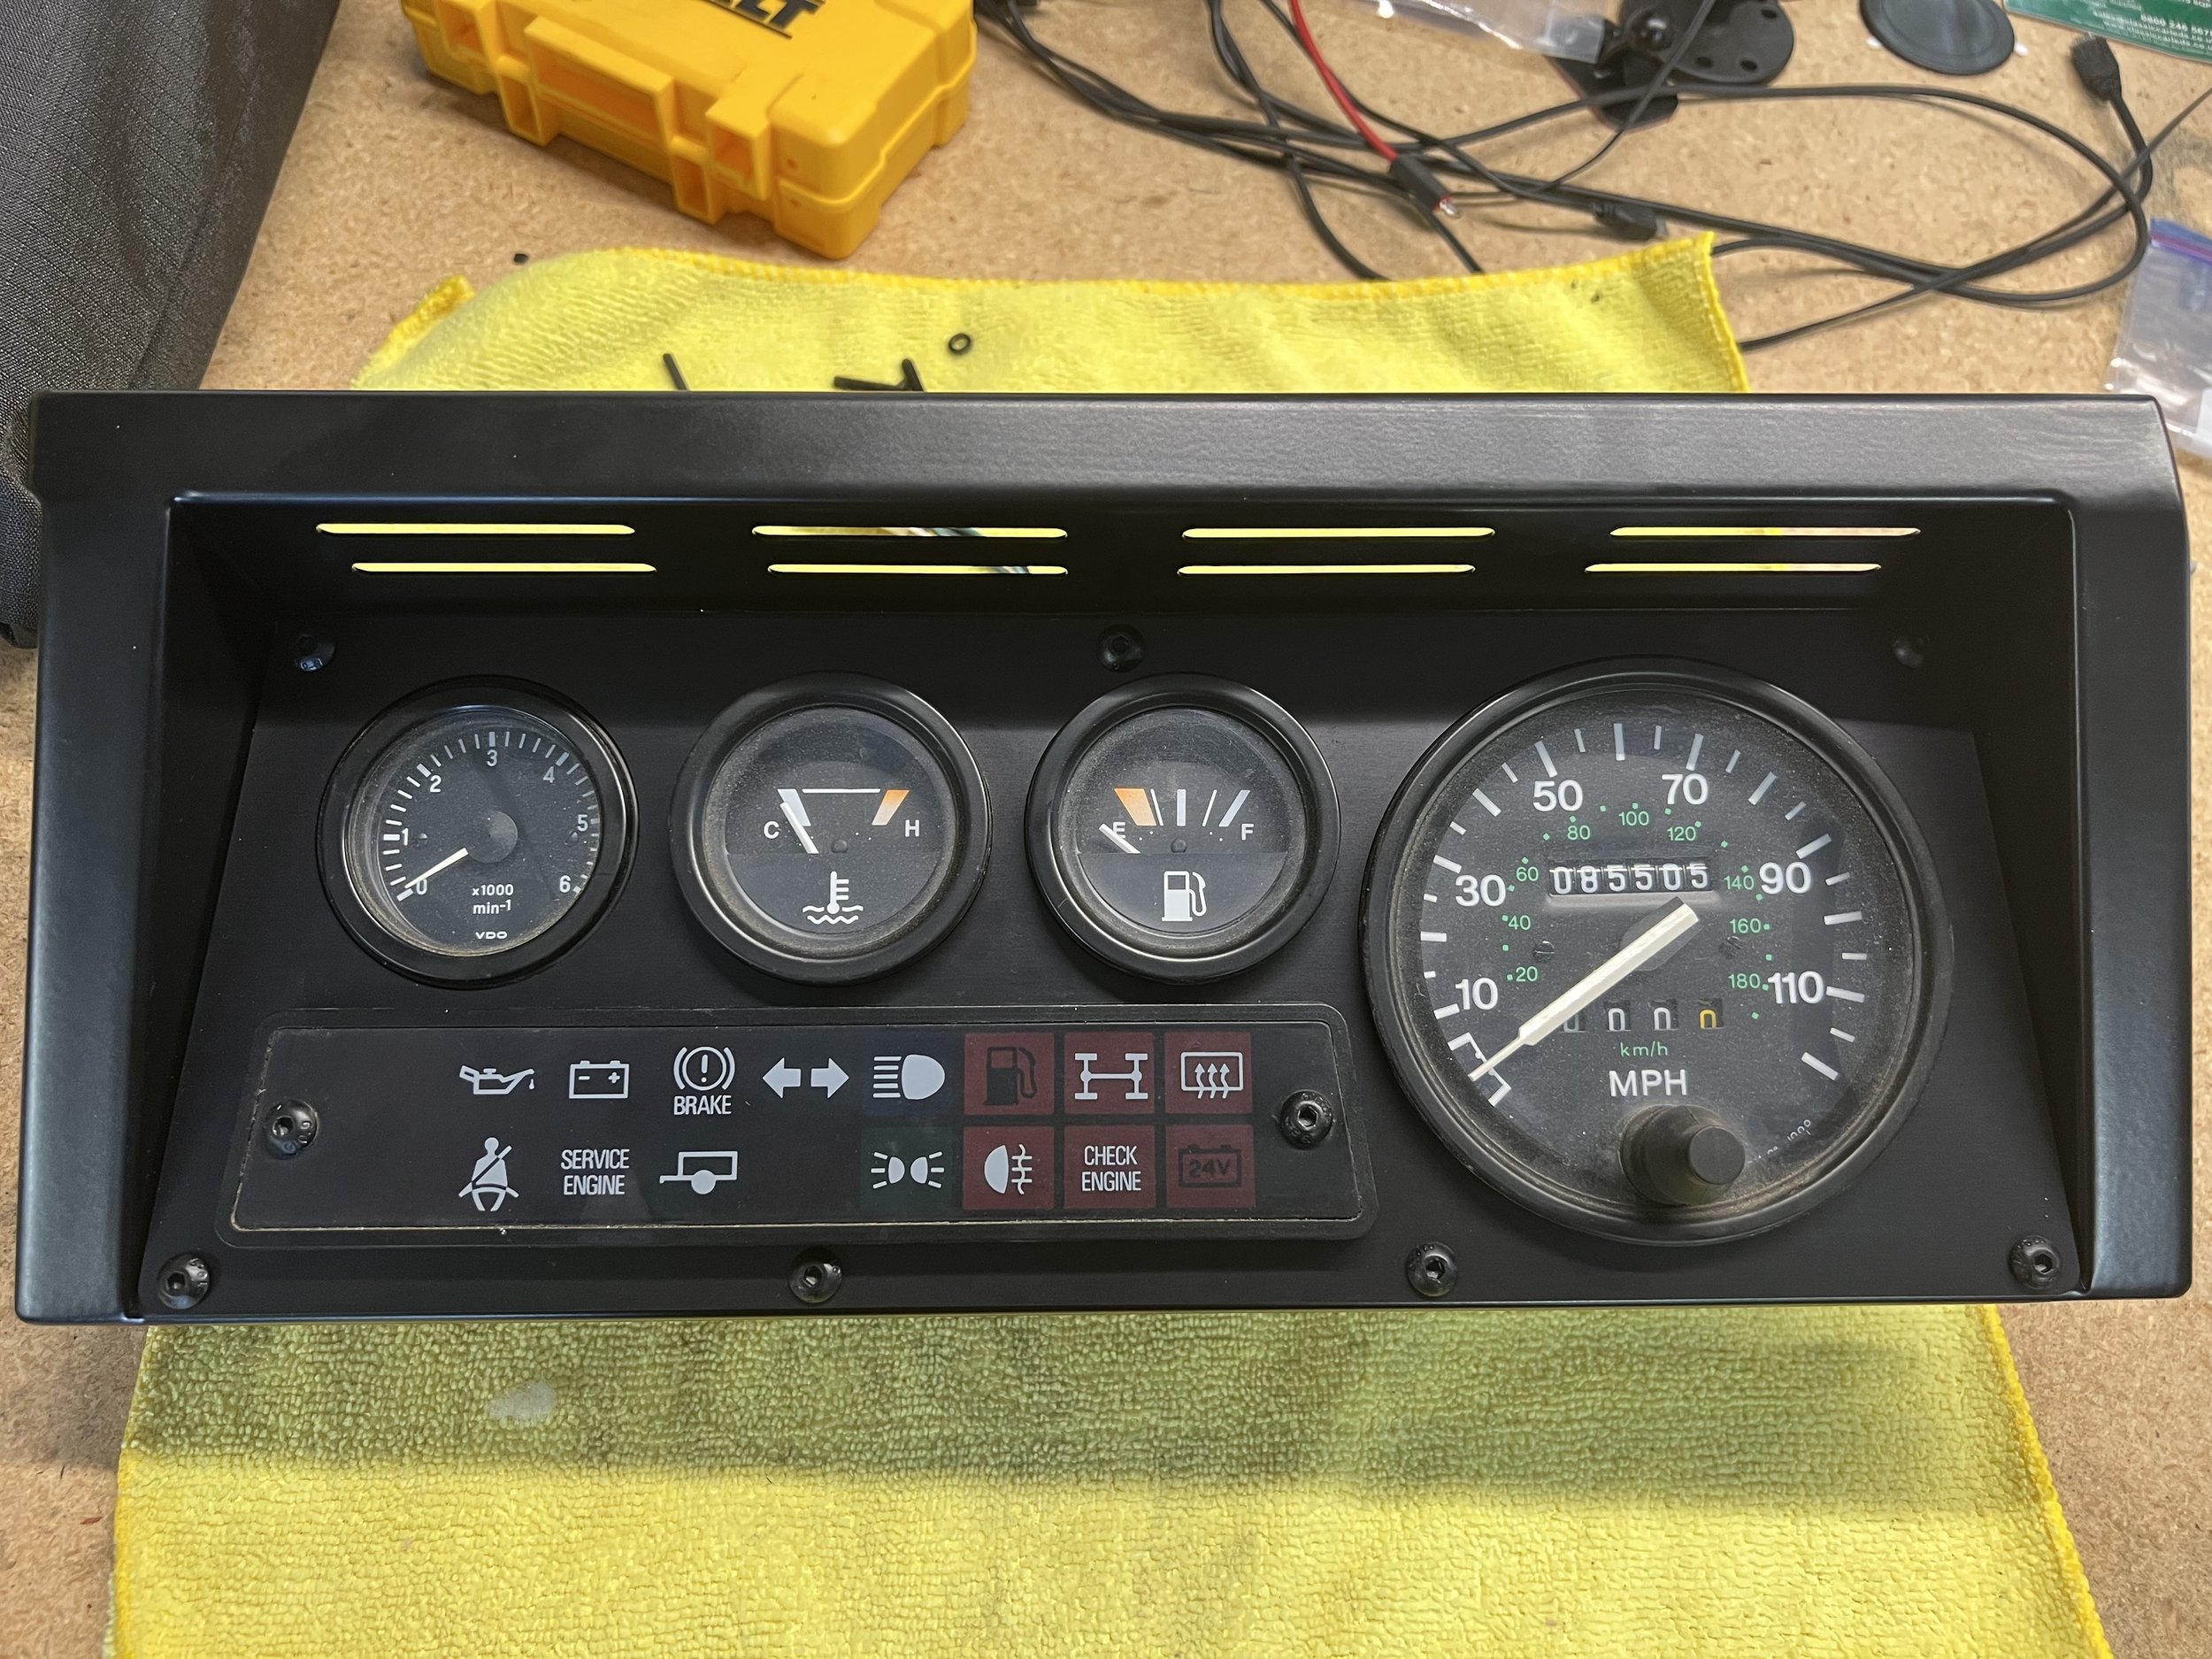
Defenders are known to be tough off-roaders, but that doesn’t mean all of their parts are tough. Land Rover put too much plastic into these otherwise simple metal boxes. Now age that plastic nearly 30 years and you end up with cracked plastics pieces….especially around the dash. I have replaced a few of these plastic pieces over the last 1-2 years but the one that was always a bit intimidating was the binnacle (the gauge cluster for those who only speak American). My binnacle was in good shape compared to many Defenders but that still meant it was cracked. I could replace it with an OEM plastic piece but then you are simply going to have the same problem over time.
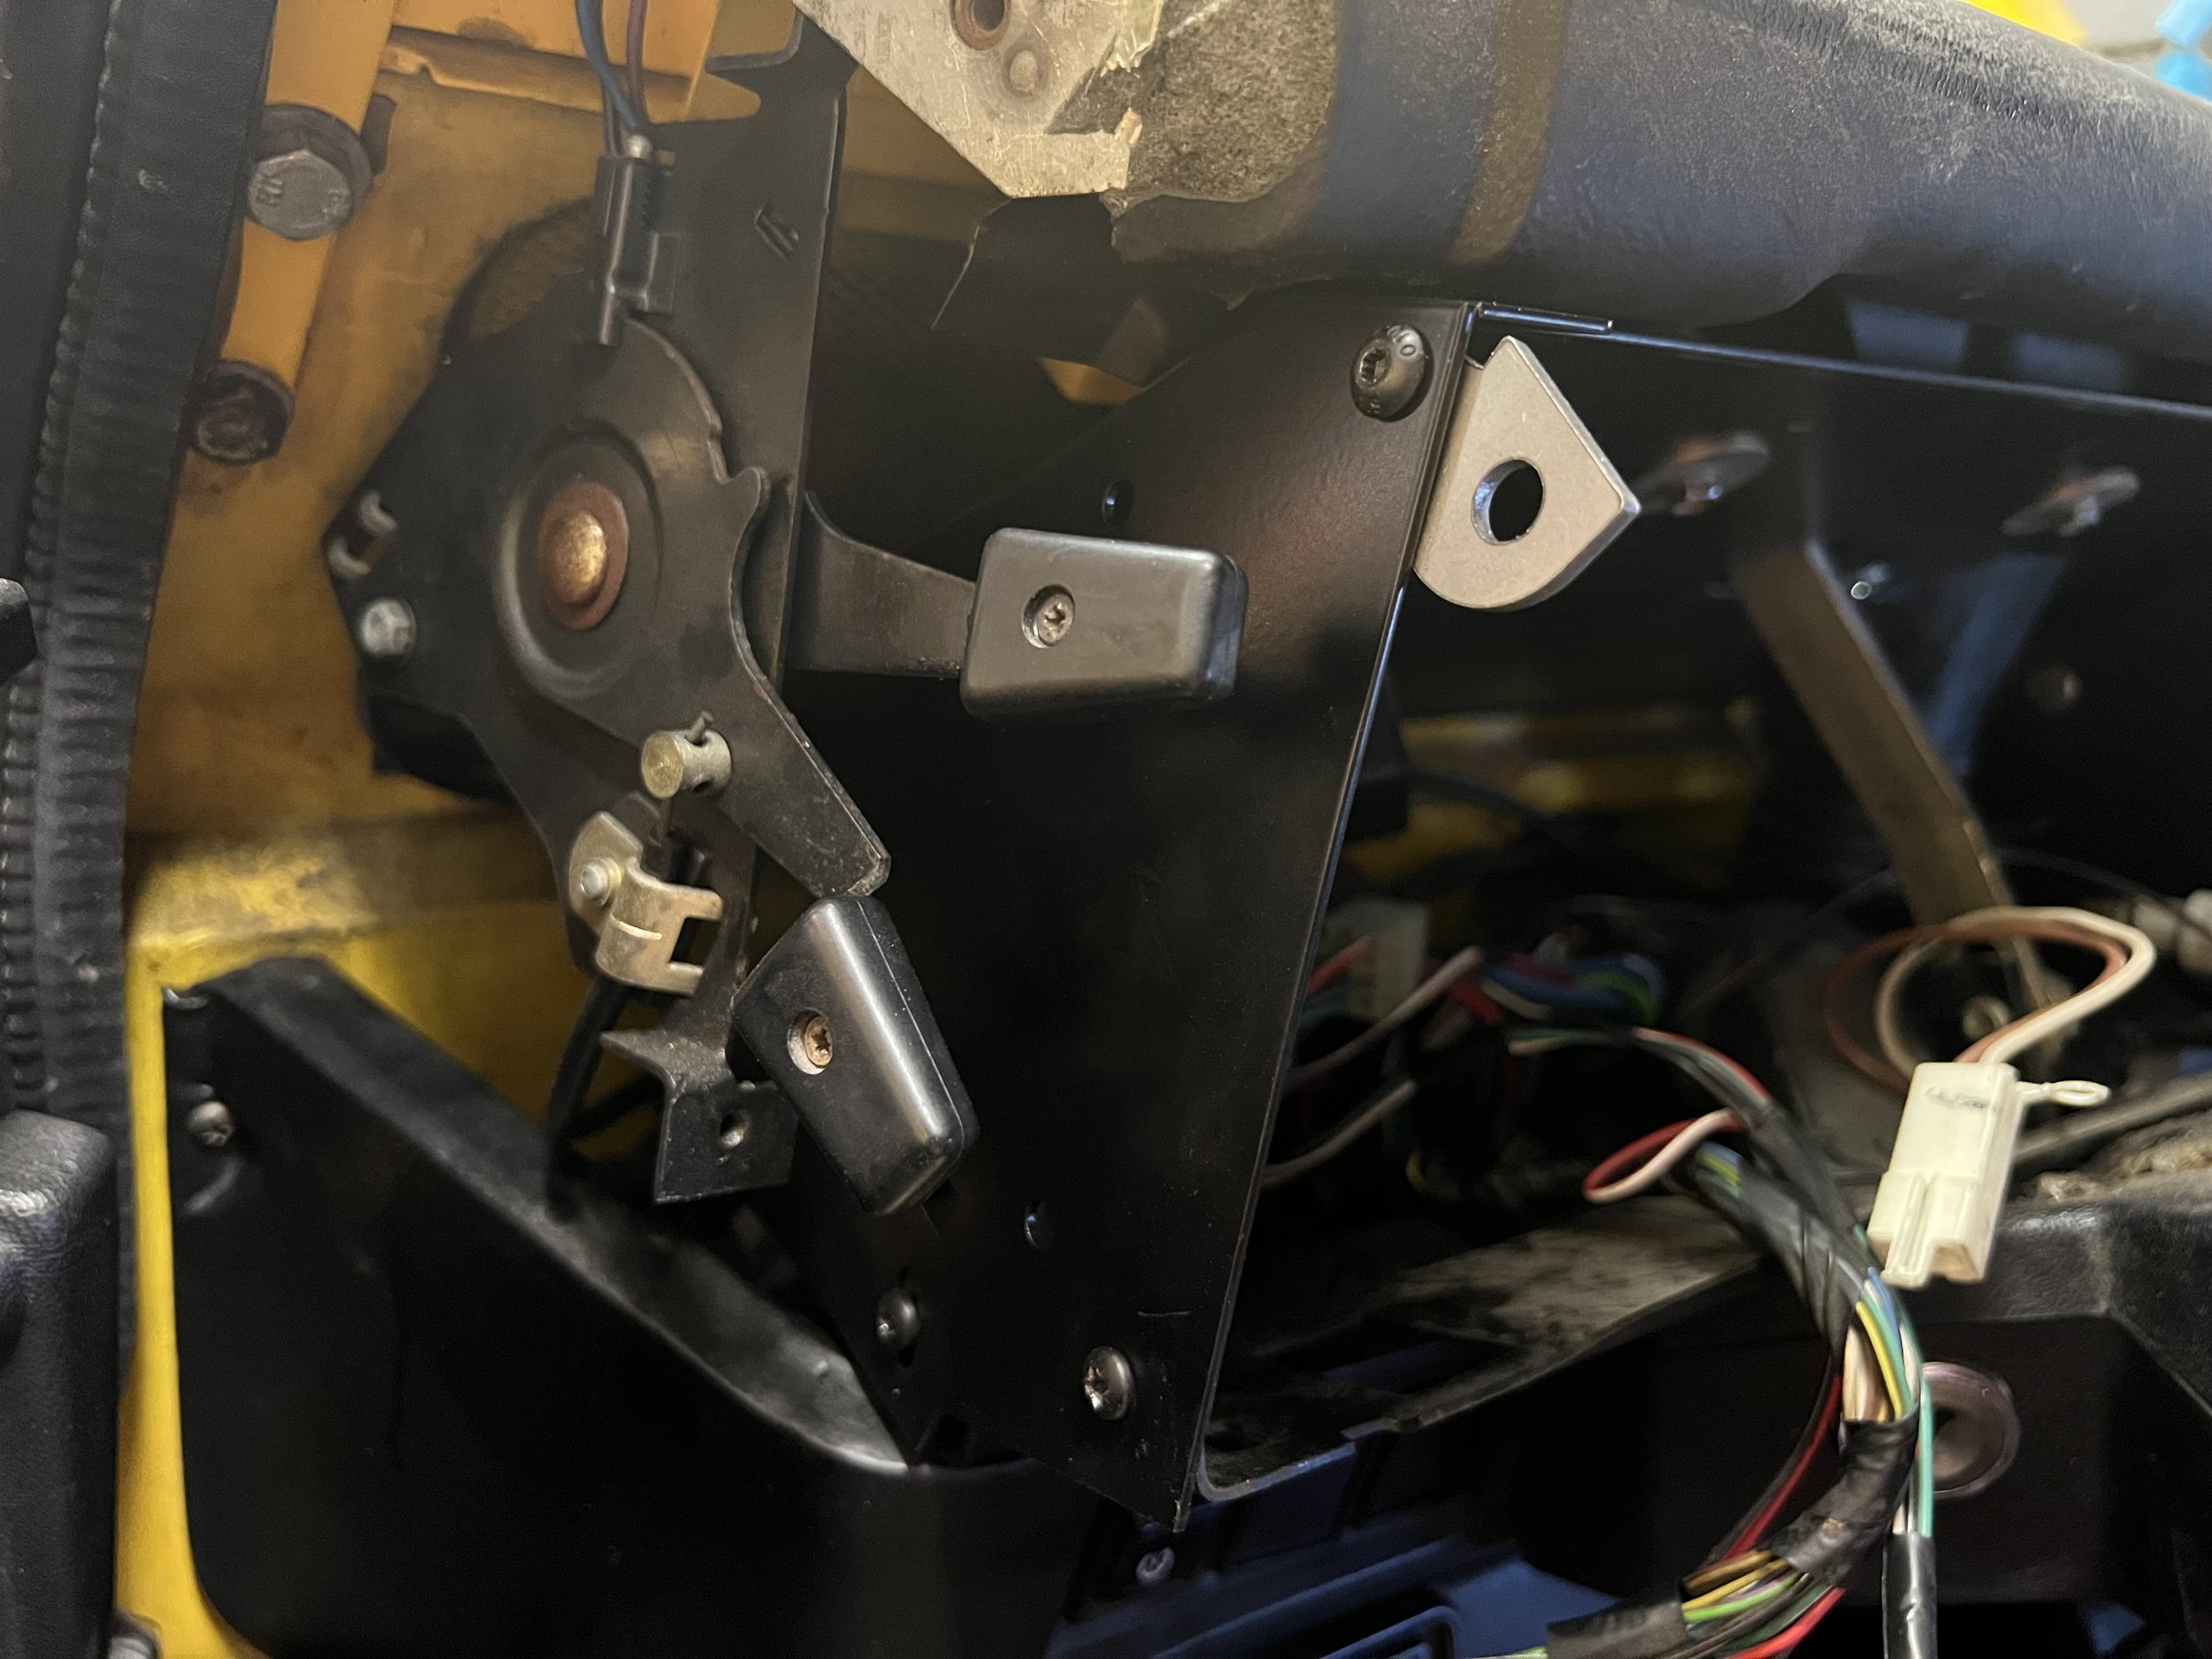
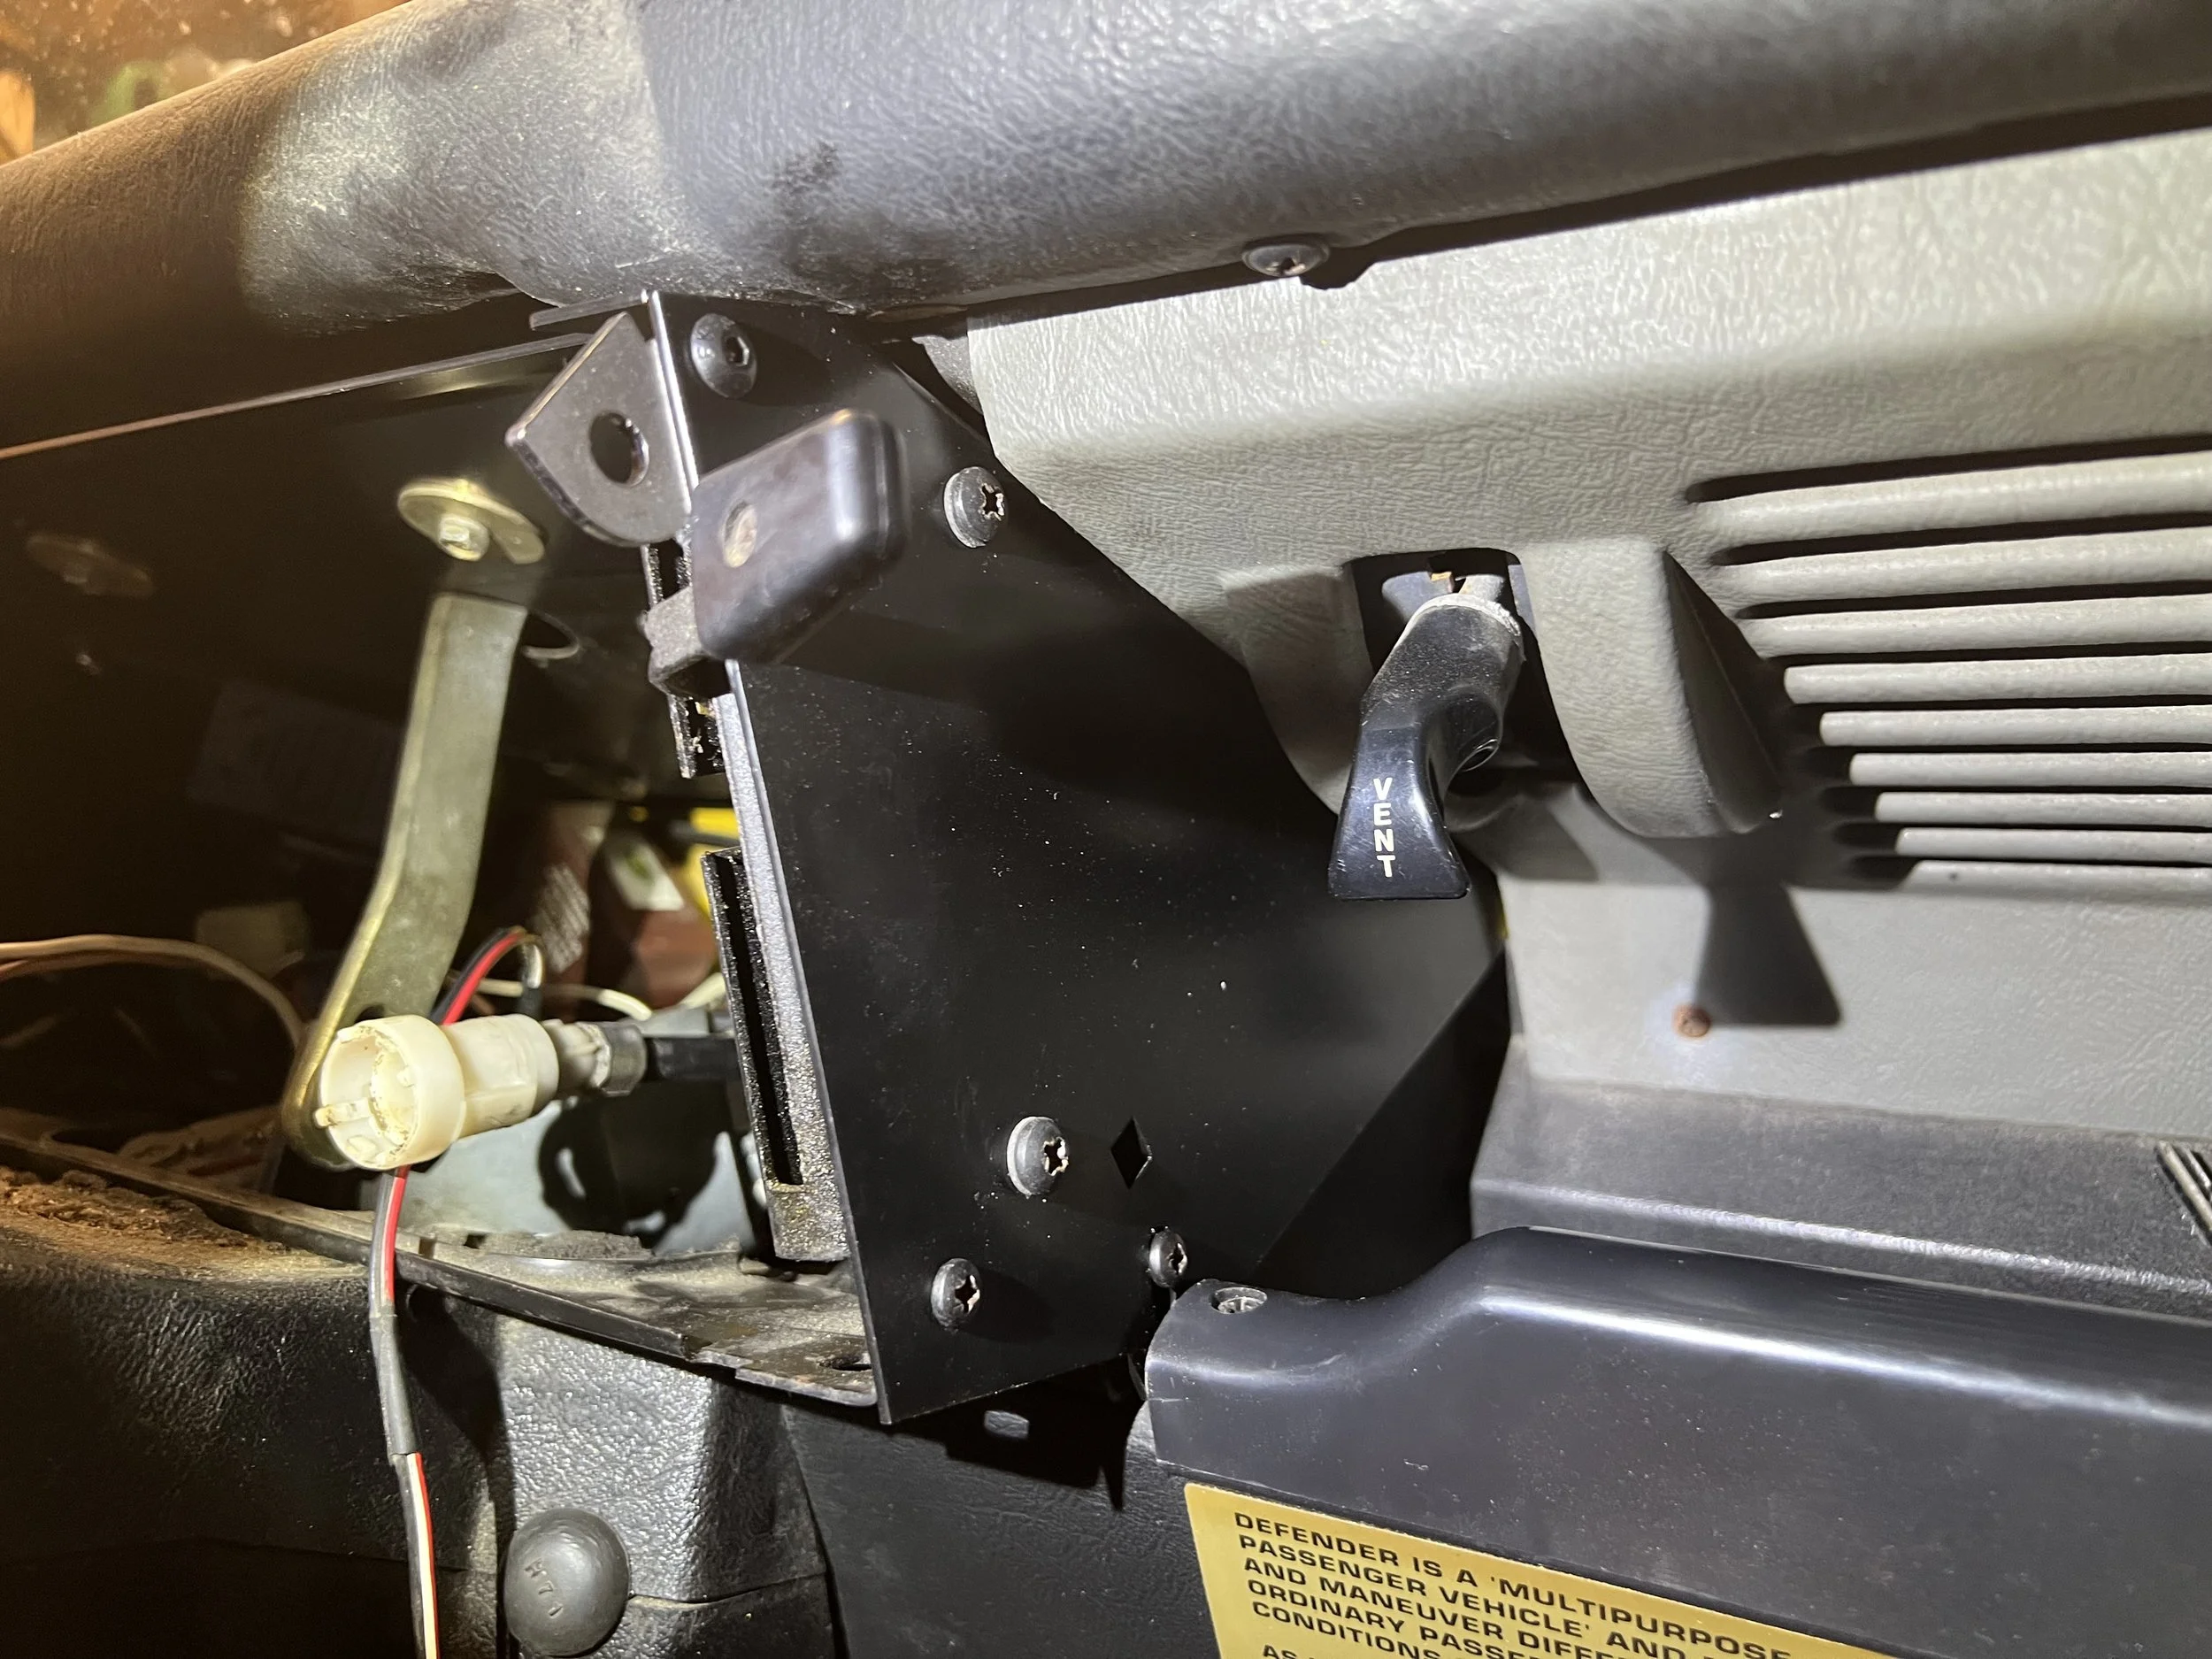
I found a metal replacement out of the UK that simply bolts into place. This way I solve the design problem, don’t run into future crack issues, but retain the ability to revert back to OEM stock. Its a theme of the truck….upgrade where it makes sense but don’t damage the truck in the process and always retain an easy way to revert back. The metal binnacle is made by Raptor Engineering and they also sell a metal binnacle mounting bracket which is a must as that mounting bracket is also plastic and actually the source of many cracks. For the end plate you can go with the OEM plastic, or Raptor also makes a metal end plate. I bought the end plate but ended up not using it as I had a hard time fitting it plus my plastic OEM piece was not broken. They also make a fantastic center dash console that is far superior to the OEM plastic one many people use, but installing this requires cutting so I passed on this upgrade. If you have a ROW Defender or don’t feel compelled to be able to revert back to stock Raptor’s center dash is the way to go if you want lots of space for switches and a modern stereo.
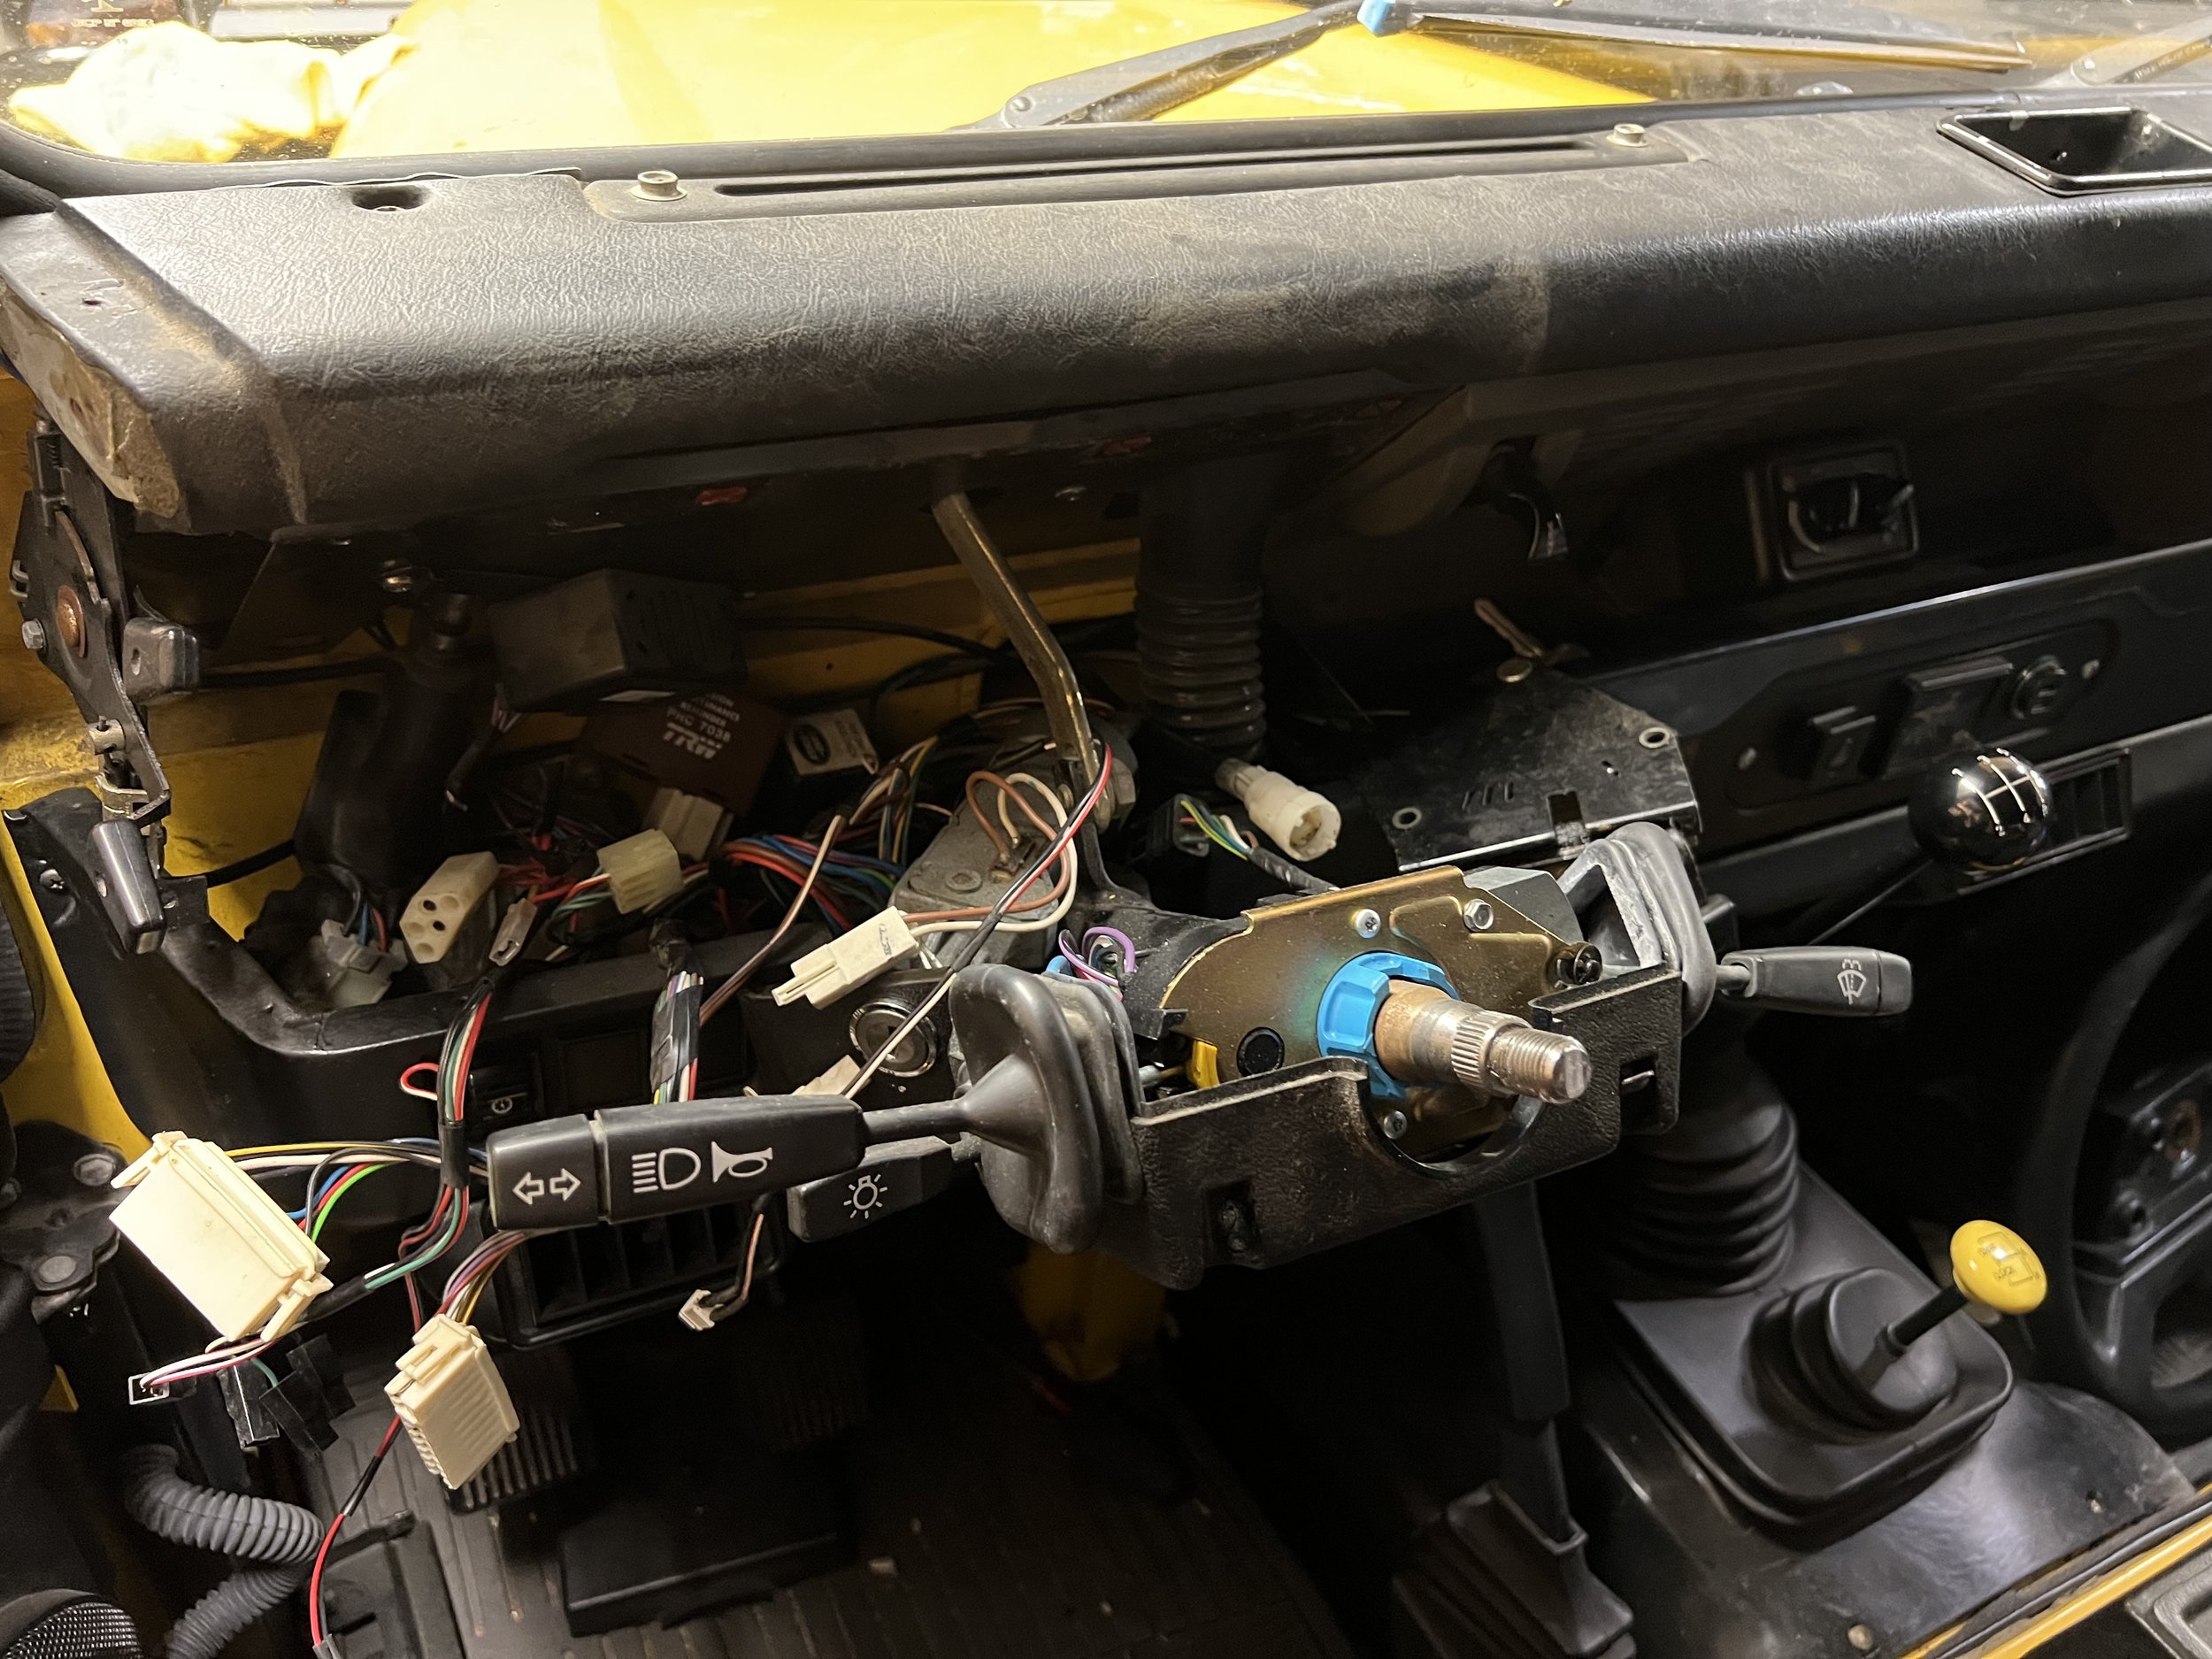

The first step in the project is to remove the original binnacle and gauges. There is a great video on Raptor’s website that walks you through this. Just remember to mark or take pictures of the wires before you unplug them so that you know how they plug back in. I found it easier to remove the steering wheel before taking apart the dash so you have space to work. You then install the mounting plate, then you move the gauges from the old binnacle to the new one. You then install the new binnacle. During this process you can decide to replace the bulbs of the gauges or upgrade the old bulbs to LED to make them brighter. I decided to keep the old bulbs so I have the original hard to read the gauge experience (keeping it real).
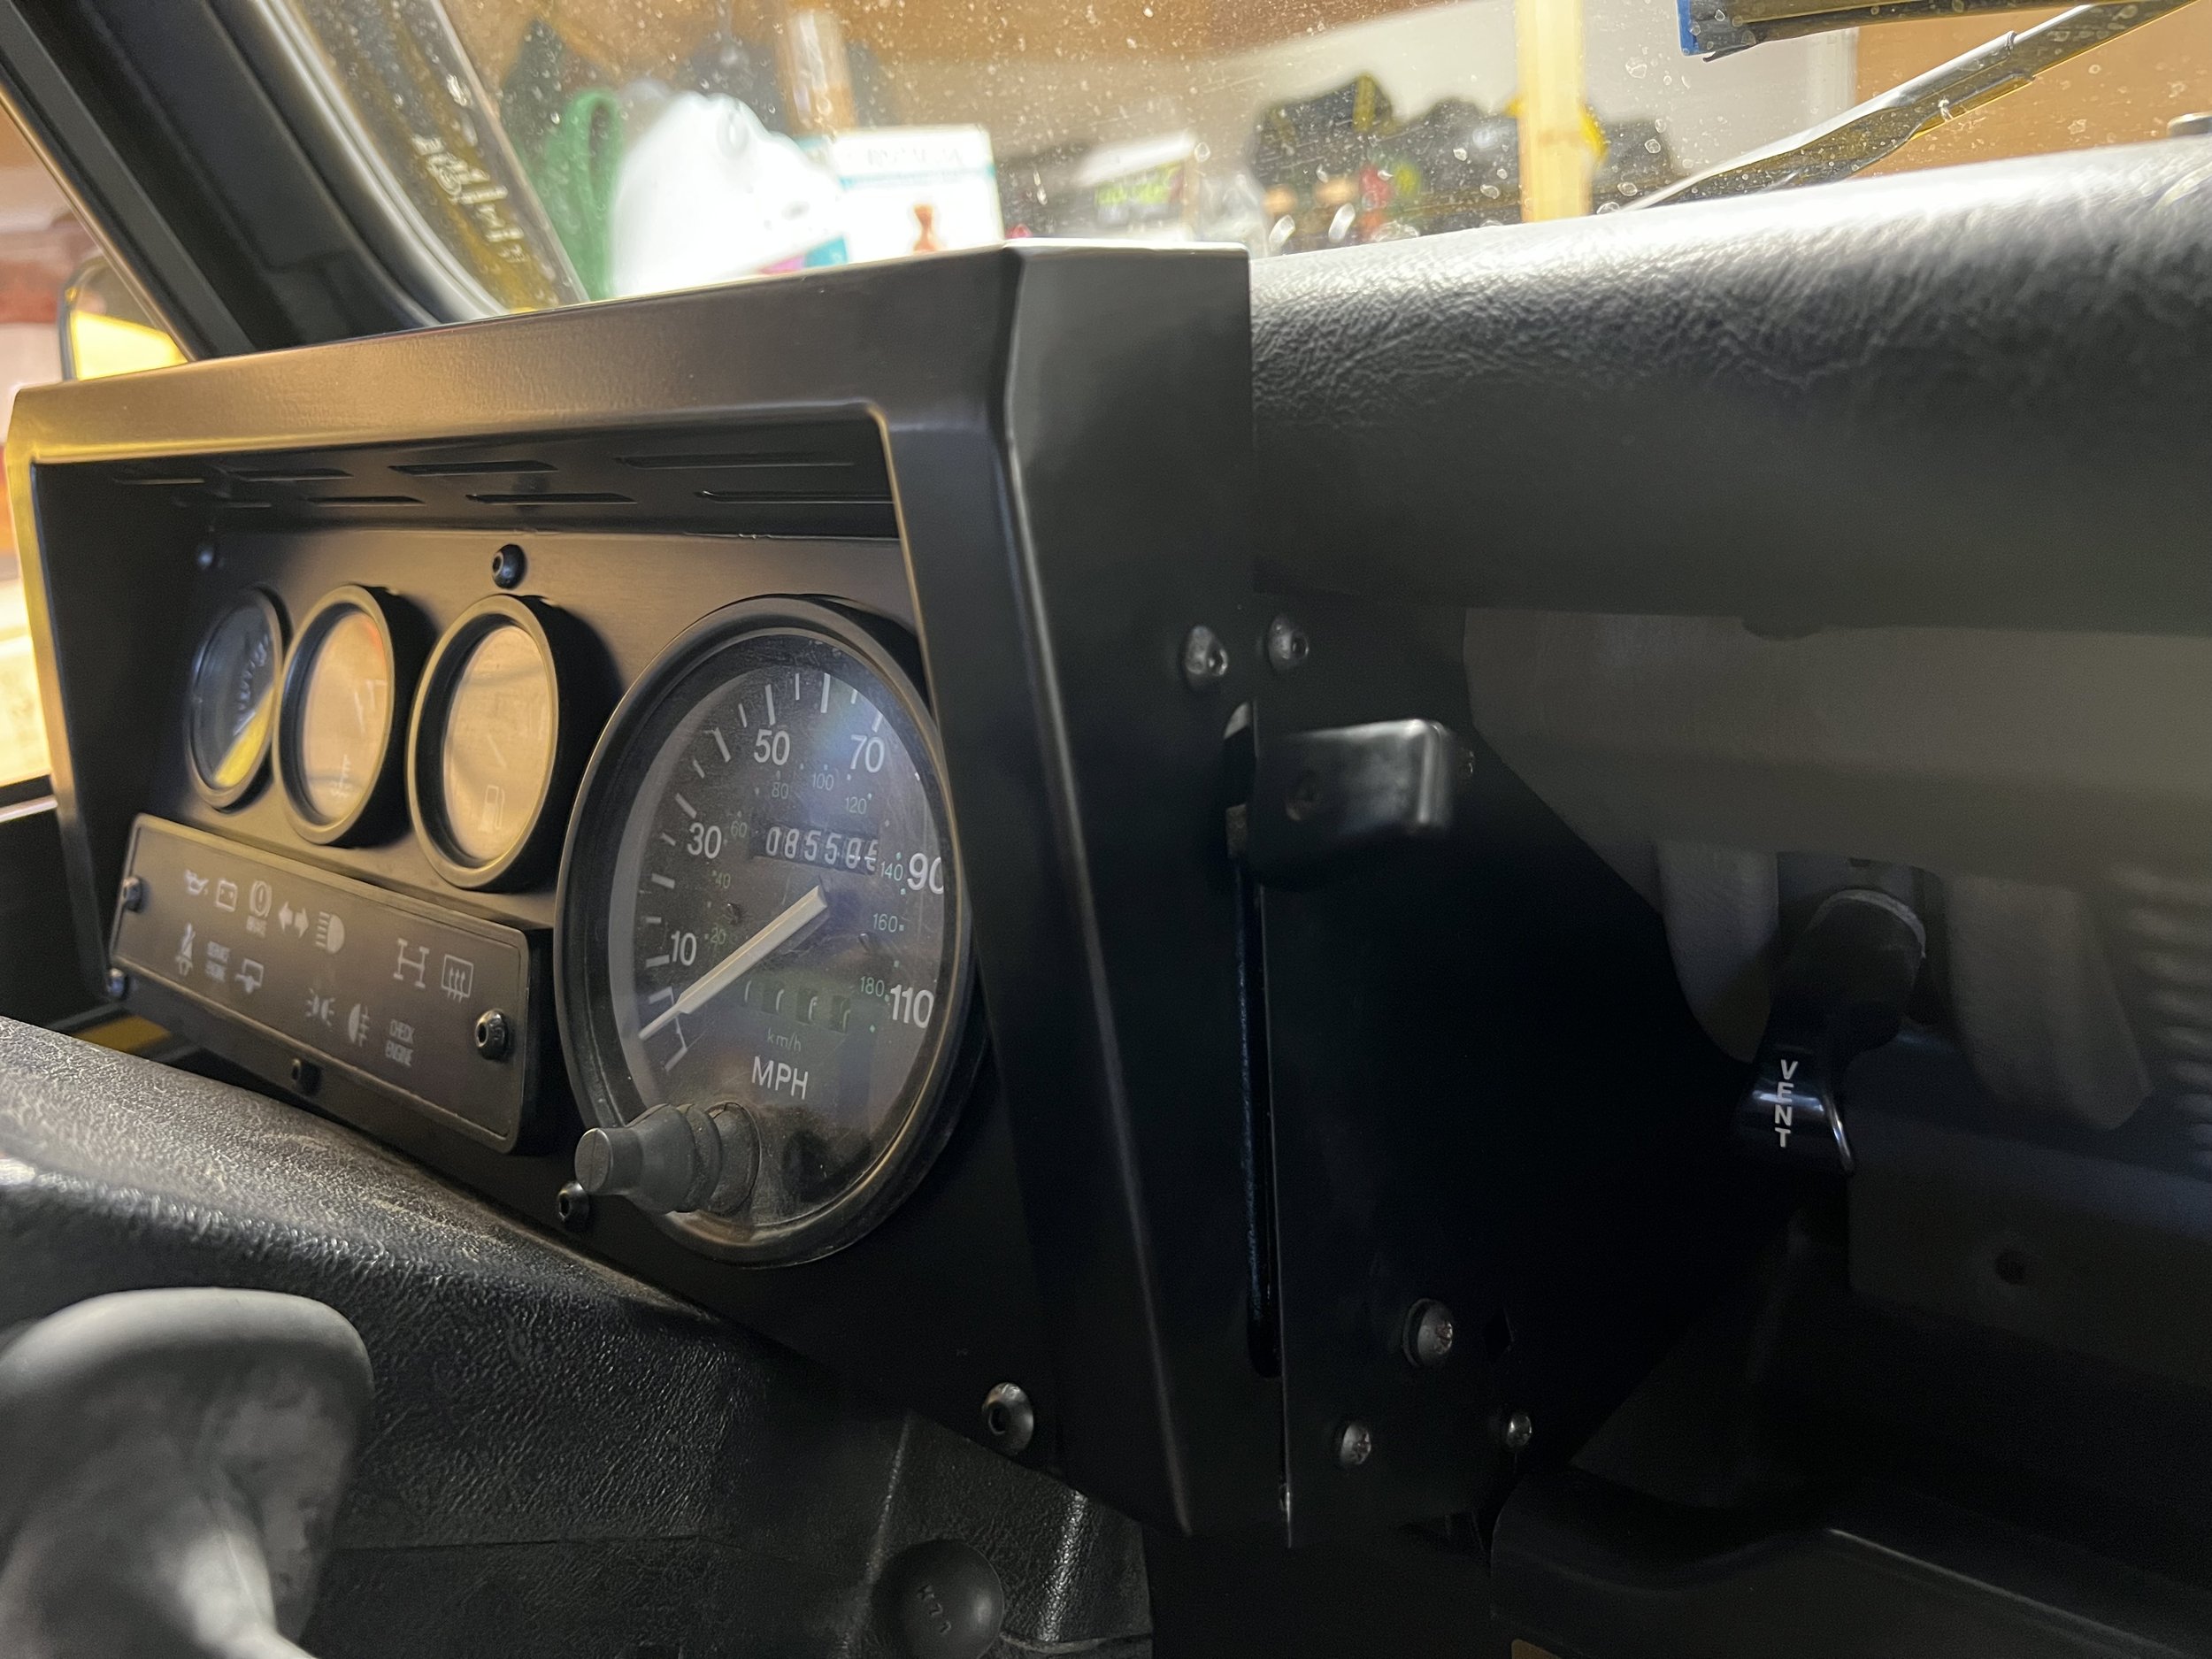
The end result is a binnacle of the exact same shape but in metal versus plastic. It looks great, wont break, and doesn’t take away your ability to go back to stock. I took my time during this project as I wanted to make sure it went smoothly plus I wanted to remove some abandon wires in my dash that came from an old set of fog lights that have since been removed. I can’t say enough about the quality of Raptor’s product, I highly recommend them.