Defender 90 build Winston Crawford 5/13/21 Defender 90 build Winston Crawford 5/13/21 Defender 90 Build - Inspection Read More Sprinter build Winston Crawford 5/12/21 Sprinter build Winston Crawford 5/12/21 Sprinter Build - Captain Chairs Read More Sprinter build Winston Crawford 5/7/21 Sprinter build Winston Crawford 5/7/21 Sprinter Build - Custom Bed Platform Read More Defender 90 build Winston Crawford 5/5/21 Defender 90 build Winston Crawford 5/5/21 Defender 90 Build - A Dream Since The 90s Read More Sprinter build Winston Crawford 4/26/21 Sprinter build Winston Crawford 4/26/21 Sprinter Build - Awning Read More Sprinter build Winston Crawford 4/7/21 Sprinter build Winston Crawford 4/7/21 Sprinter Build - Solar Panels Read More Sprinter build Winston Crawford 3/27/21 Sprinter build Winston Crawford 3/27/21 Sprinter Build - Coleman Conversion to Propane Read More Sprinter build Winston Crawford 3/27/21 Sprinter build Winston Crawford 3/27/21 Sprinter Build - Roof Rack Lights Read More Sprinter build Winston Crawford 3/22/21 Sprinter build Winston Crawford 3/22/21 Sprinter Build - Storage Box and Bike Rack Read More Sprinter build Winston Crawford 3/18/21 Sprinter build Winston Crawford 3/18/21 Sprinter Build - Suspension Read More Sprinter build Winston Crawford 3/12/21 Sprinter build Winston Crawford 3/12/21 Sprinter Build - Accessories Read More Sprinter build Winston Crawford 3/12/21 Sprinter build Winston Crawford 3/12/21 Sprinter Build - Water and Electrical Cabinets Read More Sprinter build Winston Crawford 3/11/21 Sprinter build Winston Crawford 3/11/21 Sprinter Build - Roof Rack and Ladder Read More Sprinter build Winston Crawford 3/10/21 Sprinter build Winston Crawford 3/10/21 Sprinter Build - Interior Kit Read More news Winston Crawford 7/17/20 news Winston Crawford 7/17/20 All 2020 Events Canceled Read More Sprinter build Winston Crawford 6/20/20 Sprinter build Winston Crawford 6/20/20 Sprinter Build - Side Steps Read More Sprinter build Winston Crawford 5/14/20 Sprinter build Winston Crawford 5/14/20 Sprinter Build - The Plan Read More Sprinter build Winston Crawford 5/8/20 Sprinter build Winston Crawford 5/8/20 Sprinter Build - Base Read More M2 build Winston Crawford 1/20/20 M2 build Winston Crawford 1/20/20 BMW M2 Build - Hood Repaint Read More news Winston Crawford 1/20/20 news Winston Crawford 1/20/20 2020 SVMC Cars and Coffee Calendar Read More Newer Posts Older Posts
Defender 90 build Winston Crawford 5/13/21 Defender 90 build Winston Crawford 5/13/21 Defender 90 Build - Inspection Read More
Sprinter build Winston Crawford 5/12/21 Sprinter build Winston Crawford 5/12/21 Sprinter Build - Captain Chairs Read More
Sprinter build Winston Crawford 5/7/21 Sprinter build Winston Crawford 5/7/21 Sprinter Build - Custom Bed Platform Read More
Defender 90 build Winston Crawford 5/5/21 Defender 90 build Winston Crawford 5/5/21 Defender 90 Build - A Dream Since The 90s Read More
Sprinter build Winston Crawford 4/26/21 Sprinter build Winston Crawford 4/26/21 Sprinter Build - Awning Read More
Sprinter build Winston Crawford 4/7/21 Sprinter build Winston Crawford 4/7/21 Sprinter Build - Solar Panels Read More
Sprinter build Winston Crawford 3/27/21 Sprinter build Winston Crawford 3/27/21 Sprinter Build - Coleman Conversion to Propane Read More
Sprinter build Winston Crawford 3/27/21 Sprinter build Winston Crawford 3/27/21 Sprinter Build - Roof Rack Lights Read More
Sprinter build Winston Crawford 3/22/21 Sprinter build Winston Crawford 3/22/21 Sprinter Build - Storage Box and Bike Rack Read More
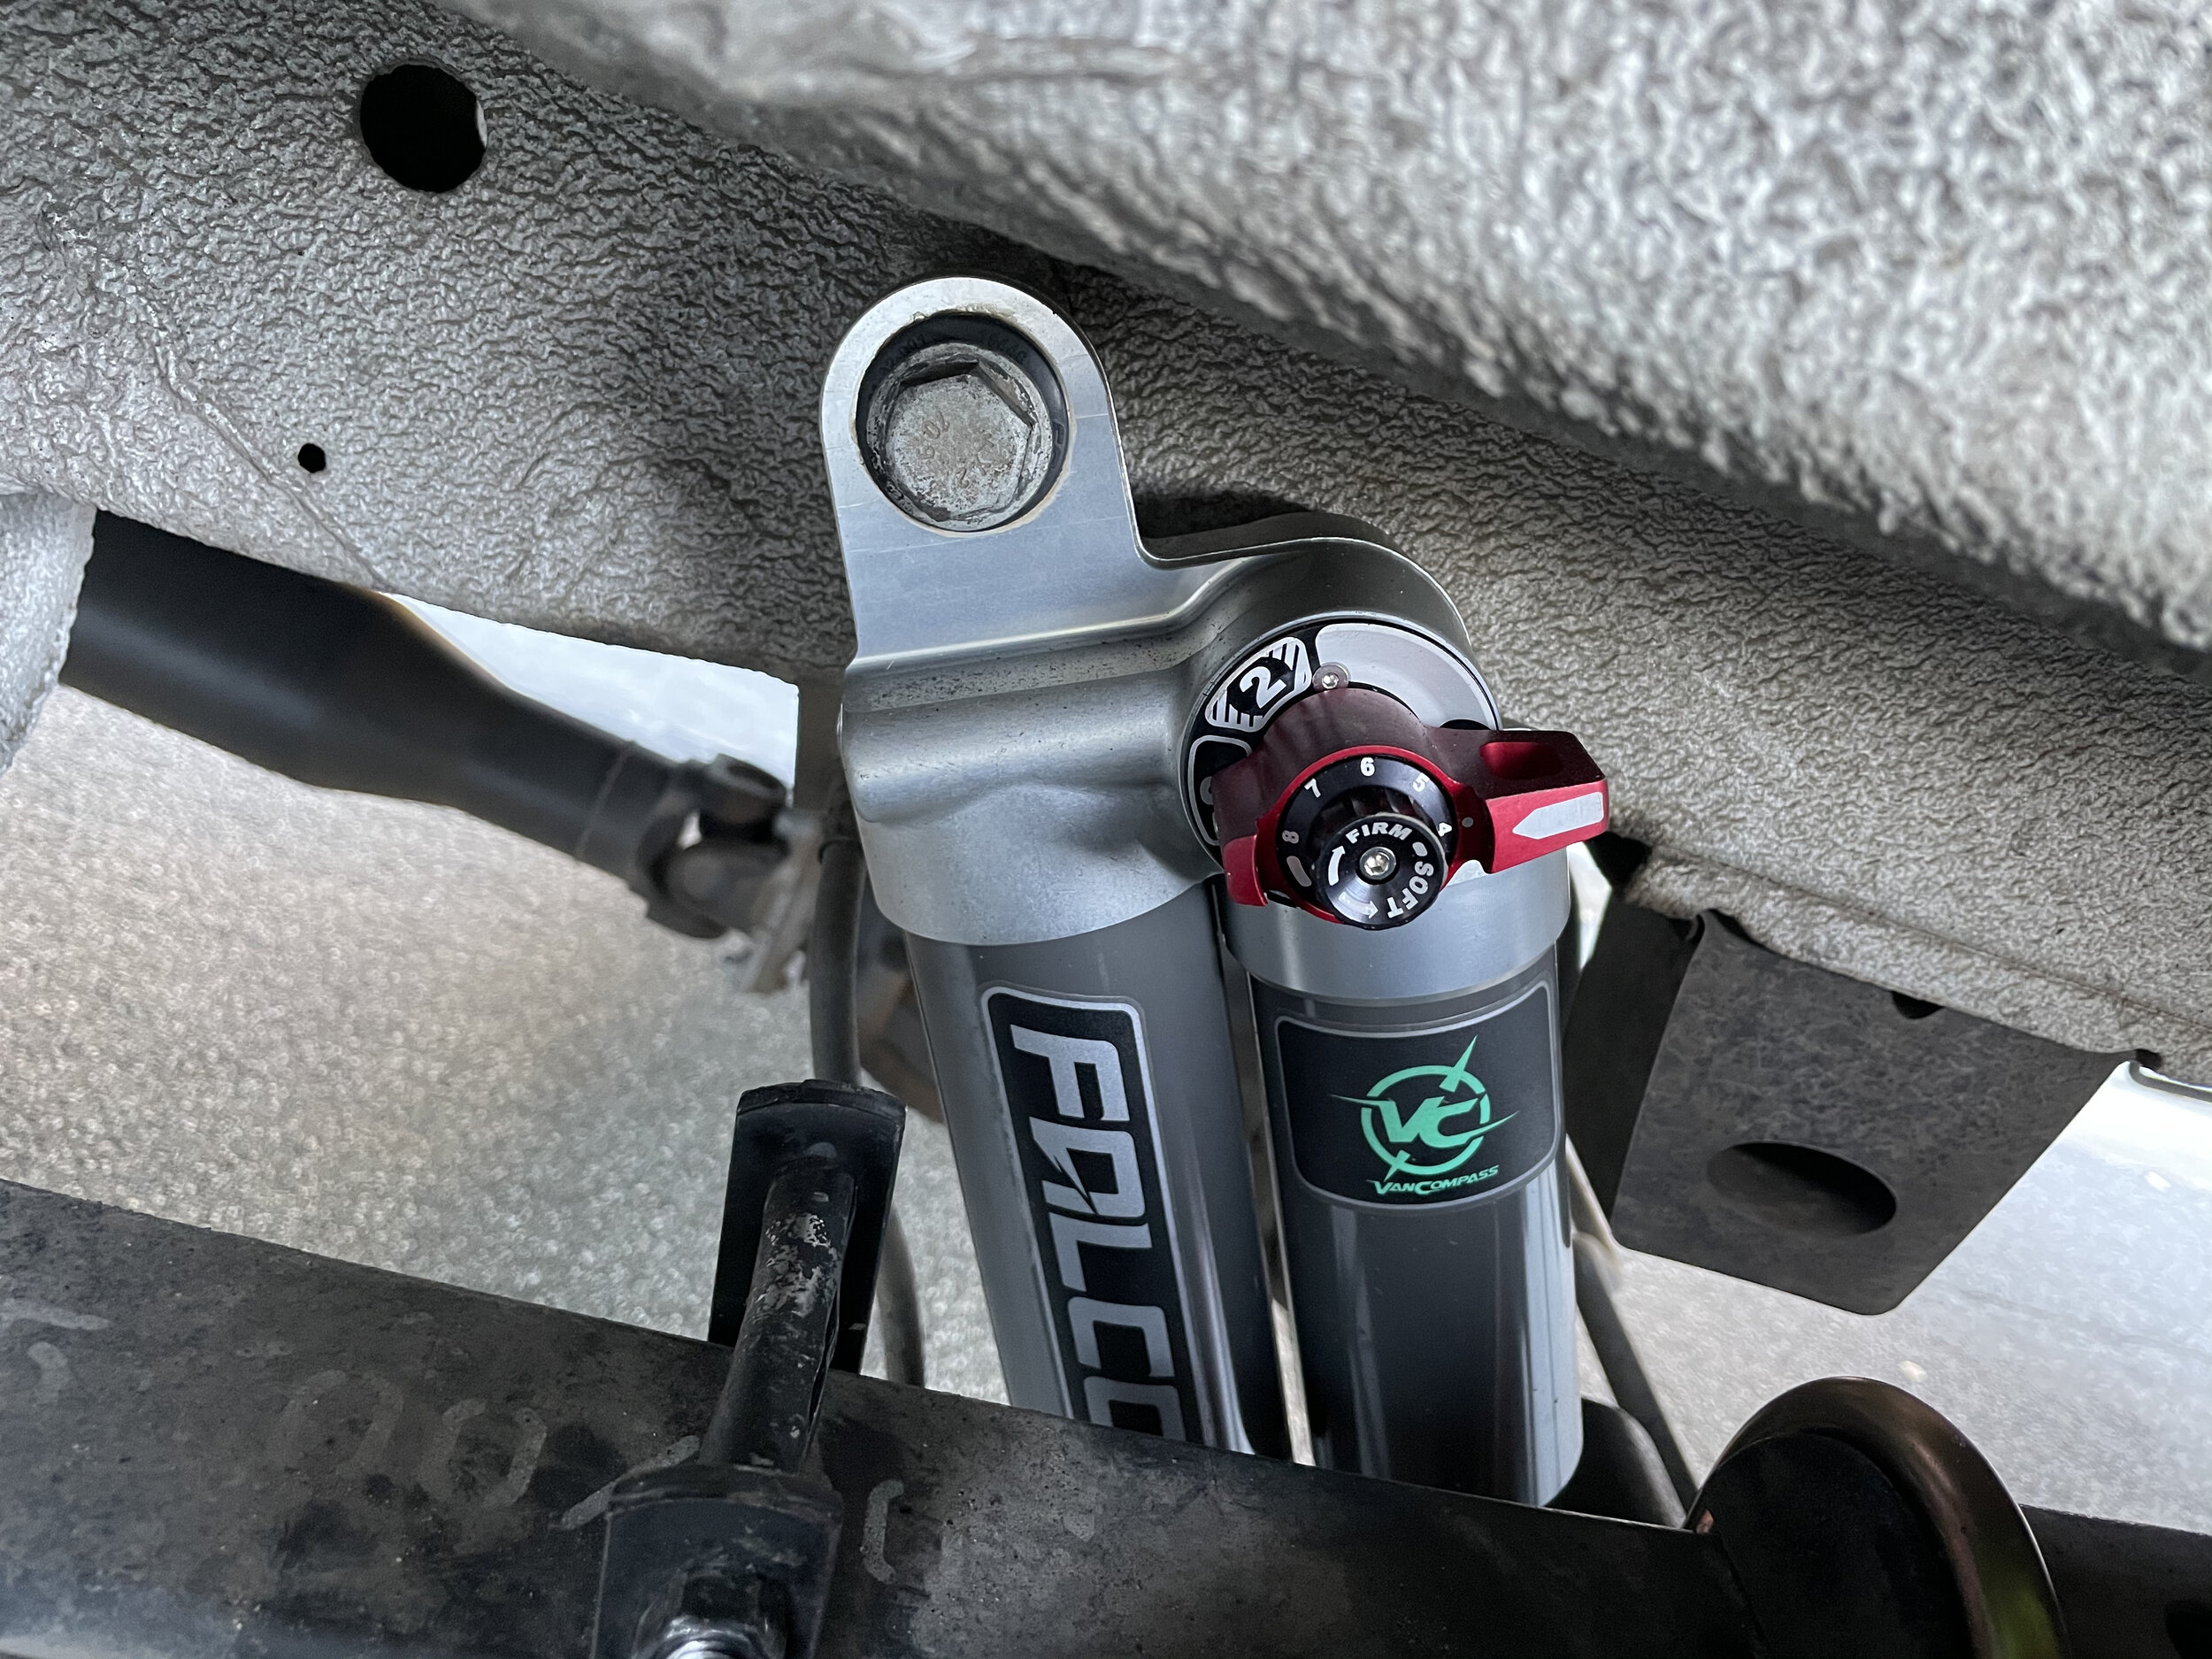
Sprinter build Winston Crawford 3/18/21 Sprinter build Winston Crawford 3/18/21 Sprinter Build - Suspension Read More
Sprinter build Winston Crawford 3/12/21 Sprinter build Winston Crawford 3/12/21 Sprinter Build - Accessories Read More
Sprinter build Winston Crawford 3/12/21 Sprinter build Winston Crawford 3/12/21 Sprinter Build - Water and Electrical Cabinets Read More
Sprinter build Winston Crawford 3/11/21 Sprinter build Winston Crawford 3/11/21 Sprinter Build - Roof Rack and Ladder Read More
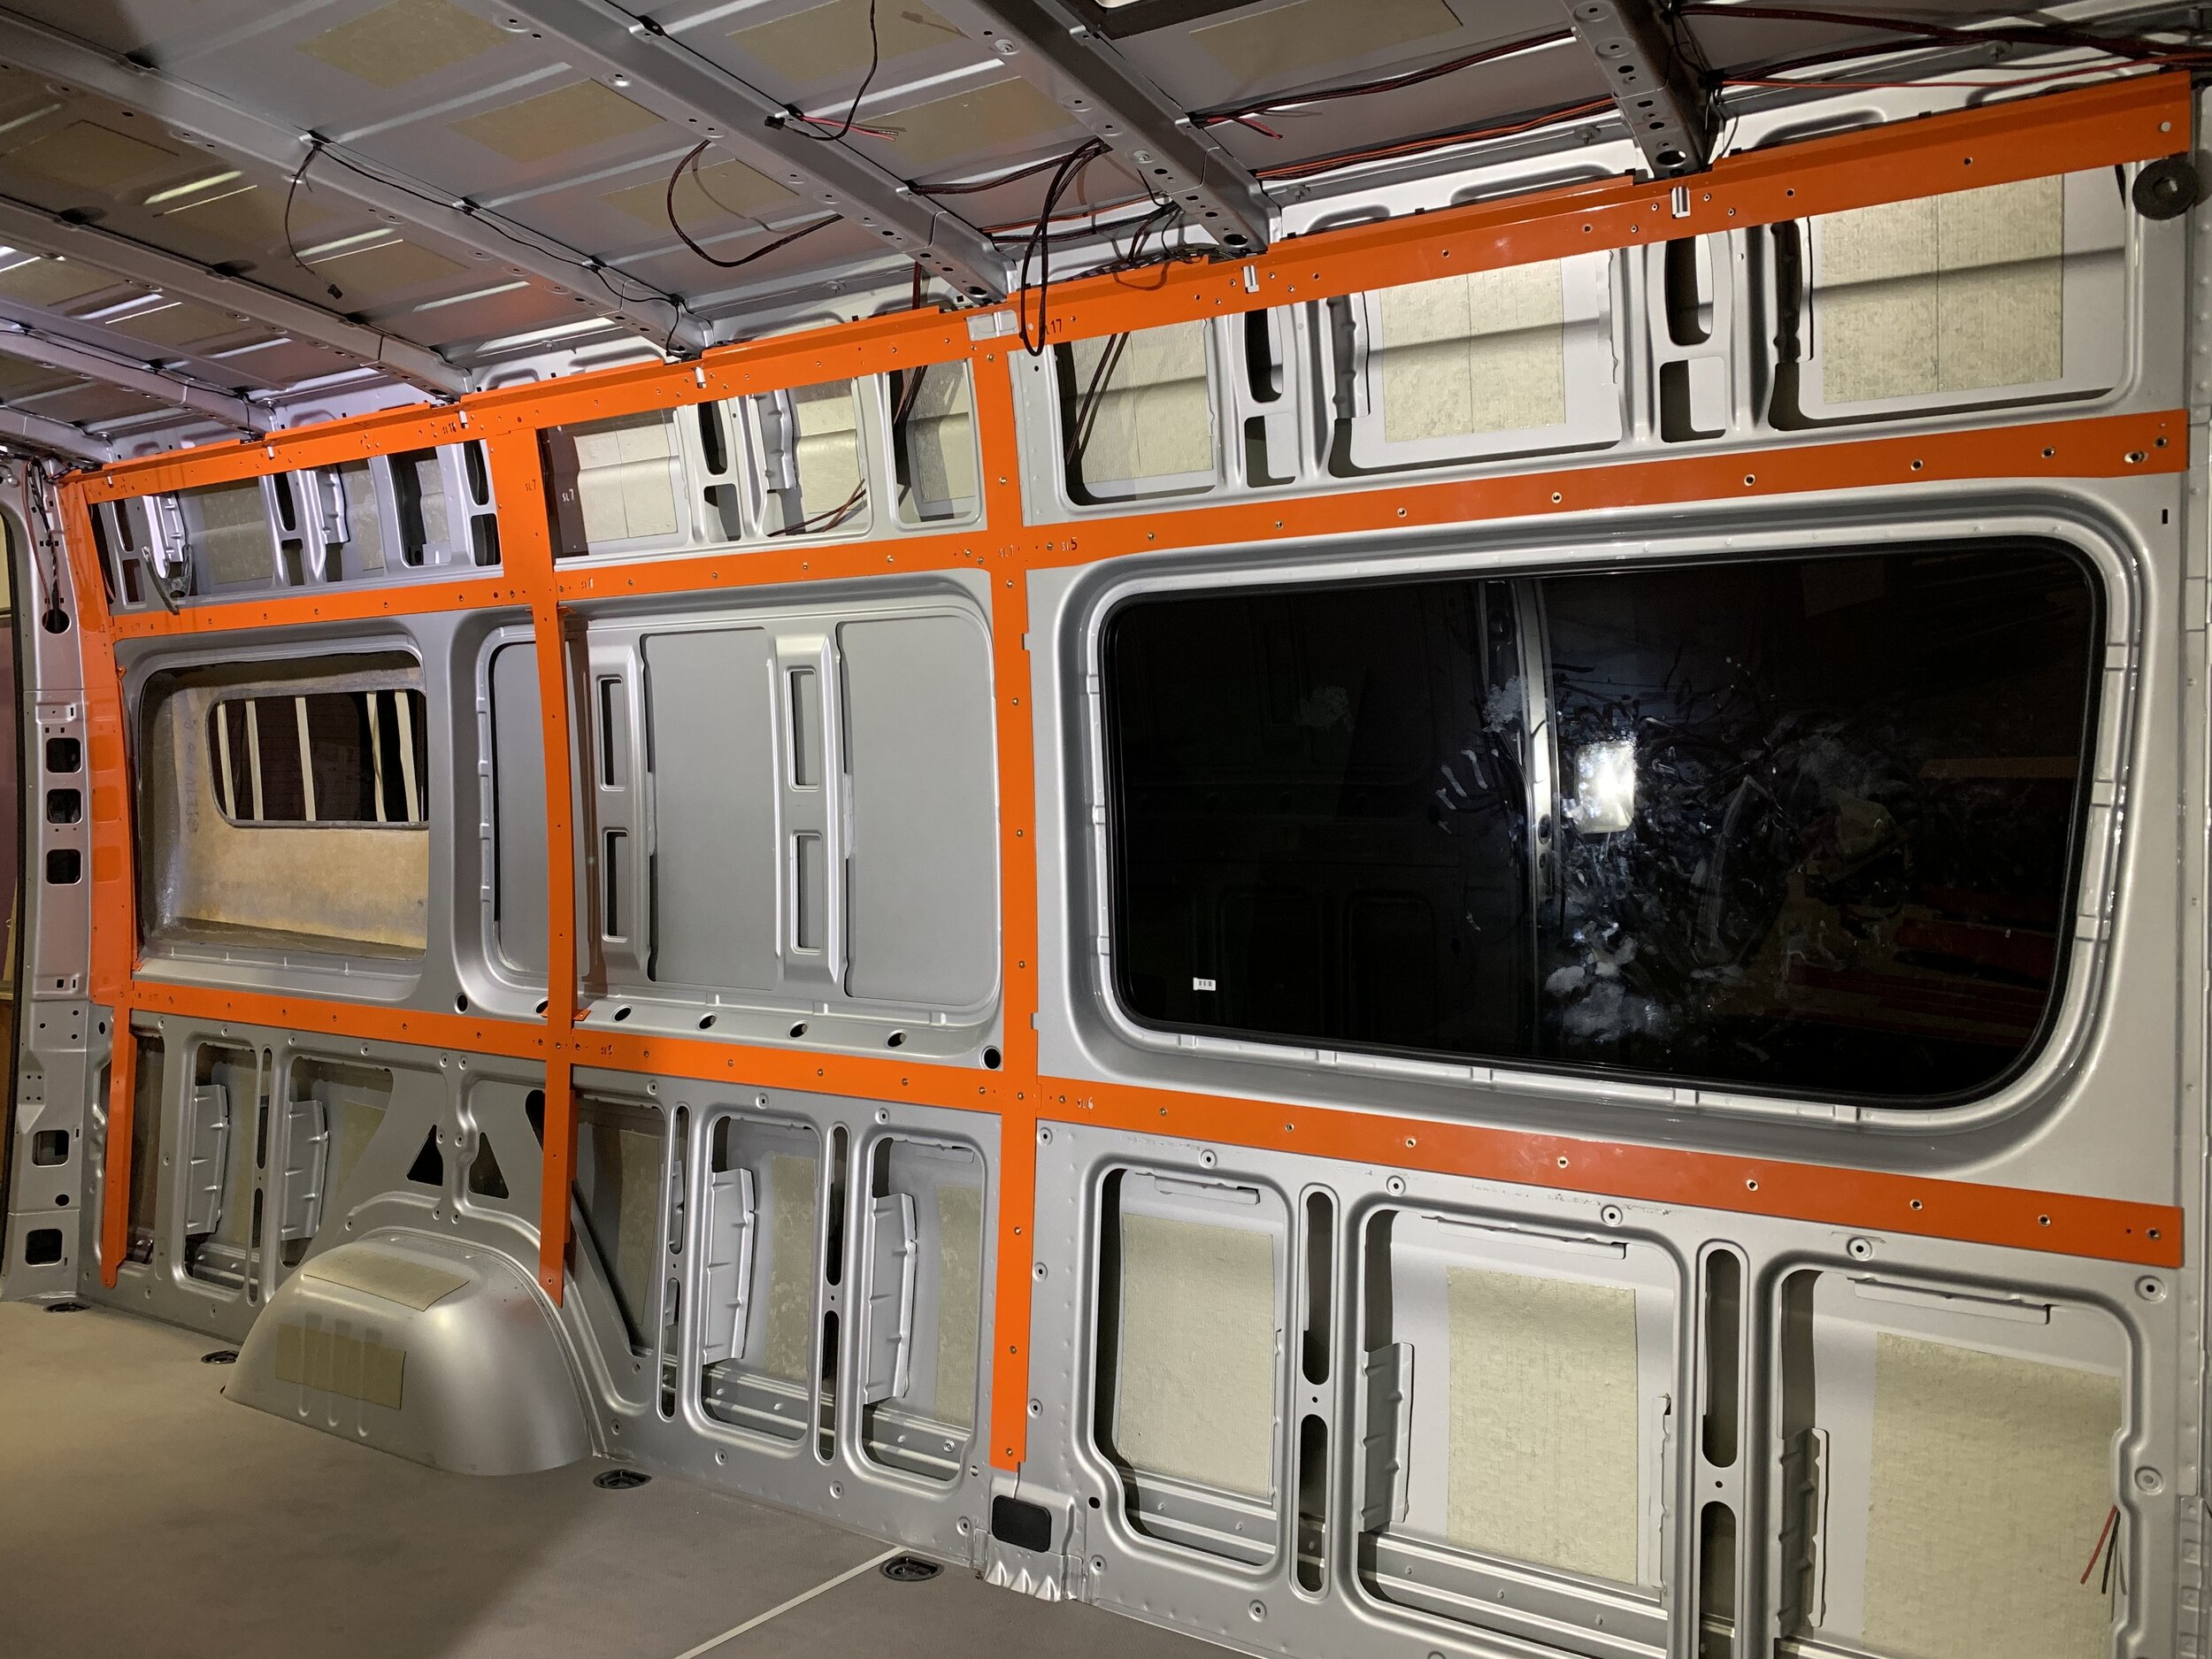
Sprinter build Winston Crawford 3/10/21 Sprinter build Winston Crawford 3/10/21 Sprinter Build - Interior Kit Read More
Sprinter build Winston Crawford 6/20/20 Sprinter build Winston Crawford 6/20/20 Sprinter Build - Side Steps Read More
Sprinter build Winston Crawford 5/14/20 Sprinter build Winston Crawford 5/14/20 Sprinter Build - The Plan Read More
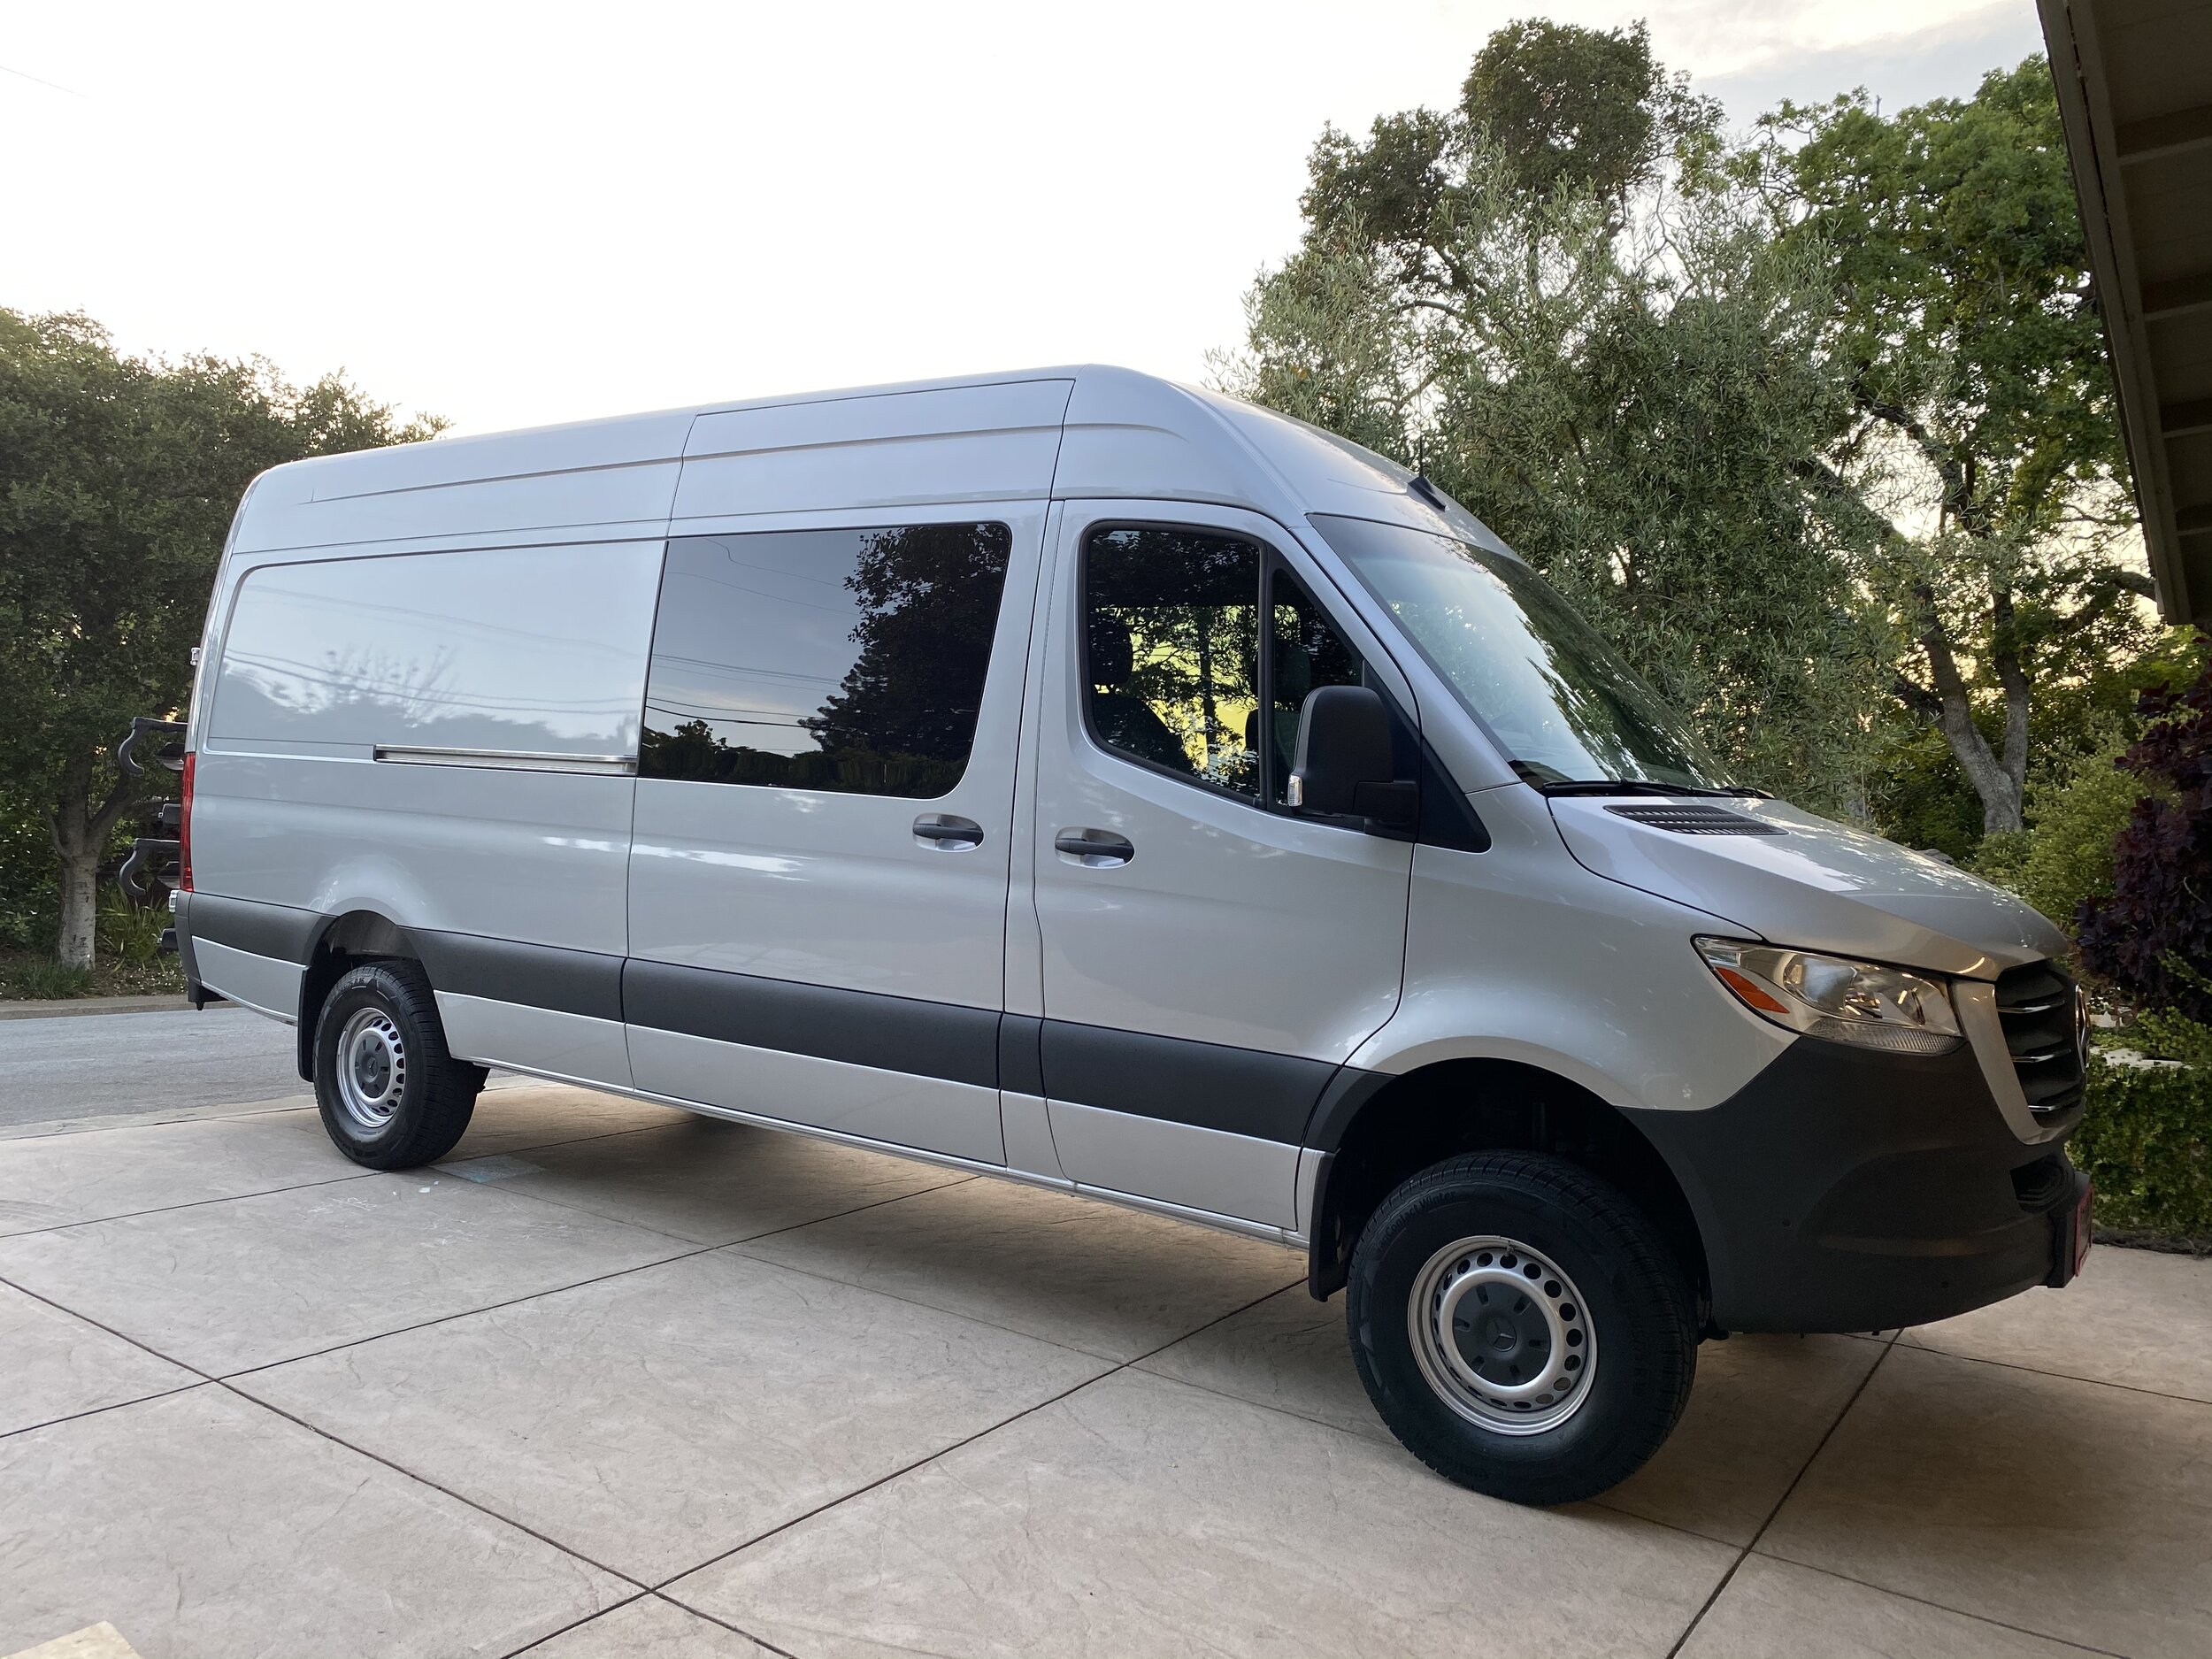
Sprinter build Winston Crawford 5/8/20 Sprinter build Winston Crawford 5/8/20 Sprinter Build - Base Read More
M2 build Winston Crawford 1/20/20 M2 build Winston Crawford 1/20/20 BMW M2 Build - Hood Repaint Read More
news Winston Crawford 1/20/20 news Winston Crawford 1/20/20 2020 SVMC Cars and Coffee Calendar Read More