Defender 90 build Winston Crawford 9/18/22 Defender 90 build Winston Crawford 9/18/22 Defender 90 Build - Wheels Read More Defender 90 build Winston Crawford 8/14/22 Defender 90 build Winston Crawford 8/14/22 Defender 90 Build - Dash Dock Read More Defender 90 build Winston Crawford 7/2/22 Defender 90 build Winston Crawford 7/2/22 Defender 90 Build - Seating Read More Defender 90 build Winston Crawford 6/14/22 Defender 90 build Winston Crawford 6/14/22 Defender 90 Build - Binnacle Upgrade Read More Sprinter build Winston Crawford 6/14/22 Sprinter build Winston Crawford 6/14/22 Sprinter Build - Fan Fix Read More Defender 90 build Winston Crawford 5/24/22 Defender 90 build Winston Crawford 5/24/22 Defender 90 Build - Soft Top Read More Sprinter build Winston Crawford 5/23/22 Sprinter build Winston Crawford 5/23/22 Sprinter Build - Battery Monitor Read More Defender 90 build Winston Crawford 5/23/22 Defender 90 build Winston Crawford 5/23/22 Defender 90 Build - Locking Storage Read More Sprinter build Winston Crawford 4/27/22 Sprinter build Winston Crawford 4/27/22 Sprinter Build - Grille Lights and Switches Read More Defender 90 build Winston Crawford 4/3/22 Defender 90 build Winston Crawford 4/3/22 Defender 90 Build - Air Compressor Read More Defender 90 build Winston Crawford 3/15/22 Defender 90 build Winston Crawford 3/15/22 Defender 90 Build - Rock Sliders and Skid Plate Read More Sprinter build Winston Crawford 3/15/22 Sprinter build Winston Crawford 3/15/22 Sprinter Build - Let’s Talk Toilets Read More Defender 90 build Winston Crawford 3/7/22 Defender 90 build Winston Crawford 3/7/22 Defender 90 Build - Hi-Lift Jack Mount Read More Defender 90 build Winston Crawford 3/7/22 Defender 90 build Winston Crawford 3/7/22 Defender 90 Build - Winch & Hella Lights Read More Defender 90 build Winston Crawford 3/3/22 Defender 90 build Winston Crawford 3/3/22 Defender 90 Build - Cubby Box Read More Defender 90 build Winston Crawford 8/29/21 Defender 90 build Winston Crawford 8/29/21 Defender 90 Build - Electrical Read More Sprinter build Winston Crawford 6/16/21 Sprinter build Winston Crawford 6/16/21 Sprinter Build - Winch Read More Sprinter build Winston Crawford 6/16/21 Sprinter build Winston Crawford 6/16/21 Sprinter Build - Custom Woodwork Read More Defender 90 build Winston Crawford 6/9/21 Defender 90 build Winston Crawford 6/9/21 Defender 90 Build - Suspension Read More Defender 90 build Winston Crawford 5/26/21 Defender 90 build Winston Crawford 5/26/21 Defender 90 Build - The Plan Read More Newer Posts Older Posts
Defender 90 build Winston Crawford 9/18/22 Defender 90 build Winston Crawford 9/18/22 Defender 90 Build - Wheels Read More
Defender 90 build Winston Crawford 8/14/22 Defender 90 build Winston Crawford 8/14/22 Defender 90 Build - Dash Dock Read More
Defender 90 build Winston Crawford 7/2/22 Defender 90 build Winston Crawford 7/2/22 Defender 90 Build - Seating Read More
Defender 90 build Winston Crawford 6/14/22 Defender 90 build Winston Crawford 6/14/22 Defender 90 Build - Binnacle Upgrade Read More
Sprinter build Winston Crawford 6/14/22 Sprinter build Winston Crawford 6/14/22 Sprinter Build - Fan Fix Read More
Defender 90 build Winston Crawford 5/24/22 Defender 90 build Winston Crawford 5/24/22 Defender 90 Build - Soft Top Read More
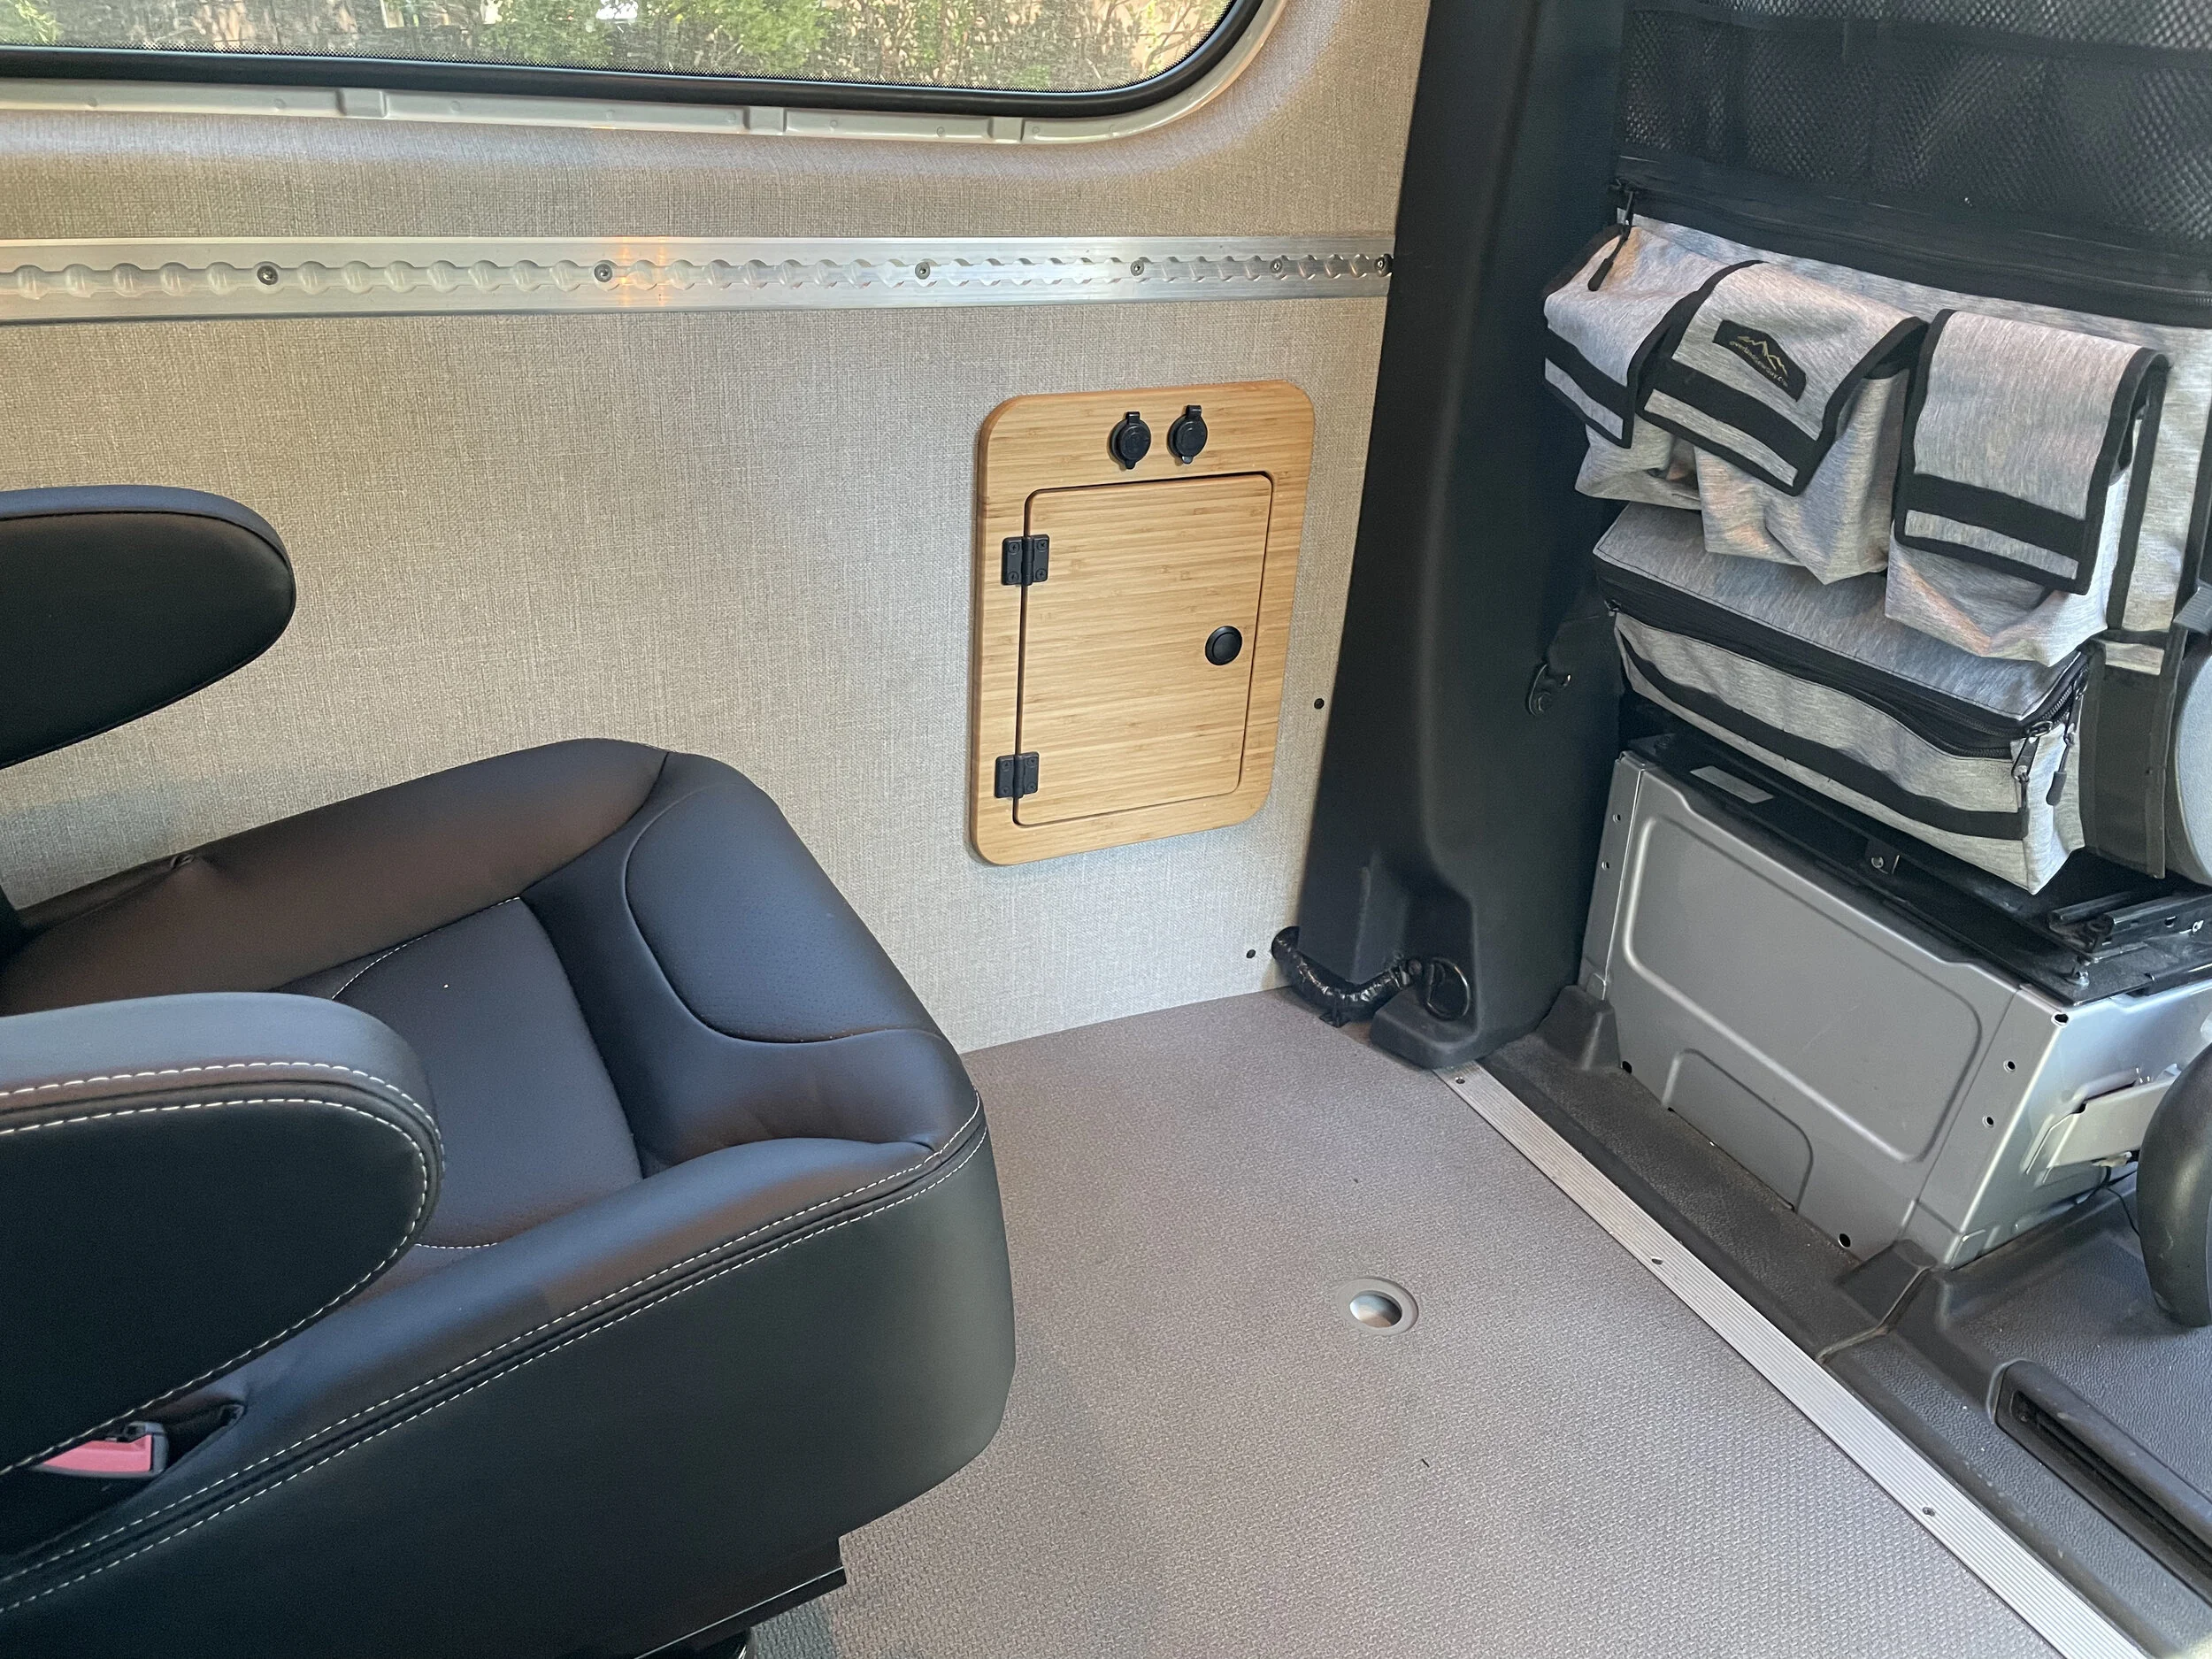
Sprinter build Winston Crawford 5/23/22 Sprinter build Winston Crawford 5/23/22 Sprinter Build - Battery Monitor Read More
Defender 90 build Winston Crawford 5/23/22 Defender 90 build Winston Crawford 5/23/22 Defender 90 Build - Locking Storage Read More
Sprinter build Winston Crawford 4/27/22 Sprinter build Winston Crawford 4/27/22 Sprinter Build - Grille Lights and Switches Read More
Defender 90 build Winston Crawford 4/3/22 Defender 90 build Winston Crawford 4/3/22 Defender 90 Build - Air Compressor Read More
Defender 90 build Winston Crawford 3/15/22 Defender 90 build Winston Crawford 3/15/22 Defender 90 Build - Rock Sliders and Skid Plate Read More
Sprinter build Winston Crawford 3/15/22 Sprinter build Winston Crawford 3/15/22 Sprinter Build - Let’s Talk Toilets Read More
Defender 90 build Winston Crawford 3/7/22 Defender 90 build Winston Crawford 3/7/22 Defender 90 Build - Hi-Lift Jack Mount Read More
Defender 90 build Winston Crawford 3/7/22 Defender 90 build Winston Crawford 3/7/22 Defender 90 Build - Winch & Hella Lights Read More
Defender 90 build Winston Crawford 3/3/22 Defender 90 build Winston Crawford 3/3/22 Defender 90 Build - Cubby Box Read More
Defender 90 build Winston Crawford 8/29/21 Defender 90 build Winston Crawford 8/29/21 Defender 90 Build - Electrical Read More
Sprinter build Winston Crawford 6/16/21 Sprinter build Winston Crawford 6/16/21 Sprinter Build - Winch Read More
Sprinter build Winston Crawford 6/16/21 Sprinter build Winston Crawford 6/16/21 Sprinter Build - Custom Woodwork Read More
Defender 90 build Winston Crawford 6/9/21 Defender 90 build Winston Crawford 6/9/21 Defender 90 Build - Suspension Read More
Defender 90 build Winston Crawford 5/26/21 Defender 90 build Winston Crawford 5/26/21 Defender 90 Build - The Plan Read More